
Cold Gimbap Transformed: Crispy and Warm Gimbap Jeon!
Revitalize Chilled Gimbap into Delicious Gimbap Jeon

After a market trip, I found myself without rice, so I bought gimbap from my favorite snack bar. The drive home was surprisingly traffic-laden, making me feel quite frustrated on an ordinary day. Once home, after unpacking and freshening up, I was ready to enjoy the gimbap, only to find it cold. Stuck in traffic and then busy with errands at home, the gimbap had cooled down significantly. I considered eating it as is, but I really craved something warm. That’s when I decided to make Gimbap Jeon – a pan-fried gimbap! While making gimbap from scratch and then frying it takes time, turning leftover, already-made gimbap into a delicious jeon is incredibly easy. It’s the perfect way to enjoy gimbap that’s become cold, making it warm and even more flavorful. Let’s make it together!
Key Ingredients- 2 rolls of cold gimbap
- 2 fresh eggs
Cooking Instructions
Step 1
First, let’s prepare the egg coating, which is key to our Gimbap Jeon. Crack two fresh eggs into a bowl. Using a whisk, beat them gently until the yolks and whites are well combined and the mixture is smooth. Ensure there are no lumps for an even coating.

Step 2
Now, it’s time to dip the gimbap into the egg mixture. Slice the two rolls of gimbap into bite-sized pieces, about 2 cm thick. Dip each gimbap piece into the beaten egg, ensuring it’s thoroughly coated on all sides. Let them sit for a moment to allow the egg mixture to absorb slightly into the gimbap.

Step 3
Heat a generous amount of cooking oil in a frying pan over medium-low heat. Carefully place the egg-coated gimbap pieces in the hot pan, arranging them in a single layer. Cook slowly to prevent burning and ensure the inside becomes warm. Once one side is golden brown and looks appetizing, use a spatula to gently flip the pieces and cook the other side until equally golden and crispy. The goal is a wonderfully crispy exterior with a warm, tender inside.

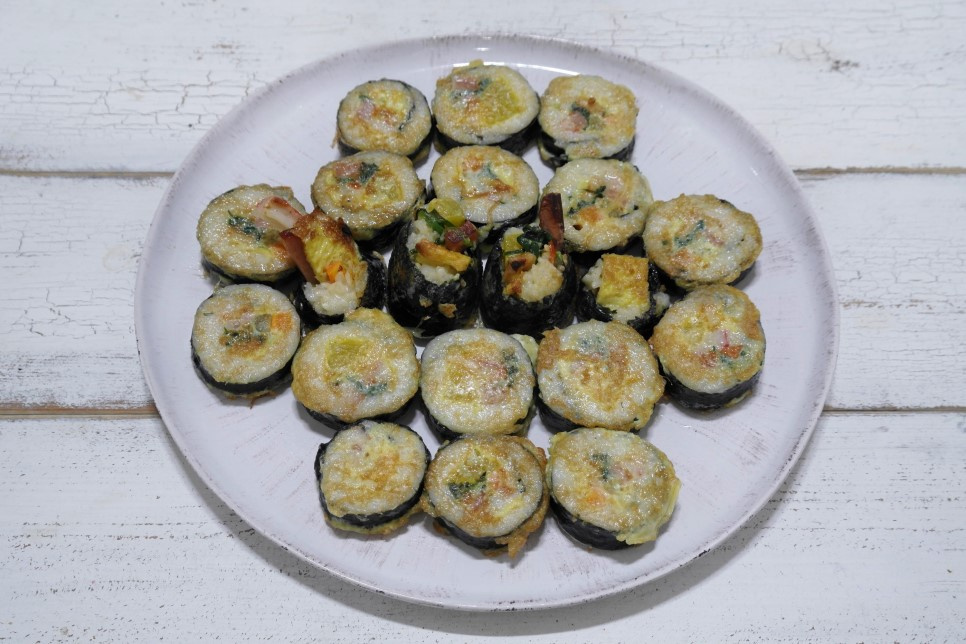
Step 4
Once both sides are beautifully golden and crispy, arrange the cooked Gimbap Jeon on your serving plate. Enjoy immediately while warm for the best ‘crispy outside, soft inside’ experience. They make a fantastic snack or a satisfying light meal!
