
Clams: The 3-Step Purging Method for Perfectly Clean Shellfish
3 Simple Steps to Purge Clams Effectively

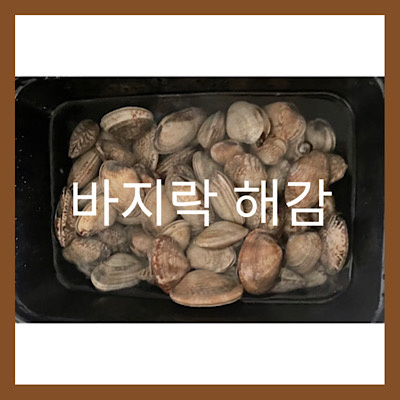
Preparing your clams properly is the first step to enjoying delicious clam dishes! This recipe guides you through the easiest 3-step purging method to get your clams as clean and plump as those served in restaurants. We’ll help you retain their chewy texture and rich, oceanic flavor.
Ingredients- Fresh live clams (for purging)
- Coarse salt (sea salt recommended)
Cooking Instructions
Step 1
First, prepare a deep bowl or pot large enough to hold the clams comfortably. Add 1 liter (about 4 cups) of cold water and 2 tablespoons of coarse salt. Stir well until the salt is completely dissolved. This step mimics the ocean’s salinity, so make sure to get the salt ratio right.

Step 2
Rinse the clams thoroughly under cold running water several times to remove any dirt or mud clinging to their shells. After rinsing, drain them in a colander for a moment. Then, place the rinsed clams into the prepared saltwater solution, ensuring they are fully submerged.

Step 3
Finally, cover the bowl completely with a dark plastic bag or lid to block out all light. Clams dislike bright light, and a dark environment encourages them to expel any grit or impurities. Keep the covered bowl in the refrigerator for 2 to 3 hours to allow them to purge slowly. After this time, you’ll have perfectly purged, delicious clams ready for your culinary creations. Now, whatever dish you make with these fresh clams will be exceptional!
