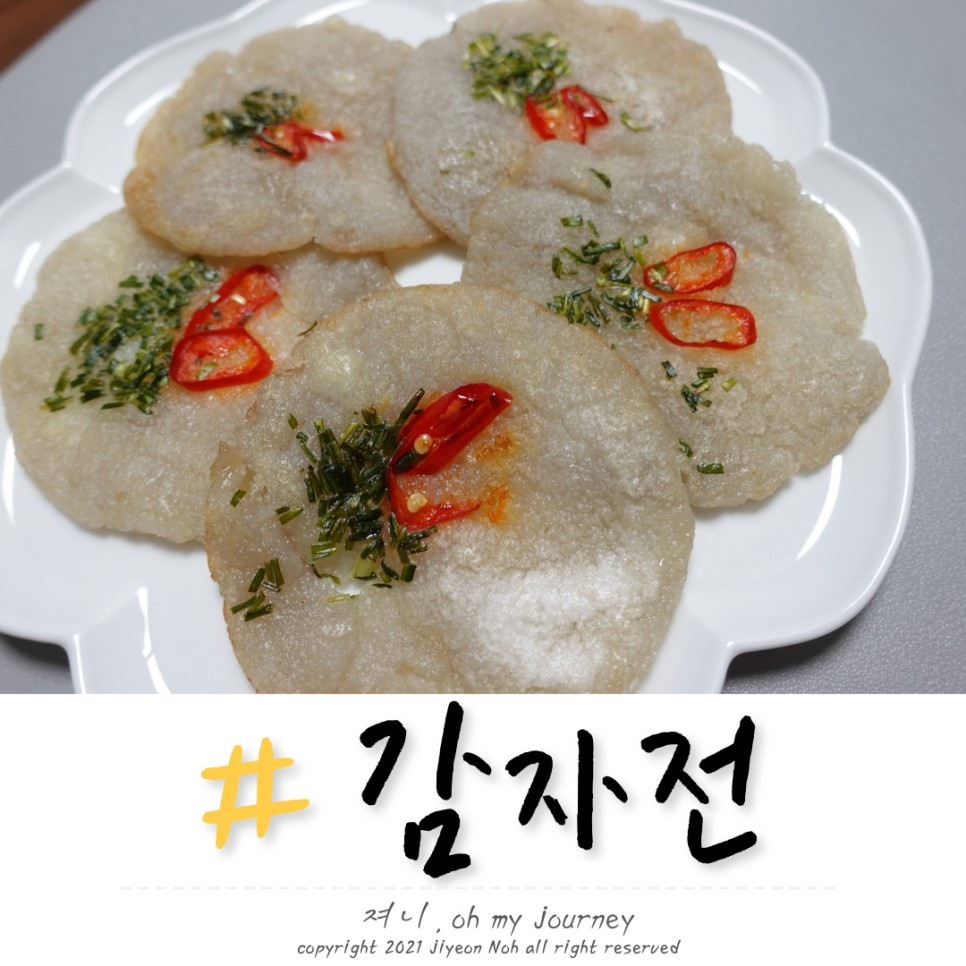
Chewy Potato Pancake (Gamja Jeon) Made with a Blender
Super Easy Blender Gamja Jeon: Achieving a Chewy Texture Without Flour!

Love that wonderfully chewy potato pancake that just melts in your mouth, but want to avoid using wheat flour or pancake mix? Making it is a breeze when you use a blender instead of a traditional grater, saving you significant time and effort. Experience the amazing texture of this incredibly easy yet delicious Blender Gamja Jeon!
Main Ingredients- 2 Potatoes (medium-sized)
- 300 ml Water
- 1/2 tsp Salt
- 2 Tbsp Cooking Oil
Garnish (Optional)- 6.5g Red Chili Pepper (approx. 1/4 pepper)
- 8g Chives (approx. a small handful)
- 6.5g Red Chili Pepper (approx. 1/4 pepper)
- 8g Chives (approx. a small handful)
Cooking Instructions
Step 1
First, thinly slice the red chili pepper diagonally for the garnish. It adds a beautiful pop of color to the potato pancake.

Step 2
Chop the chives into approximately 2-3 cm pieces. Their fresh aroma will enhance the flavor of the Gamja Jeon.

Step 3
Prepare the main ingredient: 2 potatoes. Since we’ll be blending them, peel the potatoes and cut them into manageable chunks (about 2-3 cm pieces). This size helps the blender work more efficiently.

Step 4
Potatoes alone might not blend smoothly in the blender. So, add the 300 ml of water along with the cut potatoes into the blender. The water will help the potatoes become smooth.

Step 5
Now, secure the blender lid tightly and blend until the potatoes are very finely pureed. It’s important to blend them until there are no lumps, achieving a smooth potato puree.

Step 6
The finely blended potato mixture has a tendency to separate into clear water and starchy sediment over time. This separation is key to achieving a chewy Gamja Jeon! We will use the sediment at the bottom, discarding the clear water on top.

Step 7
Place a fine-mesh sieve or cheesecloth over a deep bowl. This setup will allow the water to drain into the bowl below while the potato starch remains on top, making separation easy.

Step 8
Carefully pour the blended potato mixture from the blender onto the sieve. Let it sit for about 10 minutes to allow as much starchy water as possible to drain into the bowl. The thicker mixture remaining on the sieve will be used for the pancake.

Step 9
After 10 minutes, lift the sieve slightly. You should see clear water collected in the bowl beneath. Discard this water, as it’s excess moisture. (If a lot of starch seems to have drained out, you can collect the sediment from the bottom bowl and strain it again.)

Step 10
After discarding the water, you’ll have the thick potato pulp and the valuable potato starch that has settled at the bottom remaining on the sieve. This starch is our secret ingredient for achieving that wonderfully chewy texture without any flour!

Step 11
Gather the thick potato pulp and the settled potato starch from the sieve into the bowl. Use a spoon or spatula to thoroughly mix the starch and potato pulp, creating a cohesive batter.

Step 12
Finally, add the 1/2 teaspoon of salt and mix well to ensure the entire batter is evenly seasoned. Taste and add a pinch more salt if needed.

Step 13
It’s time to cook the Gamja Jeon! Add about 2 tablespoons of cooking oil to a frying pan and heat it over medium-high heat. A well-heated pan is crucial for a delicious pancake.

Step 14
Once the pan is sufficiently hot, ladle about one portion of the potato batter onto the pan and spread it into a round shape. Immediately reduce the heat to low to ensure the pancake cooks evenly and doesn’t burn.

Step 15
After adding the batter, use the back of a spoon or a spatula to spread it into a thin, even circle. Arrange the prepared red chili pepper slices and chives decoratively on top of the batter.

Step 16
It’s important to cook it slowly over low heat for a sufficient amount of time. This allows the outside to become golden and crispy while the inside becomes perfectly chewy. Cook each side for at least 3-4 minutes.

Step 17
When the bottom side of the Gamja Jeon is golden brown and the edges start to lift slightly, carefully flip it over. Use a spatula to gently press down on the pancake, ensuring the top side also cooks to a golden-brown crisp. Once both sides are perfectly cooked and golden, transfer it to a plate and enjoy!


