
Chewy Dried Mango Rice Bread
Making Chewy Rice Bread with Leftover Dried Mangoes

Don’t you have dried mangoes lying around at home? They can be a bit too sweet to eat as is! This recipe transforms those hard-to-manage dried mangoes into a delightful, chewy rice bread. The soft rice bread texture combined with the chewy mango bits makes for a truly satisfying treat. It’s a wonderful way to use up ingredients and enjoy a healthy, homemade bread.
Ingredients- 250g High-gluten rice flour
- 65g Dried mangoes
- 5g Unrefined sugar (sweetness adjustable)
- 8g Grapeseed oil
- 150g Water
- 1g Salt
- 3g Instant dry yeast
Cooking Instructions
Step 1
First, prepare the dried mangoes. Cut the dried mangoes into pieces slightly larger than bite-sized. If they are too small, you won’t get a satisfying chew, so cutting them a bit generously will allow you to fully enjoy the chewy texture of the mango. Feel free to adjust the size according to your preference.

Step 2
Let’s get to mixing the dough. If you have a bread maker or a stand mixer, using the dough function will be convenient. Start by adding 150g of water, followed by 250g of high-gluten rice flour. Then, add the yeast (3g), salt (1g), and unrefined sugar (5g) in different spots, making small indentations so the salt and yeast don’t touch directly. If you’re mixing by hand, knead the dough thoroughly for at least 15 minutes until it becomes smooth. Rice flour dough doesn’t develop gluten like wheat flour dough, so it won’t be as elastic; just knead until it forms a cohesive mass.

Step 3
Once the dough starts coming together as a cohesive mass, add the prepared dried mangoes and grapeseed oil (8g). Knead a little more. Incorporating the oil and mangoes at this stage will make the rice dough smoother and ensure the mangoes are evenly distributed, adding moisture to the bread. Knead for about 3-5 more minutes.

Step 4
If the dough has formed into one solid mass, gently knead it a few more times by hand to smooth out the surface. This will improve the bread’s texture. If the dough is too sticky, you can use a very small amount of extra rice flour as a dusting agent.

Step 5
Now it’s time to divide the dough. Divide the finished dough into four equal portions. This ensures that all the bread rolls will have a uniform size, making them visually appealing. Using a kitchen scale will help you divide them more accurately.

Step 6
Let’s shape the dough. Place the divided dough portions on a lightly floured surface. Use a rolling pin to flatten each portion into a rectangle, approximately 15×10 cm. Then, fold it into thirds, like folding a letter: fold the top third down, then the bottom third up. After folding, roll the dough up tightly like a sushi roll. Pinch the seam firmly to seal it. This shaping technique helps create a nice loaf shape and prevents it from opening up during baking.

Step 7
Rice flour bread only requires one proofing. To proof, place warm water in a styrofoam box or a large bowl. Set the bowl containing the dough inside the warm water. Cover with a lid or plastic wrap to create a warm environment, and let it proof for about 40 minutes. The dough is ready when it has roughly doubled in size. Be careful not to over-proof rice bread, as it can become gummy or dense.

Step 8
Once the dough has finished proofing, transfer it to a baking pan or place it on a baking sheet lined with parchment paper. Carefully place the dough into a preheated oven set at 180°C (350°F). Baking times and temperatures may vary slightly depending on your oven, so it’s a good idea to check on the bread periodically.

Step 9
Bake in the preheated oven at 180°C (350°F) for approximately 23 minutes. The bread is done when the top is golden brown and a skewer inserted into the center comes out clean. If the top is browning too quickly, you can loosely cover it with aluminum foil.

Step 10
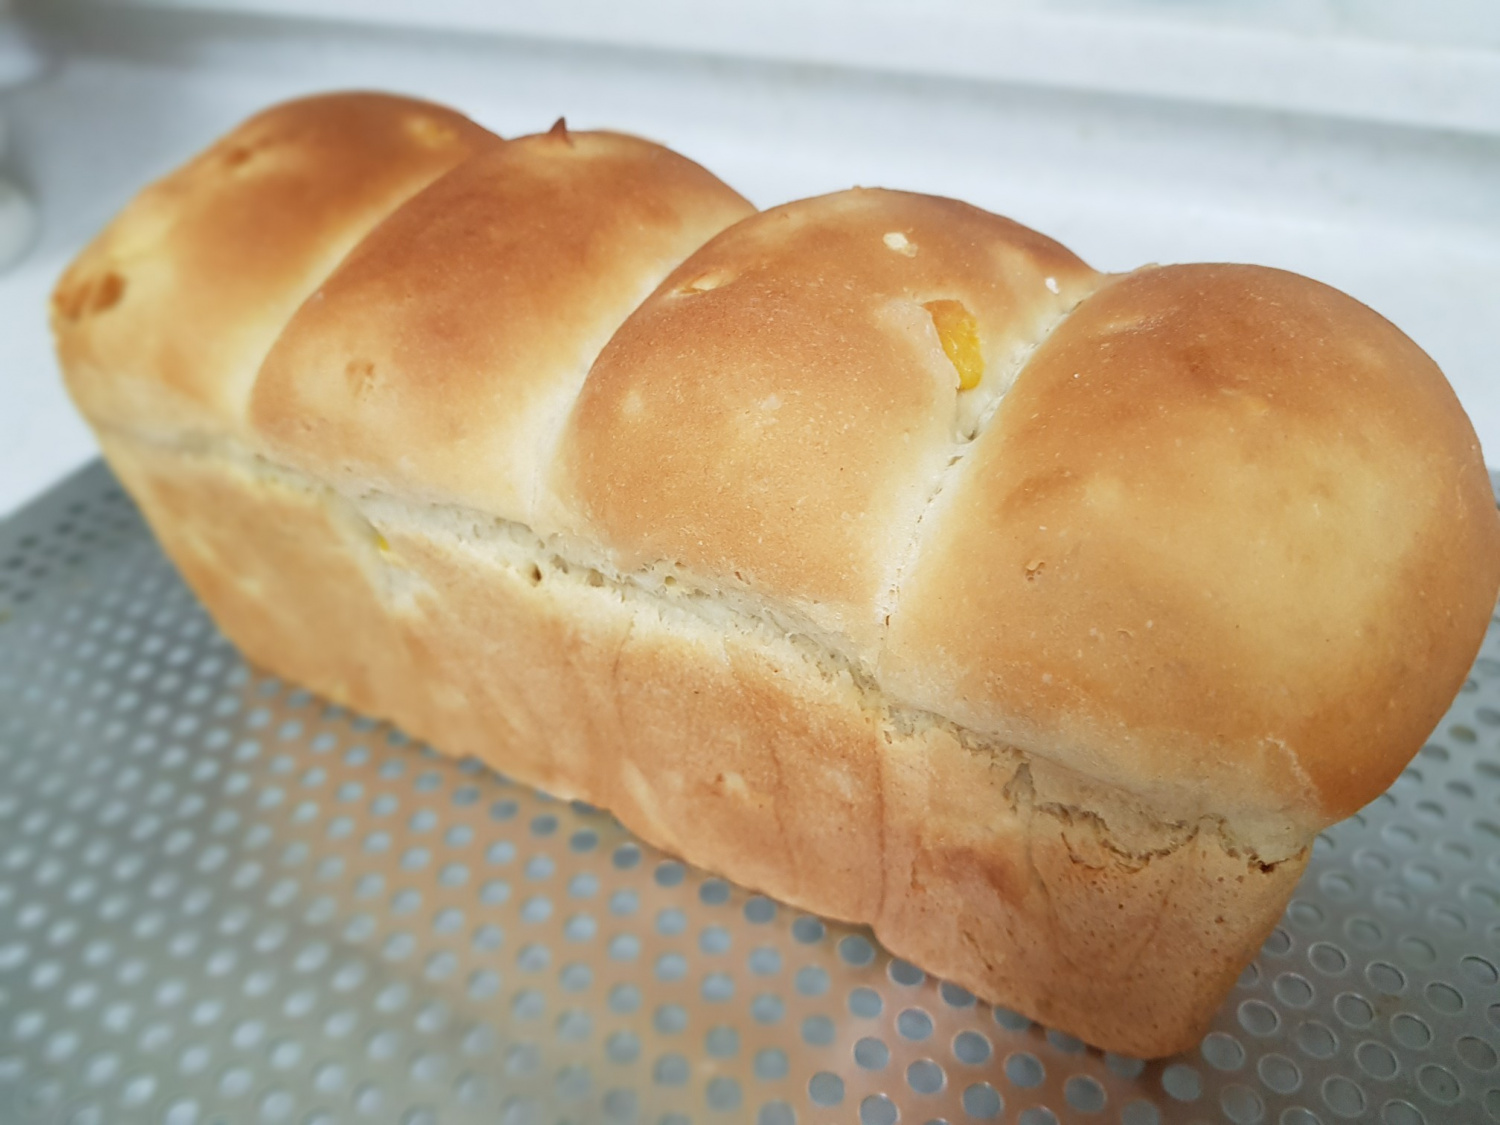
As soon as you remove the bread from the oven, gently tap the bottom of the loaf with your palm (‘thump, thump’). This helps release steam from the inside, preventing the bread from becoming soggy and making the crust crispier. Carefully remove the bread from the pan to prevent it from getting stuck.

Step 11
Voila! Your delicious dried mango rice bread is ready. It’s important to let the bread cool completely before slicing. Slicing it while hot can cause the inside to become mushy. Once fully cooled, use a bread knife for clean slices. However, for a more rustic experience, feel free to tear it apart by hand while it’s still warm – it’s incredibly delicious that way too! Enjoy the delightful combination of chewy mango and soft rice bread.
