
Chewy Chocolate Crinkle Cookies
Super Easy One-Bowl Recipe: Chocolate Crinkle Cookies (Exploding Cookies!)

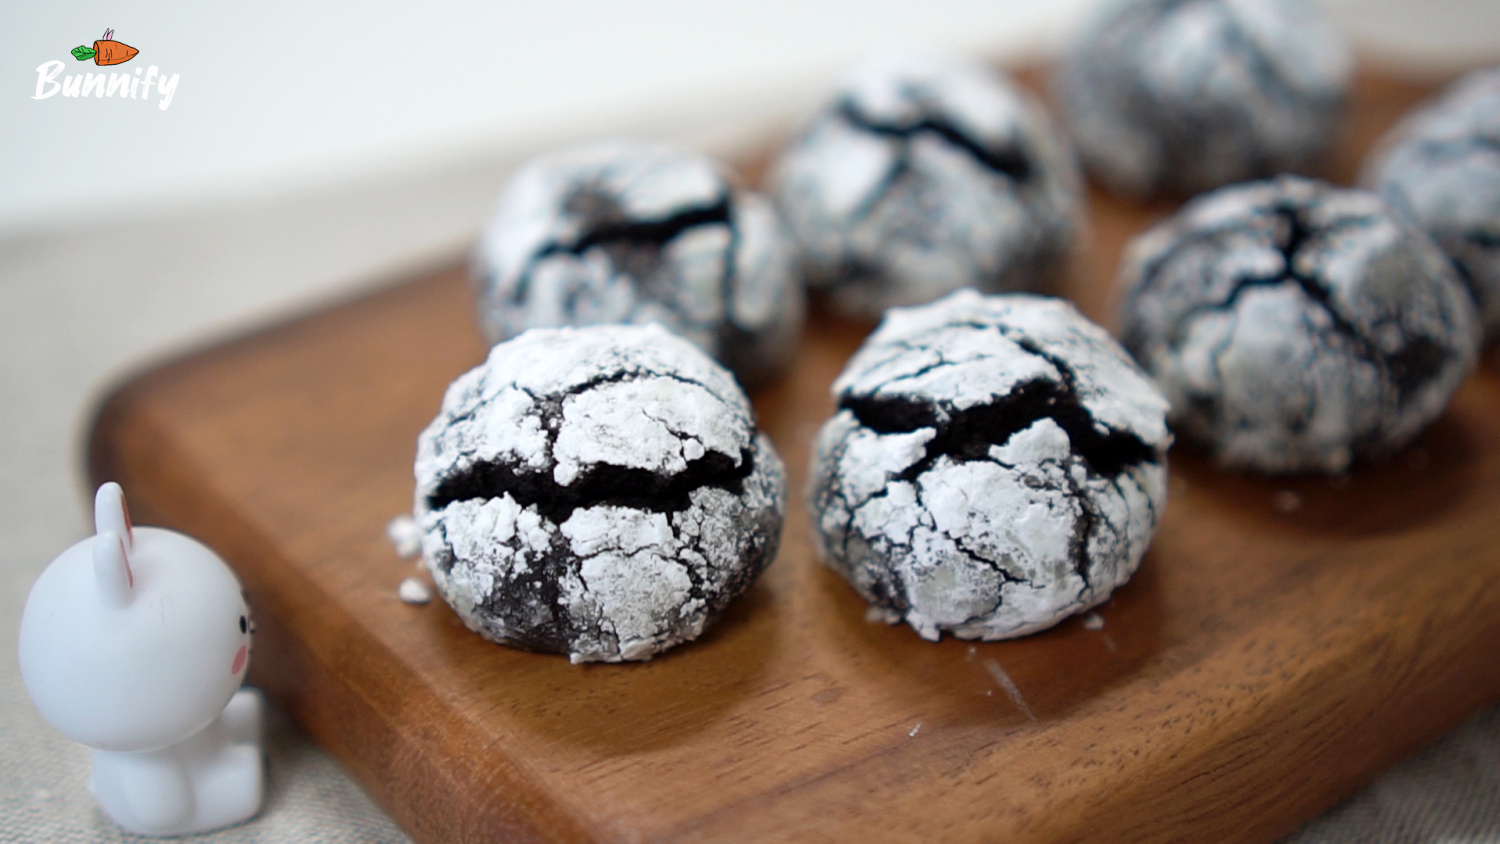
Experience the delightful texture of these chocolate crinkle cookies, boasting a crispy exterior and a wonderfully soft, chewy center. Their signature cracked appearance adds a touch of magic to every bite, making them a perfect treat for any occasion.
Ingredients (Makes approx. 18-20 cookies)- 50g unsalted butter, softened to room temperature
- 62g granulated sugar
- 55g egg (approx. 1 large egg), at room temperature
- 1/2 tsp vanilla extract
- 95g all-purpose flour
- 23g unsweetened cocoa powder
- 3g black cocoa powder (for a deeper color and flavor, optional)
- 3g baking powder
- 1g salt
Cooking Instructions
Step 1
Begin by creaming the softened unsalted butter in a bowl. Use a whisk or spatula to ensure it’s smooth and free of lumps, resembling a creamy consistency.

Step 2
Add the granulated sugar to the creamed butter. Whisk together until the mixture is light and pale, taking on an ivory color. This should take about 2-3 minutes and helps create a crispier cookie.

Step 3
Incorporate the room temperature egg and the aromatic vanilla extract. Whisk vigorously to combine everything smoothly. Ensure the egg is fully incorporated and the mixture is homogenous, preventing any separation.

Step 4
In a separate bowl, sift together the all-purpose flour, unsweetened cocoa powder, black cocoa powder (if using), baking powder, and salt. Sifting prevents lumps and ensures even distribution of ingredients. Add the sifted dry ingredients to the wet ingredients. Using a spatula, gently fold the ingredients together with a cutting motion until just combined and no dry flour streaks remain. Be careful not to overmix, as this can lead to tough cookies.

Step 5
Gather the dough together into a cohesive ball using your spatula or hands. It’s ready when it all comes together and no dry flour is visible.

Step 6
Wrap the dough tightly in plastic wrap or cover the bowl with plastic wrap. Refrigerate for at least 30 minutes to 1 hour. Chilling the dough makes it easier to handle and helps the cookies maintain their shape and develop their signature cracks.

Step 7
Once chilled, divide the dough into portions of approximately 15g each (you can adjust the size as you prefer). Roll each portion between your palms to form smooth, round balls.

Step 8
Roll each dough ball first in the remaining granulated sugar (from the ingredient list) to coat its surface evenly. Then, roll the sugared balls in powdered sugar (separately prepared) until they are generously coated. This double coating is key to achieving the beautiful crinkled effect after baking.

Step 9
Preheat your oven to 180°C (350°F). Place the prepared cookie balls onto a baking sheet lined with parchment paper, leaving some space between them. Bake for 10 to 12 minutes. Baking times and temperatures can vary depending on your oven, so keep an eye on them. The cookies are ready when the edges look slightly set. You should see a lovely cracked pattern emerge on top.

Step 10
Carefully remove the cookies from the oven and let them cool on the baking sheet for about 3 minutes. Then, gently transfer them to a wire rack to cool completely. This cooling process is essential for achieving the perfect crispy exterior and chewy interior.

Step 11
Enjoy your delicious homemade chocolate crinkle cookies! They are wonderful served with a glass of milk or a warm cup of coffee.
