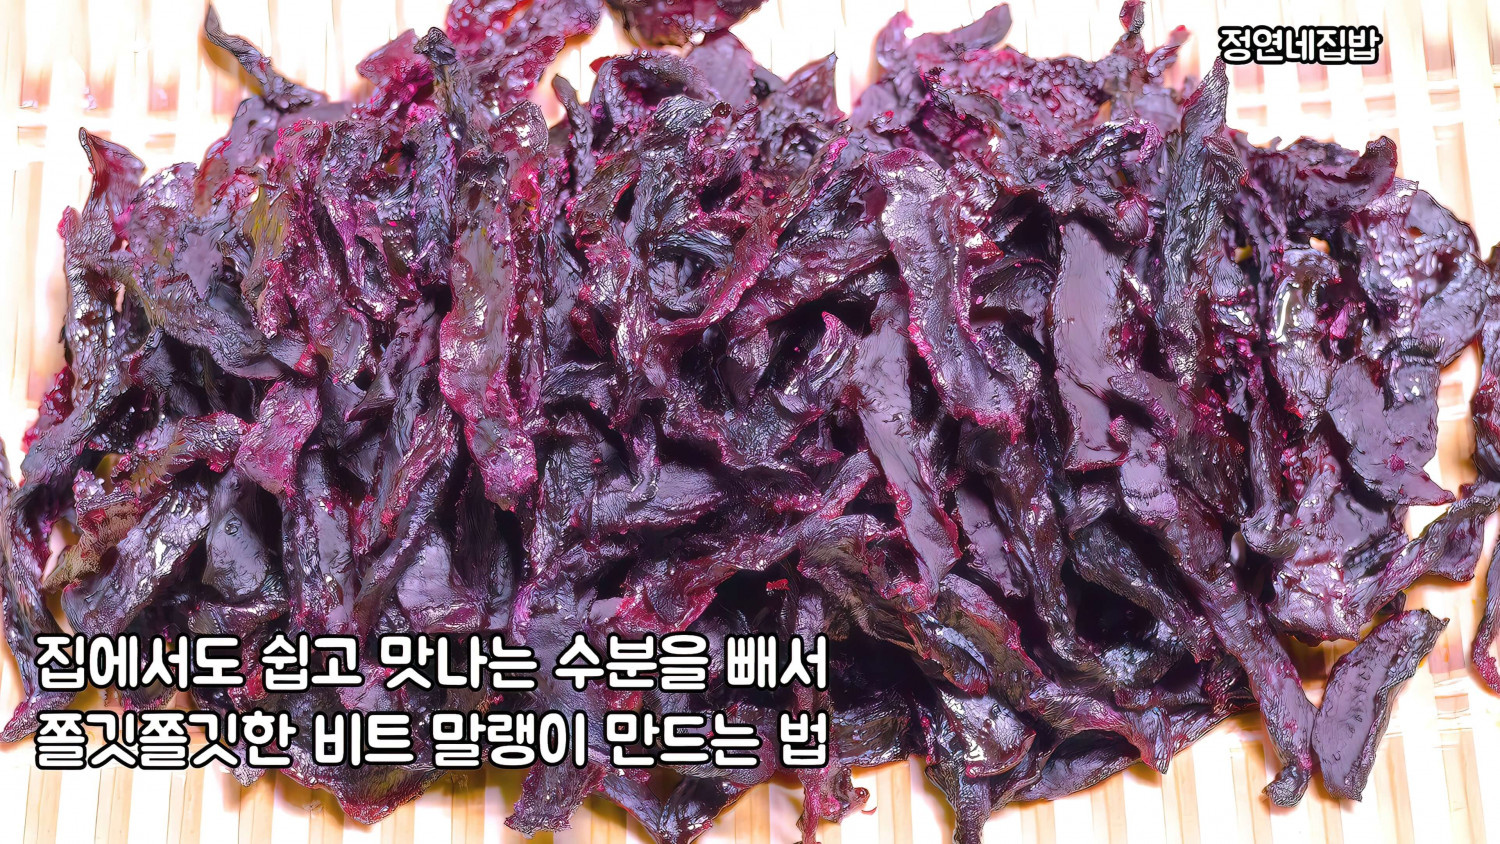
Chewy and Sweet Beet Jerky
How to Easily Make Delicious Beet Jerky at Home: Removing Moisture for a Chewy Treat

Using nutrient-rich beets, we’ll remove moisture and utilize a steamer and dehydrator with sugar to create chewy and soft beet jerky. Enjoy a natural sweetness and satisfying chewiness without artificial flavors. A healthy snack perfect for all ages.
First Ingredients to Remove Moisture from Beet Jerky- 2.5kg Beets
- 400g Sugar (approx. 2 paper cups)
Ingredients for Making Beet Jerky- 400g Sugar (approx. 2 paper cups)
- 400g Sugar (approx. 2 paper cups)
Cooking Instructions
Step 1
① Prepare and Dehydrate Beets: Start by preparing 2.5kg of fresh beets. Trim off the top and bottom ends of each beet, then peel them thoroughly using a vegetable peeler. Slice the peeled beets into moderate thickness – not too thin, not too thick. Place the sliced beets and 400g of sugar (about 2 paper cups) in a wide container. Use a stone or a heavy bowl to press down firmly on the beets, ensuring they are submerged in sugar and don’t float. This process utilizes osmosis to draw out the beet’s moisture. Let it sit and mature for one day to effectively remove excess water.

Step 2
② Steam and Prepare for Dehydration: Transfer the moisture-reduced beets to a colander and rinse them lightly under running water. Line a steamer with cheesecloth for easy handling, then steam the beets for about 10 minutes. Beets that have been steamed will still contain a lot of moisture, so the first stage of dehydration in a dehydrator is crucial for 3 hours. Set the dehydrator temperature to 70°C (158°F). To ensure even and faster drying, flip the trays and beets every 1-2 hours. Tip: Lining the dehydrator trays with parchment paper, leaving the area around the air vents clear, makes cleaning much easier.

Step 3
③ Second Dehydration and Jerky Completion: After the initial 3-hour drying period, remove the beets from the dehydrator and evenly coat them with the remaining 400g of sugar (approx. 2 paper cups). *Important*: Simply dehydrating once with sugar may cause it to drip. It’s essential to perform the first dehydration step *before* adding sugar and proceeding to the second drying phase. Return the sugar-coated beets to the dehydrator and dry for approximately 8 more hours. To prevent sticking and ensure the jerky doesn’t break apart while drying evenly, swap the dehydrator trays and separate the beets every 2-3 hours. Although it requires some effort, this careful process will result in delicious beet jerky. The sugar will absorb into the beets during drying, making them naturally sweet rather than overly sugary, so don’t worry too much. Drying for 8 hours with the dehydrator will yield chewy beet jerky. If the weather is humid, using a dehydrator is highly recommended over air-drying.

Step 4
④ Enjoy Your Finished Beet Jerky: Once the 8-hour drying process is complete, remove the beet jerky from the dehydrator. Store it in an airtight container to enjoy for a long time. It’s also a great portable snack for hikes or outings. Since beets are naturally high in moisture, transforming them into healthy and tasty jerky is a wonderful way to enjoy them. We highly recommend trying this recipe!


