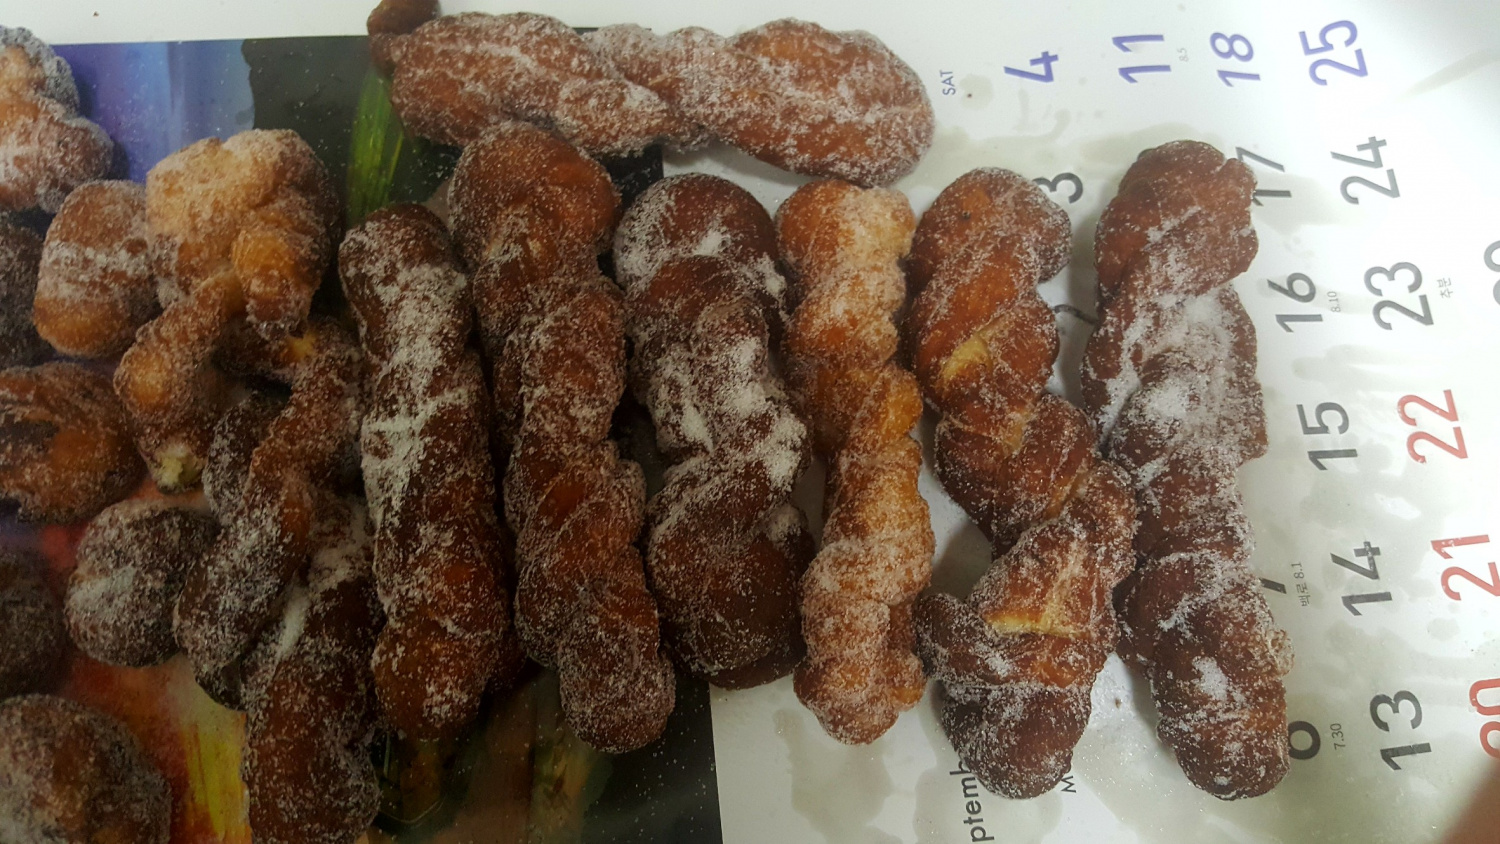
Chewy and Delicious Twisted Doughnuts (Gwabaegi)
Homemade Chewy Gwabaegi Recipe

Introducing a recipe for homemade chewy gwabaegi that is even more delicious when made yourself! Here’s how to make this sweet treat that everyone, young and old, loves, without fail!
Dough Ingredients- 300g Bread flour (strong flour)
- 110g Warm water
- 1 Large egg (room temperature)
- 40g Sugar
- 20g Vegetable oil
- 7g Active dry yeast
- 3g Salt
- Plenty of frying oil (approx. 400g)
Sugar Glaze (Optional)- 50g Sugar
- 2g Ground cinnamon (adjust to taste)
- 50g Sugar
- 2g Ground cinnamon (adjust to taste)
Cooking Instructions
Step 1
In a large bowl, add 300g of bread flour. Create three small wells around the edges of the flour. These wells will be used to hold the yeast, sugar, and salt separately, which helps to activate the yeast effectively.

Step 2
In one well, place 40g of sugar. In another well, add 3g of salt. In the last well, put 7g of active dry yeast. Be careful not to let the yeast come into direct contact with the salt. First, mix the sugar and salt with the surrounding flour individually. Then, combine everything, including the yeast, and mix to incorporate all ingredients.

Step 3
Pour 110g of warm water into the mixture. The water should be warm to the touch, not hot – comfortable for your fingers.

Step 4
Lightly beat 1 egg and add it to the dough. Using a spatula, mix everything together until no dry flour is visible. Don’t worry if the dough looks lumpy at this stage.

Step 5
Once the dough starts to come together into a cohesive mass, transfer it to a clean work surface. Knead the dough by hand for 5 minutes. This process of stretching and folding develops the gluten, which is key for a chewy texture.

Step 6
Shape the kneaded dough into a smooth ball and place it back into a clean bowl.

Step 7
Cover the top of the bowl tightly with plastic wrap or a lid. Let the dough undergo its first proof in a warm, draft-free spot for about 20 minutes. You should see the dough begin to puff up.

Step 8
After the first proof, add 20g of vegetable oil to the dough and gently knead it in with your hands. The oil will be absorbed, making the dough even smoother and softer.

Step 9
To enhance the proofing process, cover the bowl with plastic wrap again. Place a cup of hot water inside your microwave, then place the dough bowl inside the microwave. Close the door and let it proof for 1 hour. This warm, humid environment is ideal for fermentation.

Step 10
After 1 hour, gently poke the center of the dough with your finger. If the indentation holds its shape or slowly springs back, the dough has proofed well. If it collapses completely or shows no change, allow it to proof for a little longer.

Step 11
Transfer the well-proofed dough to your work surface. Use a dough scraper or knife to divide the dough into 8 equal portions. Ensure each piece is roughly the same size for even frying.

Step 12
Shape each portion of dough into a round ball. Cover them with a damp cloth or plastic wrap and let them rest for 15 minutes for a short, intermediate proof. This step makes the dough more pliable.

Step 13
Gently flatten each rested dough ball into a thin disc using your palm. Aim for a thickness of about 0.5 cm (approximately 1/5 inch).

Step 14
Fold the flattened dough lengthwise, then pinch the edges together firmly to seal. Be gentle so the dough doesn’t tear.

Step 15
Gently roll the dough between your hands to lengthen it, then twist it into the classic gwabaegi shape. Twist one half in one direction and the other half in the opposite direction. Then, pinch the ends together securely to form the twisted shape.

Step 16
Cover the shaped gwabaegi with plastic wrap and let them proof for a final 45 minutes. While the gwabaegi are proofing, heat a generous amount of frying oil in a pot over medium-low heat. Once the oil is at the right temperature, carefully place the gwabaegi in the hot oil. Fry them until golden brown, turning them frequently to ensure even cooking. While still hot, roll the fried gwabaegi in the mixture of sugar and cinnamon for a delicious finish!


