
Chewy and Crispy Golden Lotus Root Jangjorim Recipe
Sweet and Salty! The Ultimate Lotus Root Jangjorim Recipe: Making Crispy and Chewy Side Dish for Rice

Lotus root is rich in dietary fiber, excellent for preventing constipation and aiding in weight loss. It’s also packed with Vitamin C and potassium, which help boost immunity and regulate blood pressure. Furthermore, the antioxidants in lotus root contribute to maintaining healthy skin. This versatile ingredient makes a delicious side dish! Lotus roots come in long, slender ‘male’ types, good for salads due to their crisp texture, and shorter, plumper ‘female’ types, with more starch for a chewier texture ideal for braising. However, either type works well, and you can even mix them. If you’re using pre-cooked lotus root, you can skip the blanching step to remove bitterness. Adjust the thickness and boiling time to achieve your desired level of crispness and chewiness. This sweet and salty braised lotus root is a rice-eating champion! A batch disappears in just two days. Let’s get started with this golden lotus root jangjorim recipe!
Ingredients- Lotus root 400g (approx. 2 roots)
- 2 Tbsp cooking oil
- 150ml water
- 2 Tbsp sugar
- 4 Tbsp soy sauce
- 2 Tbsp mirin (rice wine)
- 2 Tbsp corn syrup (or rice syrup)
- 1 Tbsp sesame oil
- A pinch of toasted sesame seeds
Cooking Instructions
Step 1
If your lotus root is muddy, wash it thoroughly under running water. Then, use a peeler to remove the skin. (The lotus root shown in the picture is the long, slender ‘male’ type.)

Step 2
Trim off the unsightly ends of the lotus root and slice it into uniform pieces about 6-7mm thick. You can adjust the thickness to your preference: thinner slices will be softer and slightly crisp, while thicker slices will be chewier and more robust. I prefer a chewy texture, so I’ve sliced mine to 6-7mm. Lotus root can brown quickly after peeling, so start boiling water simultaneously as you begin peeling and slicing.

Step 3
Immediately place the sliced lotus root into boiling water with a splash of vinegar and boil for about 10 minutes. This step is crucial for removing any bitterness from the lotus root. If you are using pre-cooked or boiled lotus root purchased from a store, you can skip this blanching process. You can proceed directly with braising, or lightly boil it first before braising.

Step 4
After blanching for 10 minutes, drain the lotus root using a sieve. Rinse it under cold running water about twice to remove excess starch and then drain thoroughly. Rinsing in cold water helps enhance the crispness of the lotus root.

Step 5
Heat a pan over medium-low heat. Add the drained lotus root and 2 tablespoons of cooking oil. Stir-fry for about 3 minutes. Lightly sautéing the lotus root in oil makes the final dish chewier and prevents it from breaking apart easily.

Step 6
Now, add 150ml of water, 2 tablespoons of sugar, 4 tablespoons of soy sauce, 2 tablespoons of mirin, and 2 tablespoons of corn syrup to the pan. Stir well to combine. Braise the mixture for about 15 minutes, stirring occasionally, to allow the flavors to penetrate the lotus root.

Step 7
After about 15 minutes of braising, when the lotus root has taken on a nice color and the sauce has reduced by more than half,

Step 8
Add an additional 2 tablespoons of corn syrup. Continue to stir and cook until the sauce reaches your desired consistency. The corn syrup will add a glossy finish and extra chewiness.

Step 9
For a very chewy lotus root dish with no excess liquid, keep stirring and cooking until the sauce becomes thick and forms a ‘string’ when lifted, as shown in the picture. Stir-frying until it’s this thick and slightly sticky will prevent the dish from becoming watery when stored in the refrigerator.

Step 10
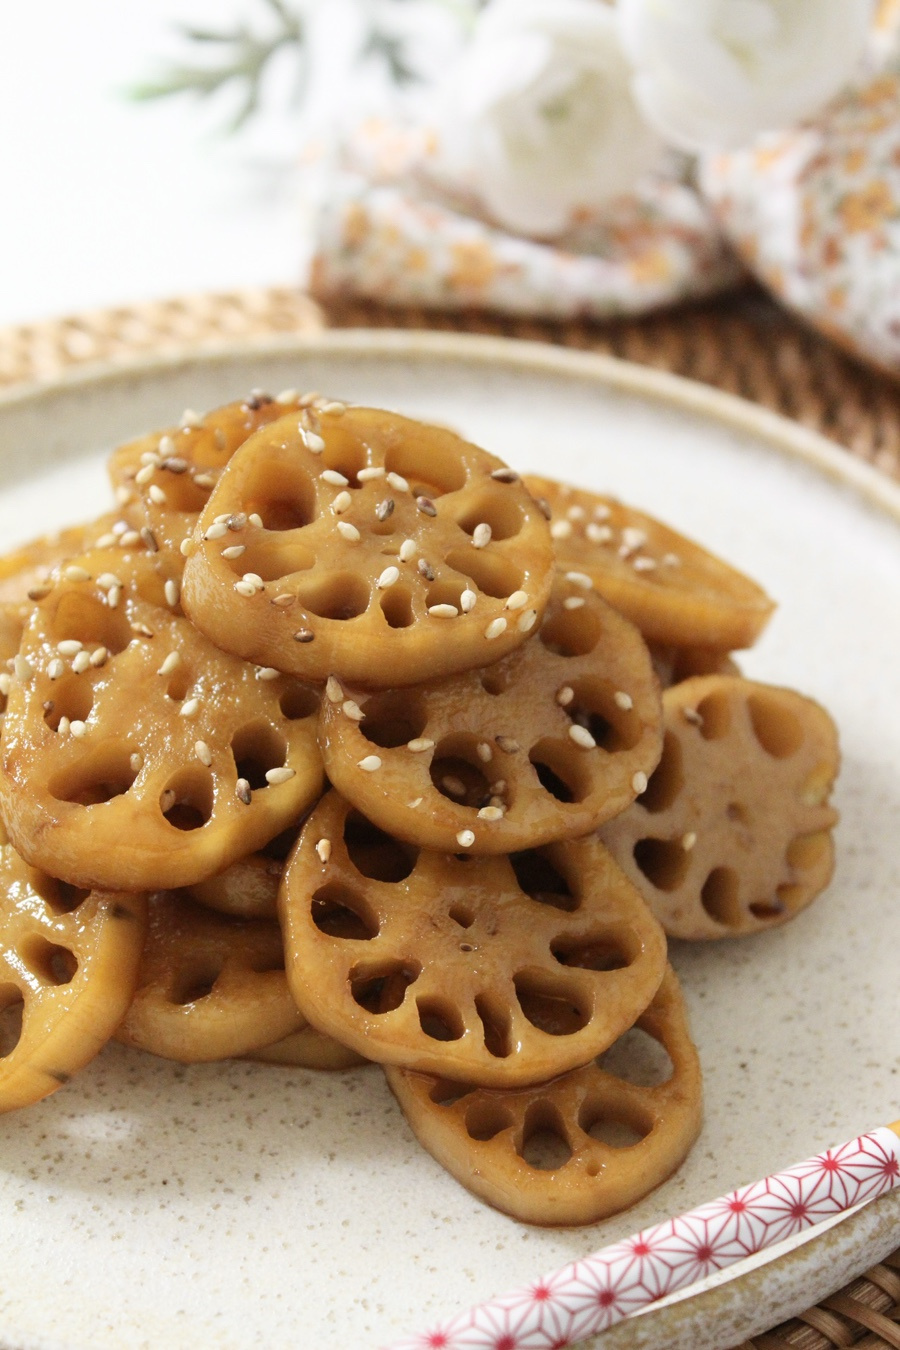
Once the lotus root jangjorim is reduced to your desired consistency, turn off the heat. Drizzle in 1 tablespoon of sesame oil and gently toss to finish. Sprinkle with toasted sesame seeds for garnish.
