
Chewy and Crispy Delicious Braised Burdock Root Recipe
The Best Side Dish for Homemade Meals! The Secret to Delicious Gimbap Burdock Strips Revealed

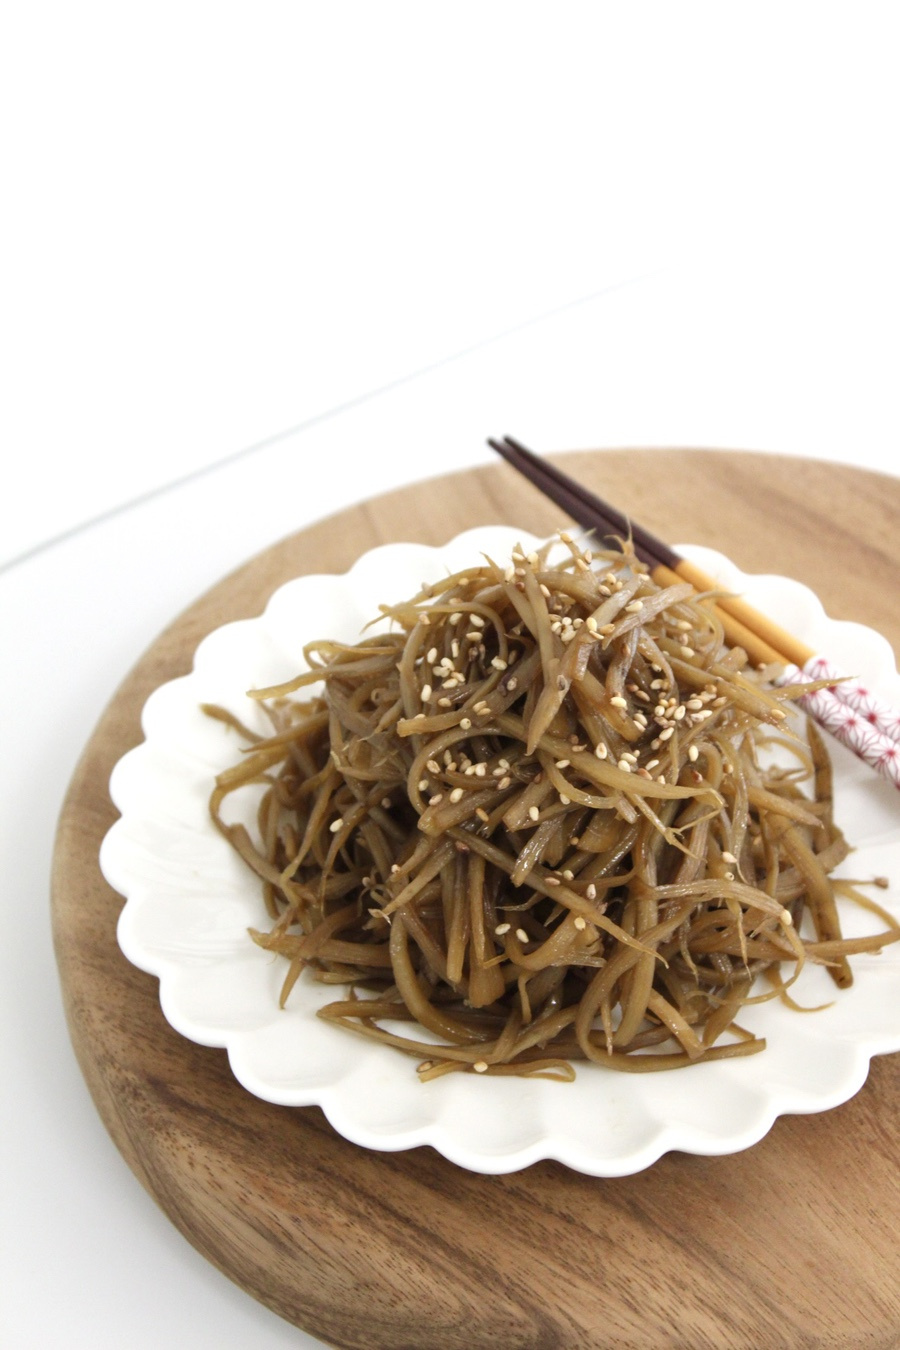
Burdock root stir-fried to perfection is not only a delicious side dish that complements any meal but also an essential ingredient for gimbap! This recipe uses oligodang (corn syrup) instead of sugar to achieve a chewy yet crisp texture without stickiness. We’ll guide you through each step, including how to blanch the burdock root to reduce bitterness for those sensitive to it. Using anchovy broth and kelp adds a deep umami flavor, resulting in a perfectly dry and crisp stir-fried burdock that isn’t mushy. Let’s get started!
Main Ingredients- Burdock root: 2 pieces (approx. 400g)
- Canola oil: 1 Tbsp (for stir-frying)
- Sesame oil: 1 Tbsp (for stir-frying)
- Soy sauce: 6 Tbsp
- Sugar: 1 Tbsp
- Anchovy-Kelp Broth: 500ml (500ml water + 1 cube anchovy-kelp stock)
- Dried kelp piece: 1
- Oligodang (corn syrup): 2 Tbsp
- Sesame oil: 1 Tbsp (for finishing)
Cooking Instructions
Step 1
First, thoroughly wash the burdock root. Then, use a peeler or a knife to thinly peel the skin. Peeling helps reduce any earthy smell and contributes to a softer texture.

Step 2
Immediately after peeling, place the burdock root in water with a little vinegar. This prevents browning when exposed to air and helps remove the characteristic astringent and bitter taste. Keep it submerged in the vinegar water until you are ready to julienne it.

Step 3
Julienne the burdock root into uniform strips, about 0.3cm thick. Using a mandoline slicer will make this process quick and consistent. Alternatively, you can slice it thinly on an angle with a knife and then julienne. Once cut, immediately return the julienned burdock to the vinegar water to prevent browning.

Step 4
When you remove the burdock from the vinegar water, you’ll notice the water has turned brown. This indicates that the soil and bitter compounds have leached out of the burdock, a fascinating and crucial step for achieving delicious braised burdock.

Step 5
Discard the brown vinegar water. Gently rinse the now pale burdock strips under running cold water. Drain thoroughly in a colander before proceeding to the cooking stage.

Step 6
Heat a pot over medium-low heat. Add 1 Tbsp of canola oil and 1 Tbsp of sesame oil, then add the drained burdock strips and stir-fry. Cooking over medium-low heat prevents burning and ensures even cooking.

Step 7
Stir-fry for about 2-3 minutes until the burdock is coated with oil, looks glossy, and becomes slightly tender. This preliminary stir-frying significantly improves the final texture of the braised burdock.

Step 8
Add 6 Tbsp of soy sauce, 1 Tbsp of sugar, and 500ml of anchovy-kelp broth to the stir-fried burdock. While you can use plain water, using broth will result in a richer, deeper umami flavor. (Dissolving 1 cube of anchovy-kelp stock in water is also a convenient option.)

Step 9
Add the piece of dried kelp and bring the mixture to a boil over high heat. Once boiling, reduce the heat to medium and simmer for about 10-15 minutes. The kelp adds an extra layer of umami to the broth.

Step 10
During the simmering process, stir the burdock occasionally to prevent sticking. Continue cooking until the liquid has reduced significantly. It’s important to cook it long enough for the bitterness to dissipate and the flavors to meld.

Step 11
After simmering for approximately 10-13 minutes, when the liquid has almost evaporated, remove and discard the piece of kelp. Leaving the kelp in for too long can impart a bitter taste.

Step 12
Now, add 2 Tbsp of oligodang to add sweetness and a glossy finish. Stir well to combine with the burdock. Oligodang provides a milder sweetness and shine compared to sugar, making the dish even more appealing.

Step 13
Continue stir-frying, mixing well to ensure the oligodang is evenly distributed and absorbed by the burdock. Cook until all the liquid has evaporated and the burdock is thoroughly dry. This step is key to achieving its signature crispiness.

Step 14
Finally, drizzle in 1 Tbsp of sesame oil and give it a final toss. This adds a wonderful nutty aroma, completing your delicious braised burdock. Let it cool slightly before storing in an airtight container in the refrigerator for longer shelf life.
