
Chewy Acorn Jelly (Dotorimuk)
Homemade Acorn Jelly Recipe

Acorns, a seasonal delicacy from September to December, are commonly enjoyed as jellies made from acorn powder. Acorn jelly is hydrating and low in calories, making it a good choice for those on a diet. However, it contains tannins, so consuming it in moderation is recommended to avoid potential constipation. Learn how to easily make this healthy and delicious jelly at home.
Main Ingredients- 1 cup Acorn Flour (using a standard Korean paper cup, approx. 100g)
- 1000ml Cold Water (5 cups)
- 1/2 tsp Salt
Cooking Instructions
Step 1
Prepare a wide, thick-bottomed pot. In the pot, combine 1 cup of acorn flour (measured with a Korean paper cup), 1000ml of cold water (5 cups), and 1/2 teaspoon of salt. Use a whisk or spatula to mix thoroughly until no lumps remain. It will look watery at first, but ensure it’s well combined.

Step 2
Place the pot over low heat. It’s crucial to continuously stir with a spatula, scraping the bottom of the pot, without stopping. Acorn jelly can easily scorch, so controlling the heat and constant stirring are key.

Step 3
As you stir, the mixture will gradually start to thicken. Continue to stir diligently with the heat kept low to prevent the jelly from sticking to the bottom of the pot. The mixture will become denser and develop its characteristic chewy texture.

Step 4
You’ll notice the jelly turning a rich, deep brown color, and small bubbles (‘ppogeul-ppogeul’) will start to appear from the bottom of the pot. Once this happens, continue to stir slowly over low heat for about 10 more minutes. Cooking it thoroughly will result in a more perfectly chewy jelly. Turn off the heat after 10 minutes.

Step 5
Prepare a square mold or container. Lightly grease the inside of the mold with cooking oil, or line it with plastic wrap or parchment paper. If using plastic wrap, apply a thin layer of oil on top of the wrap as well. This prevents the jelly from sticking, ensuring a clean release later.

Step 6
Carefully pour the warm acorn jelly mixture into the prepared mold. Gently smooth the surface with a spatula. Let it set at room temperature for about half a day (approximately 4-6 hours) until firm. It’s best to let the mixture cool slightly before pouring into the mold to avoid melting the plastic wrap. Wait for it to completely set in a cool place.

Step 7
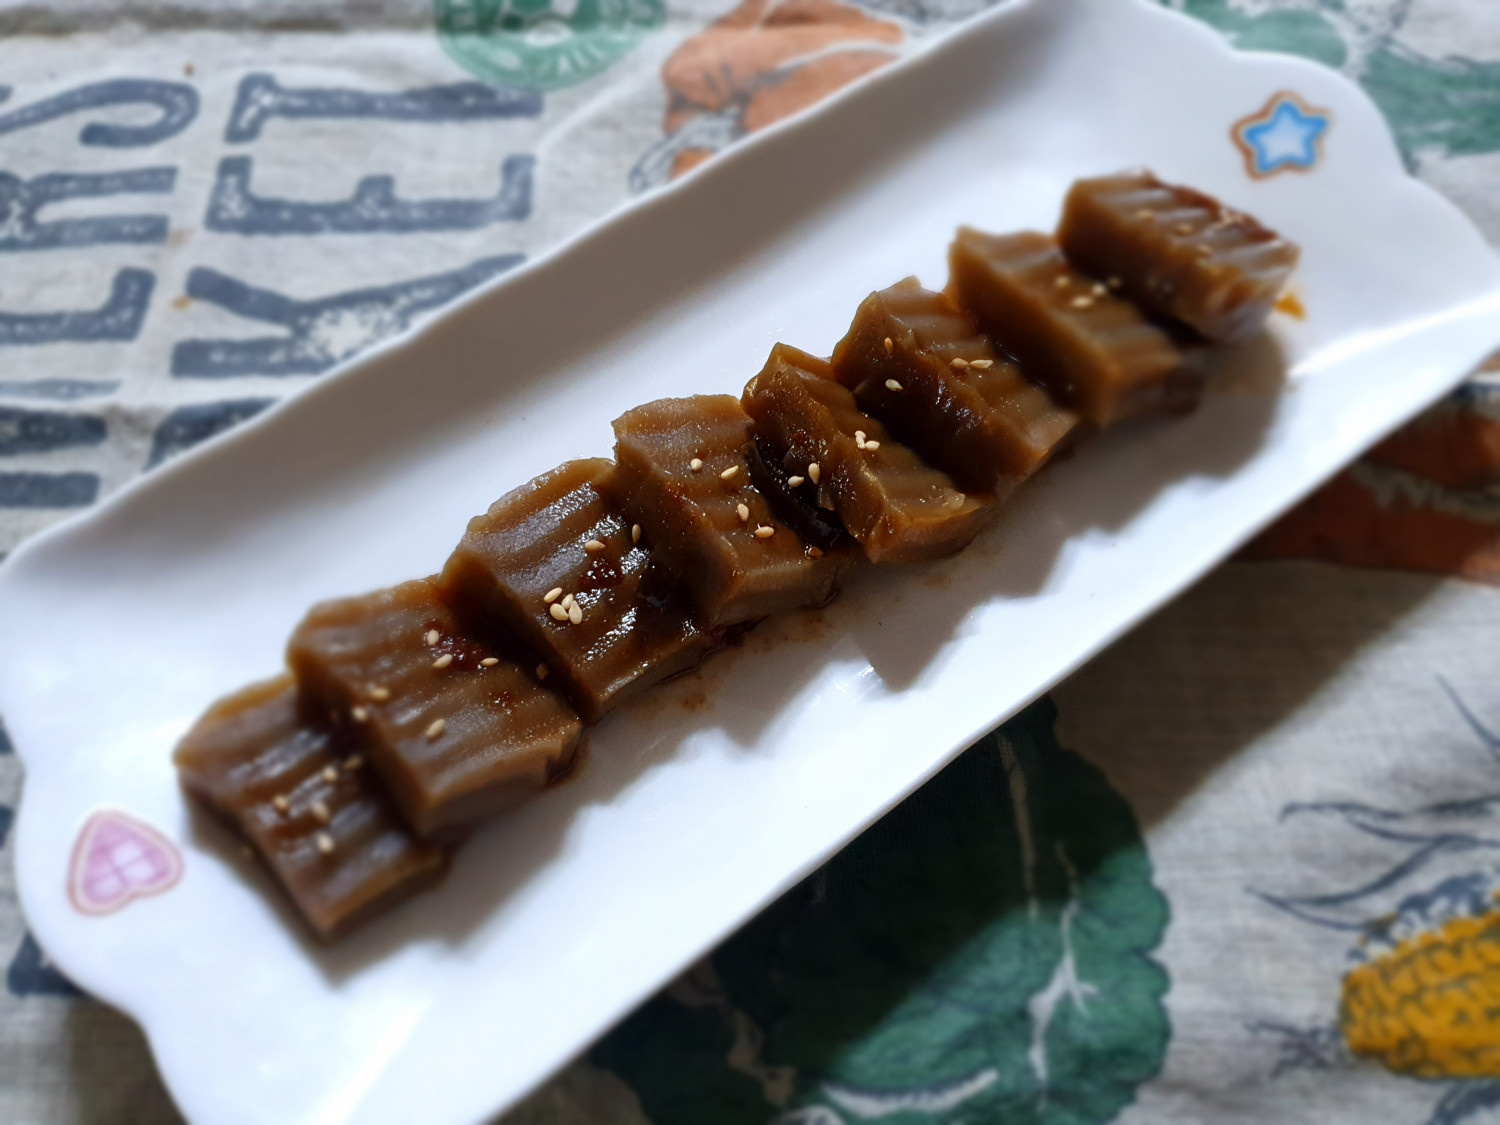
The finished acorn jelly can be sliced and served with a dipping sauce, but to remove any astringent or puckering taste characteristic of acorns, it’s beneficial to soak it in cold water. Fill a bowl with plenty of cold water and submerge the set acorn jelly for about 30 minutes to an hour. When the water turns a light, barley-tea color, the astringency has been removed. Drain the water, then slice the acorn jelly into desired pieces and enjoy!
