
Cheongnyang Pepper Menbosha
Spicy & Crispy Menbosha with Cheongnyang Peppers (feat. Fried Toast)

This recipe focuses on creating a non-greasy, spicy Menbosha. By adding Cheongnyang peppers, you can enjoy a delightful kick of heat. While it requires a bit of effort, making a large batch and freezing it means you can enjoy this delicacy anytime. It’s perfect as a bar snack or an impressive dish to serve guests on special occasions.
Menbosha Filling Ingredients- 8 slices of bread
- 20 medium cocktail shrimp
- 1 king oyster mushroom
- 1/8 head of cabbage
- 1 medium onion
- 1 green onion
- 1 egg white
- 2 Tbsp minced garlic
- 3-5 Cheongnyang peppers (adjust to taste)
- 2 Tbsp starch
- 1/2 Tbsp salt
- 1/2 Tbsp black pepper
- Generous amount of cooking oil for frying (approx. 1L)
Fried Toast Ingredients (Optional)- 5 Tbsp sugar
- 5 Tbsp sugar
Cooking Instructions
Step 1
Here are the ingredients for our spicy Menbosha. We’ll need bread for the crispy exterior, shrimp for the succulent filling, king oyster mushrooms, cabbage, onion, and green onions for texture and flavor. Egg white will help bind the filling, while minced garlic, salt, pepper, and starch will season and thicken it. Don’t forget plenty of cooking oil for frying! Feel free to adjust the filling ingredients to your preference.

Step 2
First, let’s prepare the bread. We won’t be using the crusts for the Menbosha filling itself. Instead, set them aside as we’ll be using them later to make delicious fried toast. So, keep those crusts!

Step 3
Once the crusts are removed, cut each slice of bread into 4 equal pieces. These will form the base and top of your Menbosha sandwiches.

Step 4
For the filling, we’ll finely mince the shrimp. Peel and devein about 20 medium cocktail shrimp, then chop them as finely as possible, aiming for pieces around 0.1cm x 0.1cm. You can use different sizes of shrimp or fresh raw shrimp, but the finer you chop, the smoother the texture of your filling will be.

Step 5
Cabbage adds a wonderful crispiness to the filling. Finely dice about 1/8 of a head of cabbage into pieces around 0.2cm x 0.2cm. This ingredient really enhances the overall texture, so it’s highly recommended!

Step 6
Now, gather all your minced shrimp and vegetables in a large bowl. This will make it easier to mix and mash everything together by hand.

Step 7
Next, finely dice one king oyster mushroom into pieces about 0.2cm x 0.2cm. This adds a nice chewiness and savory flavor, but it’s an optional ingredient, so you can omit it if you prefer.

Step 8
For an easy way to chop onions, please refer to the linked video for a helpful technique. (Insert video link here if available)

Step 9
Dice one medium onion into pieces around 0.2cm x 0.2cm. Along with the cabbage, onion is a crucial ingredient for a flavorful and texturally pleasing filling. Be sure to include it!

Step 10
Finely chop one green onion into small pieces, about 0.2cm x 0.2cm. Chopping the vegetables finely is important because bread fries quickly. Small pieces ensure the filling cooks through completely without the bread burning.

Step 11
Here’s the star for that spicy kick: Cheongnyang peppers! They cut through the richness often found in Menbosha, adding a delightful heat. Use 3 to 5 peppers, depending on your spice preference. If you love heat, go for 5!

Step 12
In the large bowl with the minced shrimp and vegetables, add 2 tablespoons of minced garlic, 1/2 tablespoon of salt, and 1/2 tablespoon of black pepper. Then, add the white from one egg. The egg white helps to bind the ingredients together and creates a softer texture.

Step 13
Now, it’s time to get your hands in there! Mix and mash the ingredients together with your hands for about 2-3 minutes. You want to develop a cohesive, slightly sticky mixture. Using your hands will ensure everything is well combined.

Step 14
Shrimp and vegetables can release moisture, making the filling quite wet. To counteract this, add 2 tablespoons of starch and mix for another minute. The starch will absorb excess liquid, preventing the filling from oozing out during frying. If it still seems too wet, you can add an extra tablespoon of starch.

Step 15
Take one piece of the cut bread and spread about 1 tablespoon of the filling onto it. Then, top with another piece of bread to create a sandwich. If you find the filling is too much, use about 1/2 tablespoon instead. Using less filling makes it easier to fry, especially for beginners.

Step 16
This is what the bread sandwich with the filling looks like. If the filling is too moist, it might ooze out when frying. Gently press down on the top and bottom of the bread with your palms to help the filling settle evenly. Be careful not to press too hard, or the bread might break.

Step 17
Frying Menbosha can be a bit time-consuming, so it’s best to prepare all the bread sandwiches with their fillings before you start frying. This ensures a smooth and uninterrupted frying process.

Step 18
Bread can burn very quickly, so it’s crucial to fry at a slightly lower temperature than usual. Instead of the typical 180-200°C (350-390°F), aim for 160-170°C (320-340°F). This allows the filling to cook through while the bread turns golden brown.

Step 19
Once the oil is at the correct temperature, carefully add only 3-4 Menbosha at a time. Overcrowding the pot will lower the oil temperature and lead to greasy Menbosha. To ensure even cooking and prevent burning, gently agitate the Menbosha in the oil or lift them in and out of the oil occasionally. Fry for about 1 minute and 30 seconds to 2 minutes, until golden brown and cooked through.

Step 20
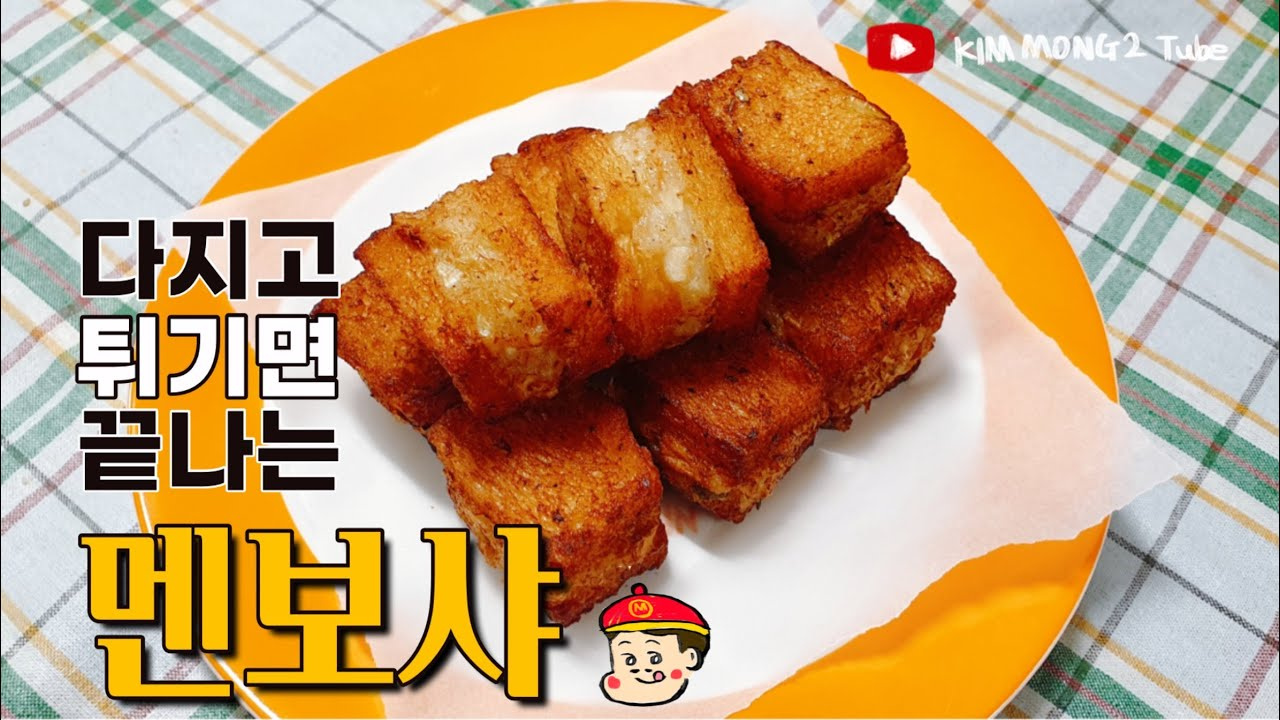
And there you have it! Crispy on the outside, moist on the inside – your delicious Spicy Cheongnyang Pepper Menbosha is ready. If you find the filling isn’t quite cooked enough after frying, *do not* re-fry it, as it will become soggy. Instead, microwave it for about 1 minute to ensure the inside is heated through.

Step 21
Remember those bread crusts we saved earlier? Instead of discarding them, let’s turn them into a delightful crispy snack! After frying the Menbosha, we’ll fry these crusts.

Step 22
It’s best to fry the crusts in two batches rather than all at once. Frying too many at once will cause them to absorb too much oil, making them greasy. However, if you enjoy a richer, greasier fried snack, feel free to fry them all together.

Step 23
Fry the bread crusts for about 3 minutes. You can increase the oil temperature slightly compared to when you fried the Menbosha to achieve an extra crispiness. Stir the crusts occasionally to ensure they fry evenly.

Step 24
Once the fried crusts are done, let them drain on a wire rack for about 5 minutes before sprinkling with sugar. This allows excess oil to drip off and helps the crusts become wonderfully crisp.

Step 25
After the excess oil has drained and the crusts have cooled slightly, sprinkle them evenly with about 5 tablespoons of sugar. This sweet coating transforms them into irresistible fried toast bites!

Step 26
The sign of perfectly fried toast is the sound! If you hear a satisfying ‘crunch’ when you bite into them, you’ve succeeded. If they sound muffled or feel greasy when you bite, it might mean they absorbed too much oil, so perhaps adjust your frying temperature or time next time!
