
Basic White Bread Using Old Sourdough Starter
Revive Your Stale Sourdough Starter: Make Soft, Fluffy Basic White Bread

Don’t let your aged sourdough starter go to waste! This recipe transforms it into incredibly light and soft basic white bread, reminiscent of bread made with a poolish. By using a 100% hydration sourdough starter in place of the poolish, we achieve a wonderfully airy crumb. To ensure a good rise, we’ve slightly increased the yeast content. The result is a delicious loaf with a beautiful crust and a tender interior, perfect for sandwiches or toasting. This detailed guide makes it easy for even beginner bakers to achieve fantastic results. Let’s bake!
Ingredients- 122g aged sourdough starter (taken from the refrigerator and allowed to come to room temperature and bubble)
- 140-150g water (adjust according to dough consistency)
- 1 tsp instant dry yeast
- 240g bread flour
- 9g unrefined sugar
- 1 tsp truffle salt
- 6g non-fat milk powder
- 20g unsalted butter (softened at room temperature)
Cooking Instructions
Step 1
Retrieve your aged sourdough starter from the refrigerator. If you’ve been consistently feeding it with all-purpose flour, take it out the night before you plan to bake. Leave it at room temperature to allow it to naturally activate and become bubbly. Even if it doesn’t seem to change much initially, you’ll notice it gradually becoming more active with small bubbles. Use the starter in this state for your dough.

Step 2
In the bowl of your stand mixer, combine all ingredients except the softened butter. Add about 140g of water and mix on low speed for 3-4 minutes until the ingredients just come together into a shaggy dough. The amount of water may need to be adjusted based on your flour and environment, so add the remaining water gradually (about 10g at a time) while observing the dough’s consistency. Once the dough forms a cohesive mass, add the softened butter. Continue mixing on high speed for 10-15 minutes until the dough becomes smooth, elastic, and well-developed, forming a strong gluten network.

Step 3
Your dough is ready when it’s smooth, shiny, and elastic. To check for proper gluten development, gently stretch a small piece of the dough. It should become thin enough to see through without tearing easily, forming a ‘windowpane’. Ensure the dough is neither too wet nor too stiff.

Step 4
Shape the finished dough into a ball and place it in a lightly greased bowl. Cover and let it undergo its first fermentation (bulk fermentation) in a warm place until it has doubled to 2.5 times its original size. This typically takes about 90 minutes at 27-28°C (80-82°F). If your environment is cooler, like in October, using slightly warm water for the dough can speed up this process. The dough is ready for the next step when a poked indentation springs back slowly.

Step 5
Once the bulk fermentation is complete, gently turn the dough out onto a clean work surface. Degas it lightly by pressing down. Divide the dough into two equal portions. Shape each portion into a smooth ball, cover them with plastic wrap or a damp kitchen towel, and let them rest at room temperature for 20 minutes for an intermediate proof (bench rest). This resting period relaxes the gluten, making the dough easier to shape.

Step 6
After the intermediate proof, roll out each dough ball into a rectangle using a rolling pin. Fold the top third down and the bottom third up (like folding a letter). Lightly roll over the folded dough to flatten it. Starting from the top edge, roll the dough up tightly into a log. Pinch the seam firmly with your fingertips to seal it, ensuring it doesn’t open during baking.

Step 7
Place the shaped dough logs into your greased loaf pans. Gently press down on the dough to help it settle evenly within the pan. Cover the pans and let the dough undergo its second fermentation (final proof) until it has risen to about 80% of the pan’s height. This usually takes around 90 minutes at 27-28°C (80-82°F). The dough should appear nicely puffed up and nearly reaching the rim of the pan.

Step 8
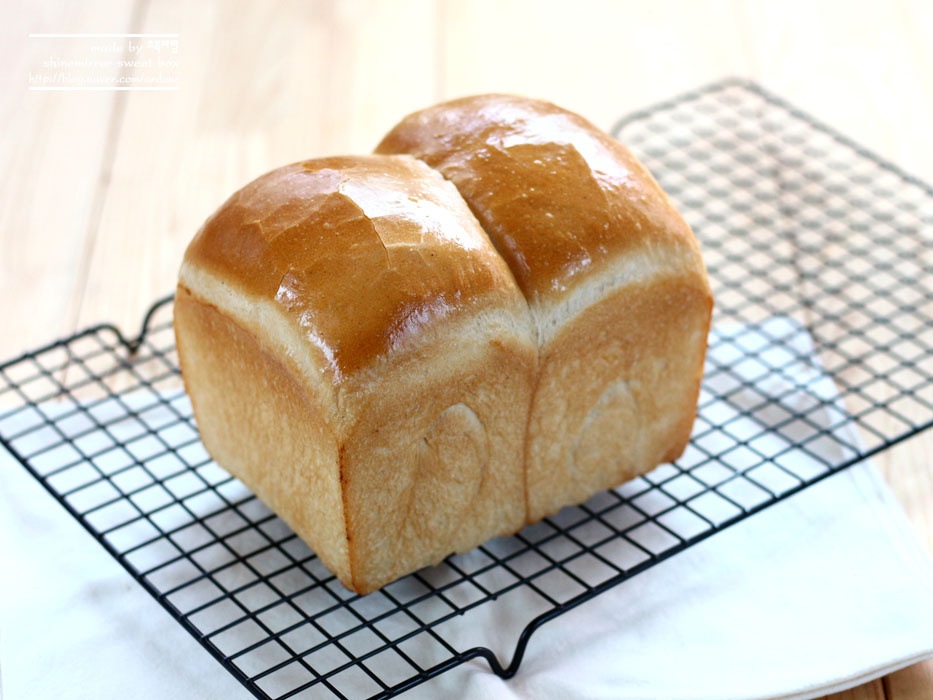
For a beautiful golden-brown crust, brush the top of the proofed dough with an egg wash or milk. Bake in a preheated oven at 210°C (410°F) for about 5 minutes, then reduce the temperature to 180°C (350°F) and continue baking for another 30-35 minutes, or until the crust is deep golden brown and the internal temperature reaches about 93°C (200°F). If the crust starts browning too quickly, you can loosely tent the loaf with aluminum foil. Once baked, immediately remove the bread from the pan and place it on a wire rack to cool completely, preventing the bottom from becoming soggy.
