
Baked Eggs (Jjimjilbang Style)
How to Make Jjimjilbang-Style Baked Eggs at Home! Your Go-To Pressure Cooker Recipe

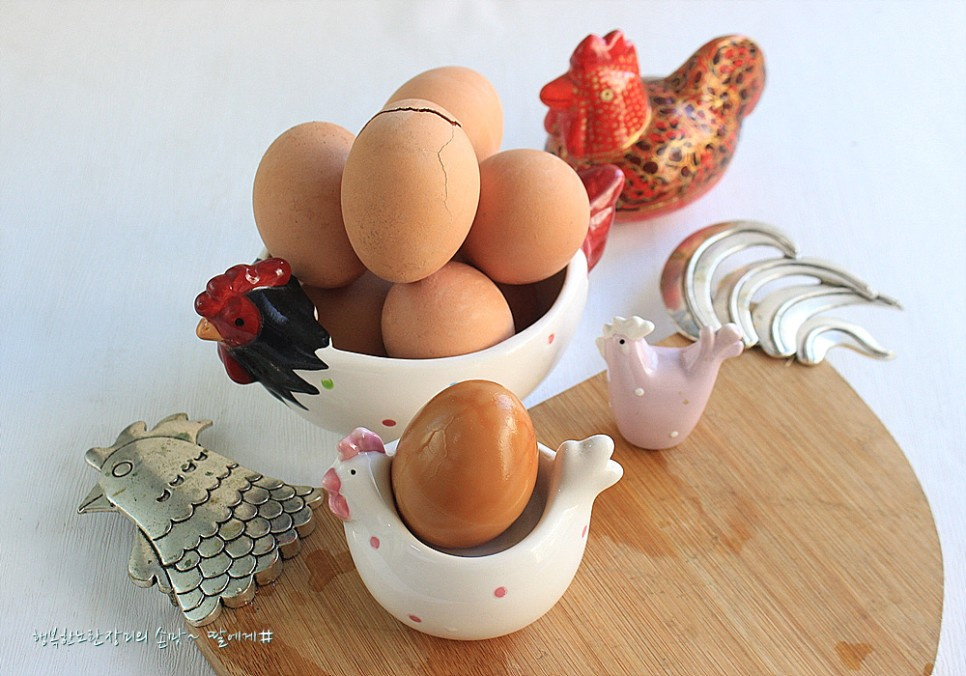
Remember those incredible baked eggs from the jjimjilbang (Korean bathhouse)? They were a revelation! Unlike regular boiled eggs, which can sometimes be unappealing, these had a wonderfully chewy white and a yolk that was perfectly moist and rich, never dry or crumbly. After learning to make baked eggs in a pressure cooker, I’ve been using a consistent method. This recipe is a slight refinement of that technique, and I’ve truly settled on this way of making them. It’s simple, reliable, and yields perfect baked eggs every time!
Ingredients- 10 eggs
- 1 tsp salt
- 1 cup water
Cooking Instructions
Step 1
If you plan to make baked eggs, it’s crucial to take the eggs out of the refrigerator a few hours, or even half a day, before you start. Letting them sit at room temperature helps them come to an even temperature, which significantly reduces the risk of the shells cracking during the cooking process. Once they’ve reached room temperature, gently wash the eggshells.

Step 2
Place a steamer basket inside your pressure cooker. A collapsible, fan-shaped steamer basket works wonderfully for arranging the eggs evenly.

Step 3
Pour 1 cup of water and 1 teaspoon of salt into the bottom of the pressure cooker. The water level should be sufficient to create steam but not so high that it submerges the steamer basket.

Step 4
Carefully place the washed eggs onto the steamer basket, arranging them so they don’t overcrowd or touch each other too much.

Step 5
Securely close the lid of the pressure cooker. Turn the heat to medium-low. Once the pressure indicator (the ‘whistle’) starts to rise, reduce the heat to the lowest setting possible – what’s often called ‘flower low heat’ (kkot yakbul). Cook for 1 hour and 30 minutes. While a minimum of 1 hour will yield baked eggs, cooking for the full 1.5 hours will result in a deeper color and richer flavor, truly reminiscent of jjimjilbang eggs. Enjoy making these delicious baked eggs!

Step 6
After the cooking time is complete, turn off the heat. Allow the pressure inside the cooker to release naturally before carefully opening the lid. You might notice a few eggs with minor cracks, but most should remain intact.

Step 7
Using the steamer basket, gently lift the cooked eggs out of the pressure cooker.

Step 8
You’ll find some water remaining at the bottom of the pressure cooker. Maintaining a minimal amount of moisture is key to prolonging the life of your pressure cooker. As long as there’s a bit of water visible, even after extended heating, it prevents the pot from drying out and getting damaged.

Step 9
I don’t recommend rinsing or submerging the hot baked eggs in cold water. While it’s fine if you plan to eat them immediately, if you intend to store them for later, water can seep through any tiny cracks in the shells and potentially cause spoilage. It’s best to let them cool naturally at room temperature.

Step 10
Look at that beautiful, rich color! When you slice them open, you’ll see the color has penetrated all the way to the center. Serve them in a bowl and enjoy snacking on them whenever hunger strikes. They’re also fantastic additions to salads or bibim guksu (spicy mixed noodles). Eggs are an incredibly cost-effective way to get your protein! Enjoy this wonderful egg dish.
