
Authentic Homemade Dried Persimmons (Gotgam)
Crafting Delicious Dried Persimmons at Home

I made dried persimmons using fresh, crisp ‘Cham’ persimmons. They turned out delightfully sweet and are a wonderfully healthy winter snack! ^.~
Ingredients- 70 fresh ‘Cham’ persimmons
- 1 paring knife
- 35 pieces of string
Cooking Instructions
Step 1
Begin by preparing 70 fresh ‘Cham’ persimmons. Wash them thoroughly. Next, we’ll use a technique called ‘dolryeok-kkakgi’ (circular peeling). Carefully peel the skin around the persimmon, making sure to also remove the small stem part cleanly. The key here is to peel just the skin without damaging the flesh and to be meticulous around the stem. This careful peeling ensures the persimmons dry evenly and develop a pleasant texture.

Step 2
Now, let’s get the persimmons ready for drying. Take your sturdy string or twine and tie it securely around the stem of each persimmon. It’s important to tie it firmly so the persimmons don’t fall off while they’re hanging. Tie one end to the stem and the other end also to the stem area, balancing the weight. The ideal place to dry your persimmons is in a semi-shady spot with excellent air circulation. Good airflow prevents mold and helps the persimmons dry beautifully.

Step 3
Here’s a mid-drying update. On the 8th day of drying, I noticed a few stems had become loose. So, I re-tied the strings securely on those persimmons. It’s a good idea to check on your drying persimmons periodically and re-secure any loose strings to ensure they dry properly without any issues.

Step 4
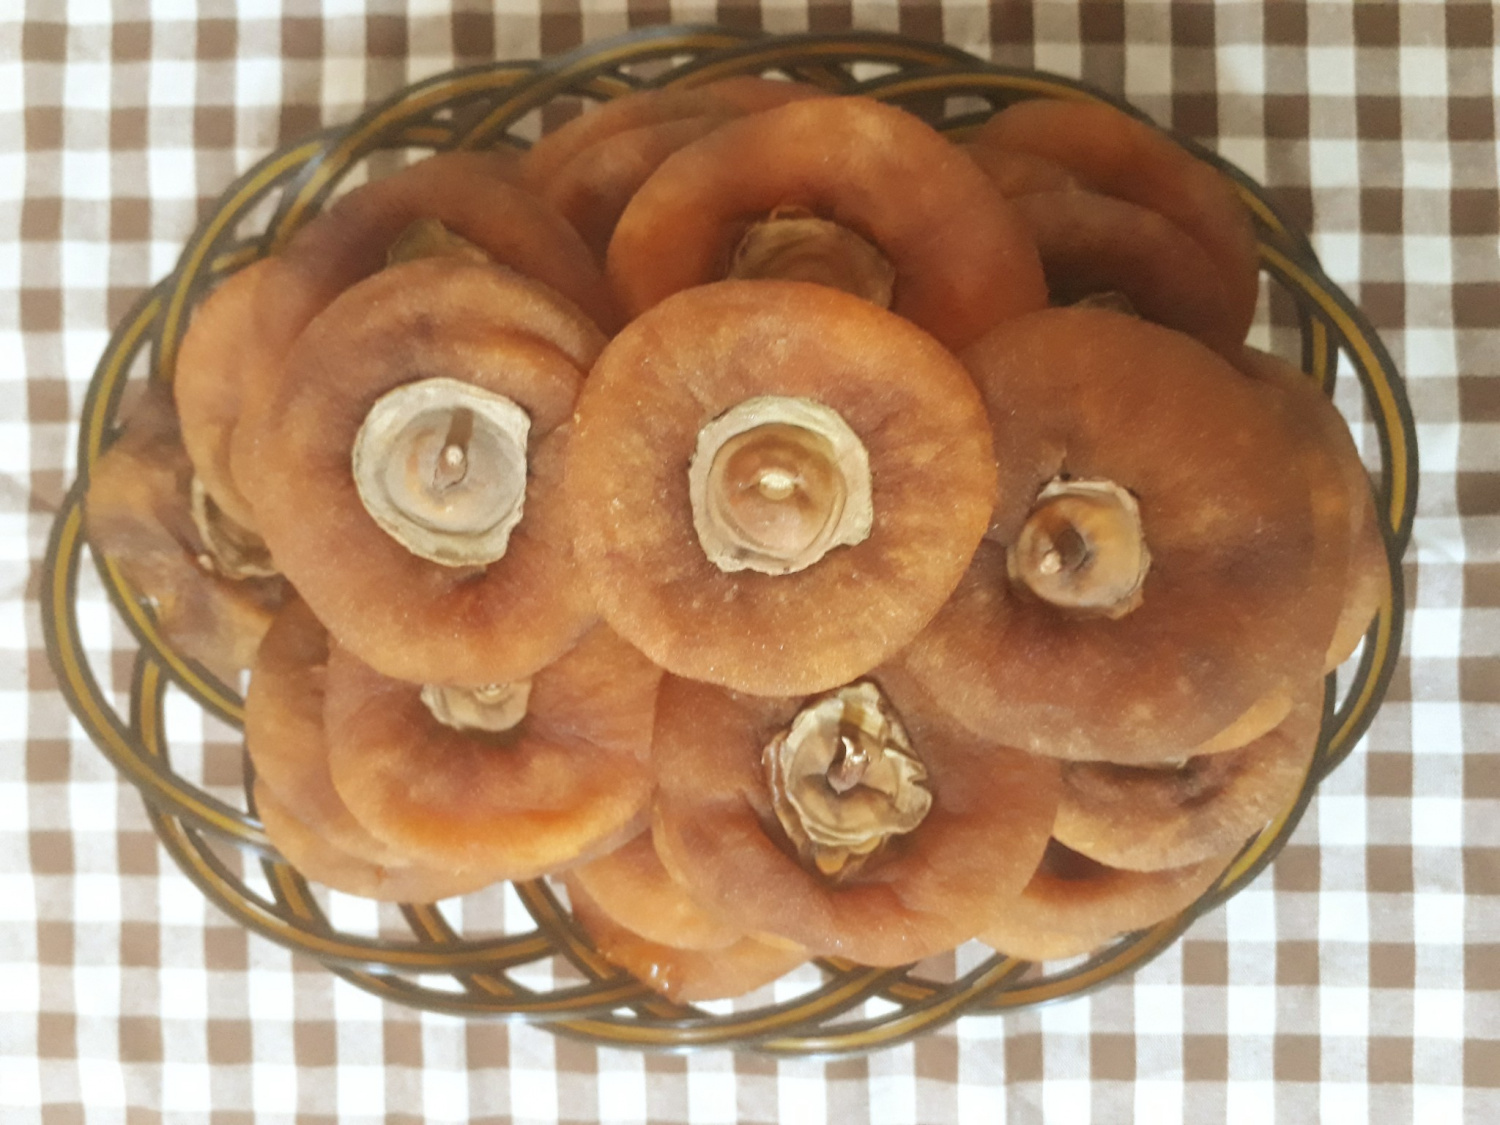
After drying them in a well-ventilated area for 13 days, I’ve made these delicious dried persimmons! They have a beautiful sheen and look so appetizing. Typically, persimmons are dried for about 15 days, but I personally prefer a slightly chewier and moister texture, so I dried mine for 13 days. You can adjust the drying time based on your preference for texture. These homemade dried persimmons are a delightful and healthy winter treat to enjoy!
