
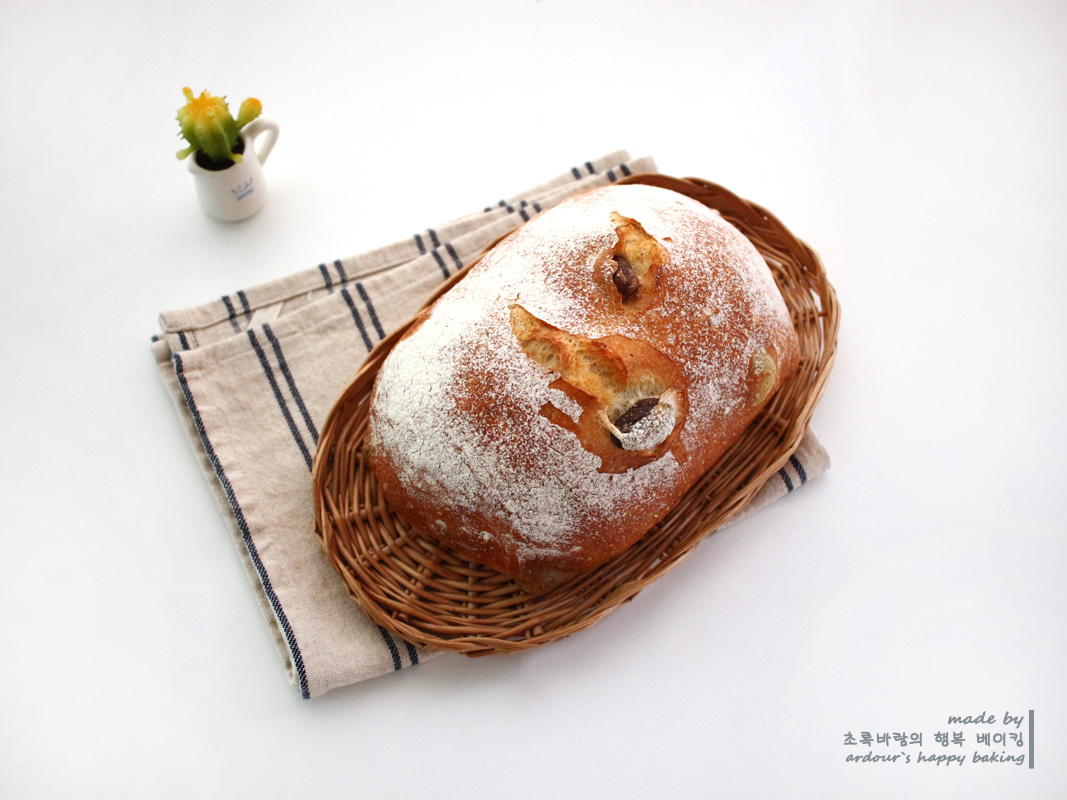
Aromatic Olive Herb No-Knead Bread
Effortless No-Knead Olive Herb Bread with a Tender Crumb

This no-knead olive herb bread is a delightful way to use up leftover olives! It’s surprisingly easy to make, requiring minimal effort for maximum flavor. The savory olives and fragrant herbs create a beautiful harmony, resulting in a bread with a wonderfully crisp crust and a soft, moist interior. The simple process of folding and resting the dough multiple times, followed by a final proof, yields an exceptional texture. Achieving a good rise is key, and using steam while baking is a crucial tip for a beautiful, airy loaf. You can use all bread flour or a blend with something like Moulin de Dubois for varied results. Feel free to customize with your favorite herbs!
Bread Ingredients- 175g Bread Flour
- 75g Moulin de Dubois (or substitute with bread flour)
- 1 tsp Salt
- 2g Instant Dry Yeast
- 180g Lukewarm Water
- 60g Pitted Green Olives
- 1 tsp Dried Rosemary
- 1 tsp Dried Basil
- 1 Tbsp Onion Powder
Cooking Instructions
Step 1
First, drain the pitted olives well. In a small bowl, combine the dried rosemary, dried basil, and onion powder. Add the olives and toss gently to coat them evenly with the herbs and onion powder. This step infuses the olives with aromatic flavor. If you have a favorite herb mix, feel free to use that instead – about one teaspoon should suffice.

Step 2
In a separate bowl, combine the lukewarm water and instant dry yeast. Let it sit for about 5 minutes until the yeast becomes foamy or starts to sink, indicating it’s active. Give it a gentle stir.

Step 3
In a larger mixing bowl, add the salt and your flours (bread flour and Moulin de Dubois). Pour in the activated yeast mixture. Using a spatula or your hands, mix everything together just until a shaggy dough forms and there are no dry pockets of flour. Don’t overmix; it should be quite wet and sticky. Cover the bowl with a lid or plastic wrap and let it rest at room temperature for 10 minutes. (I’ve used about 30% Moulin de Dubois, which is a French flour, but you can certainly make this with 100% bread flour for a delicious result.)

Step 4
After the 10-minute rest, add the prepared olives to the dough. Gently fold or stretch the dough over the olives, incorporating them as evenly as possible without overworking. The dough will be sticky.

Step 5
Once the olives are roughly distributed, cover the dough again and let it rest at room temperature for another 10 minutes. This short rest helps the dough relax and makes it easier to handle for the next step.

Step 6
Now, we’ll perform a series of folds and rests. Lightly flour your work surface. Gently stretch the dough and fold it over onto itself, like folding a letter. Repeat this folding motion about 8 times across the entire dough. Cover the dough and let it rest for 10 minutes. Perform two sets of ‘fold 8 times, then rest for 10 minutes’. (The picture on the left shows the dough after the first set of folds.)

Step 7
(The picture on the left shows the dough after the second set of folds.) After completing the first and second sets of folds, remember to rest the dough for 10 minutes between each set. This process develops the gluten structure, contributing to the bread’s texture.

Step 8
(This photo shows the dough after the final set of folds.) After completing the two ‘fold 8 times, rest 10 minutes’ cycles, perform one last set of 8 folds. This final folding step helps to build structure and prepare the dough for its final proof.

Step 9
After the last set of folds, cover the bowl and let the dough undergo its first fermentation (bulk fermentation) at room temperature. Allow it to rise until it has roughly doubled in size, which typically takes about 1 hour. The exact time will depend on your kitchen’s temperature. You can test for readiness by gently poking the dough; if the indentation remains, it’s ready.

Step 10
Once the first fermentation is complete, it’s time to shape the loaf. Without any intermediate resting, turn the dough out onto a lightly floured surface. Gently press and stretch the dough outwards with your fingertips to form a long, rectangular shape. Be careful not to tear the dough.

Step 11
Take the right side of the rectangular dough and fold it over to about one-third of the way across the center.

Step 12
Now, take the left side of the dough and fold it over the right folded portion, overlapping it. Gently press down along the seam to seal the dough together.

Step 13
Transfer the shaped loaf onto a piece of parchment paper or a Silpat liner. Lightly dust the top of the dough with a bit of flour. This helps prevent the crust from drying out too much before baking and adds a nice texture.

Step 14
After dusting the top, begin the second fermentation (proofing). Let the loaf rise at room temperature until it has increased in volume by about 80-100% (roughly 1.8 to 2 times its original size). This usually takes 30 to 45 minutes. (Mine took about 40 minutes.) A well-proofed loaf will have a beautiful airy structure.

Step 15
Preheat your oven to 230°C (450°F) with a steaming setup. Bake for approximately 30 minutes, or until the crust is a deep golden brown. For ovens without a steam function: Preheat an oven-safe Dutch oven or cast-iron skillet and a metal bowl to the highest oven temperature for at least 30 minutes. Carefully place the dough into the hot skillet, add 2-3 ice cubes for steam, and cover with the preheated metal bowl. Bake at the highest temperature for 15 minutes. Then, remove the metal bowl and reduce the oven temperature to 200°C (400°F). Continue baking for another 15 minutes, or until the crust is deeply golden and the bread sounds hollow when tapped on the bottom. Adjusting the time and temperature based on your oven’s performance is recommended. Using steam will give you a wonderfully crisp crust and a well-risen loaf. Once baked, transfer the bread to a wire rack and let it cool completely before slicing and enjoying.
