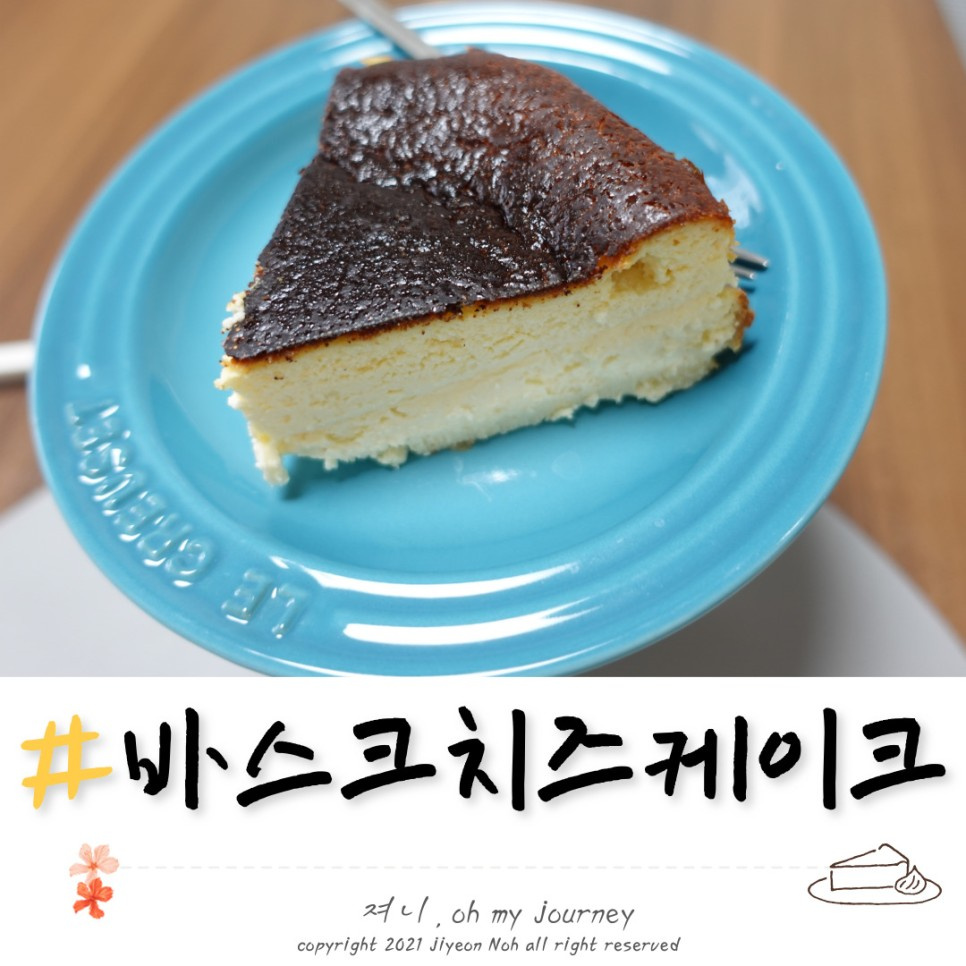
Air Fryer Basque Burnt Cheesecake
Effortless Basque Burnt Cheesecake Made in an Air Fryer (No Oven Needed!)

You can bake a delicious cheesecake without an oven! This Basque cheesecake is rich with cream cheese and sugar, offering a delightful balance of creamy, sweet, and slightly tangy flavors. It pairs wonderfully with an Americano and makes a perfect snack for kids. Experience the joy of homemade baking with ease!
Ingredients- 400g cream cheese (at room temperature)
- 100g sugar
- 200ml heavy cream
- 20g cake flour, sifted
- 3 large eggs
Cooking Instructions
Step 1
Begin by preparing 400g of cream cheese for your cheesecake. It’s crucial to take the cream cheese out of the refrigerator about 1 hour before you start to let it come to room temperature. This ensures it softens perfectly, making it easier to mix without lumps.

Step 2
Transfer the softened, room-temperature cream cheese into a mixing bowl. Make sure to scrape all of it from its packaging into the bowl. Starting with soft cream cheese is key for a smooth batter.

Step 3
Using a whisk or a spatula, gently break down the cream cheese in the bowl. Since it’s at room temperature, it should be soft enough to mash easily. Continue mixing until there are no visible lumps remaining.

Step 4
Add 90g of sugar to the cream cheese mixture. Stir continuously until the sugar is completely dissolved and well incorporated into the cream cheese. Ensuring the sugar dissolves fully will lead to a smoother texture and balanced sweetness.

Step 5
Crack in the 3 large eggs, but add them one at a time. Whisk well after adding each egg before introducing the next. This gradual addition helps the eggs emulsify properly with the cream cheese mixture, preventing a separated texture and creating a richer batter.

Step 6
Pour the 200ml of heavy cream into the mixing bowl. Stir gently until the heavy cream is fully combined with the cream cheese and egg mixture, creating a homogenous batter.

Step 7
Sift 20g of cake flour directly over the batter in the mixing bowl. Sifting the flour helps to prevent lumps and ensures it disperses evenly throughout the batter, contributing to a lighter cake texture.

Step 8
After adding the sifted flour, use your whisk or spatula to gently mix everything together. Ensure you scrape the sides and bottom of the bowl to incorporate all ingredients. Mix until the batter is smooth and no dry flour streaks remain.

Step 9
Prepare your round cake pan by lining it with parchment paper. Make sure the parchment paper is large enough to extend above the rim of the pan. This makes it easy to remove the cheesecake later and catches any potential overflow during baking.

Step 10
Before pouring the batter into the prepared cake pan, strain it through a fine-mesh sieve. This extra step removes any remaining small lumps or air bubbles, resulting in an exceptionally smooth cheesecake surface.

Step 11
To eliminate any large air bubbles trapped in the batter, hold the filled cake pan firmly with both hands and tap it sharply against the counter a few times. This gentle banging helps to release the air, leading to a denser, more uniform crumb structure.

Step 12
Preheat your air fryer to 200°C (390°F) for 5 minutes. A preheated air fryer is essential for achieving the signature ‘burnt’ top and cooking the cheesecake evenly.

Step 13
Carefully place the cake pan with the Basque cheesecake batter into the preheated air fryer. Bake at 200°C (390°F) for 30 minutes. The cheesecake should develop a beautifully caramelized, slightly charred top while remaining creamy inside.

Step 14
After 30 minutes, carefully remove the cheesecake from the air fryer. At this stage, the top should look puffed up and beautifully browned, and the center might still be jiggly like a custard. This is exactly what you want for a Basque cheesecake!

Step 15
Allow the cheesecake to cool completely at room temperature. Remove it from the air fryer and let it sit on a wire rack. As it cools, the center will settle and become denser. Resist the urge to refrigerate it immediately.

Step 16
Once the cheesecake has cooled to room temperature and all warmth has dissipated, cover it and place it in the refrigerator to chill. Chilling enhances the rich flavor and firms up the texture for the perfect slice.


