
Crispy and Delicious Bottlegourd Kimchi (Altarimuchi) Recipe
Homemade Fresh Bottlegourd Kimchi

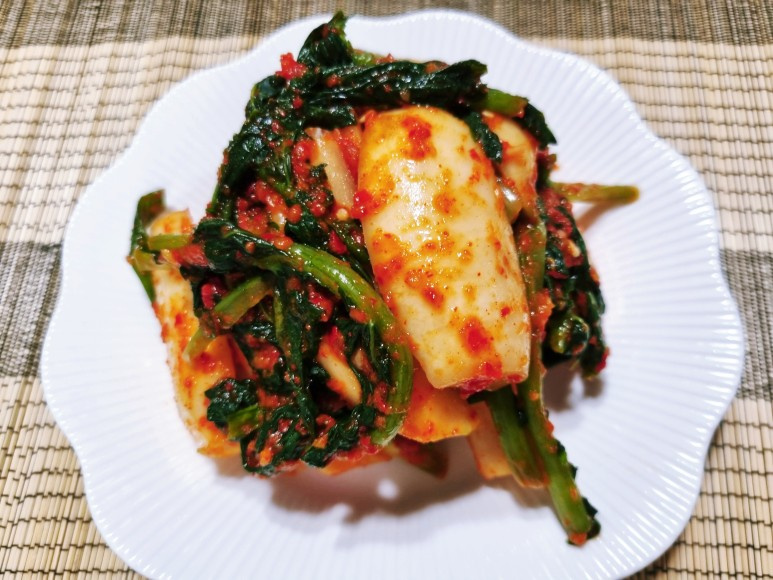
Introducing a delicious Altarimuchi recipe, made with fresh bottlegourd (Altarri) radishes, generously gifted by my husband’s family. The crispy texture and deep umami flavor are simply outstanding! Perfect for a healthy and flavorful side dish.
Main Ingredients for Altarimuchi- 1 bunch Bottlegourd radishes (Altarri), fresh
- 1 handful Scallions (approx. 10 stalks)
- 1 cup Coarse sea salt (Cheonilyeom)
- 3 cups Water (for salting)
- 1/2 medium Onion
- 3 Korean green chilies (for spiciness)
- 7 Red chilies (for color and sweetness)
- 1 knob Ginger (about the size of a garlic clove)
- 3 Tbsp Minced garlic
- 2 tsp Sugar substitute (or regular sugar)
- 1 tsp MSG (optional, for enhanced umami)
- Salt to taste (for final seasoning adjustment)
- 7 Tbsp Fish sauce (anchovy or sand lance)
- 5 Tbsp Gochugaru (Korean red pepper flakes)
Sweet Rice Paste Ingredients- 2 Tbsp Sweet rice flour
- 2 cups Water
- 2 Tbsp Sweet rice flour
- 2 cups Water
Cooking Instructions
Step 1
Begin by preparing the fresh bottlegourd radishes. Gently scrape off the outer skin with a knife and trim off any yellow or wilted leaves from the radish greens. Also, clean up the root ends of the radishes.

Step 2
Cut any large bottlegourd radishes in half. Place all the prepared radishes into a kimchi bag, ready for salting.

Step 3
In a large bowl, combine 1 cup of coarse sea salt with 3 cups of water and stir well to dissolve the salt, creating a brine. Submerge the bottlegourd radishes in this brine and let them salt for about 2 hours. Turn them occasionally to ensure even salting.

Step 4
Inside the kimchi bag, gently toss and turn the radishes. This helps them to wilt evenly and retain their crispness, contributing to a satisfying crunch.

Step 5
While the radishes are salting, prepare and cool the sweet rice paste. In a pot, combine 2 tablespoons of sweet rice flour with 2 cups of water. Cook over low heat, stirring constantly to prevent lumps, until it thickens into a paste. Let it cool completely before use.

Step 6
Prepare the ingredients for the kimchi paste. Chop the red chilies, Korean green chilies, onion, and ginger into appropriate sizes and place them in a blender. Add 7 tablespoons of fish sauce and blend everything together. (You can make a larger batch if you plan to use it for other dishes!)

Step 7
Transfer the blended mixture to a large bowl. Add 5 tablespoons of gochugaru, 2 teaspoons of sugar substitute, and 1 teaspoon of MSG. Mix well to create a flavorful kimchi paste. Adjust the spiciness and sweetness to your preference.

Step 8
After 2 hours of salting, rinse the bottlegourd radishes thoroughly 3-4 times under cold running water. Gently shake off excess water, ensuring you remove any dirt trapped between the radishes. Avoid squeezing them dry; a slight squeeze is sufficient.

Step 9
Cut the clean scallions into approximately 3-4 cm lengths. These will add a fresh, pungent flavor to the kimchi.

Step 10
Now, in a large bowl suitable for mixing kimchi, add the rinsed bottlegourd radishes and the cut scallions. Pour the prepared kimchi paste evenly over them.

Step 11
Pour the cooled sweet rice paste over the radishes and paste. The sweet rice paste helps thicken the kimchi and adds a subtle layer of umami.

Step 12
Gently mix everything together with your hands, ensuring the radishes, paste, and sweet rice paste are evenly distributed. It’s important to coat every radish well for maximum flavor. Finally, taste the kimchi and adjust the seasoning with a little salt if needed, until it reaches your desired taste. Your Altarimuchi is now complete! It’s delicious to eat fresh, or even better after it has fermented and matured.
