
Crispy & Chewy Butter Salt Bread
Homemade Butter Salt Bread: Achieve Bakery-Quality Results at Home!

Learn how to make delicious Shio Pan (Salt Bread) with this detailed hand-kneading recipe. Enjoy the rich buttery flavor and perfect texture in every bite!
Salt Bread Dough Ingredients- Bread flour 400g
- Cake flour 40g
- Skim milk powder 15g
- Cold water 280g
- Instant dry yeast 6g
- Salt 8g
- Sugar 15g
- Unsalted butter, softened (for dough) 20g
- Coarse sea salt (for topping) as needed
- Cold unsalted butter, cut into 10g pieces (for filling) 100g (total for 10 pieces)
Cooking Instructions
Step 1
In a large bowl, combine the bread flour and cake flour. Create three wells in the flour mixture. Place the yeast in one well, the salt in another, and the sugar in the third. (Ensure the yeast and salt do not directly touch each other.)

Step 2
Using a spoon, gently mix the ingredients within their respective wells and lightly combine them with the surrounding flour.

Step 3
In a separate small bowl, dissolve the skim milk powder in the cold water. Whisk until smooth and fully incorporated.

Step 4
Pour the dissolved milk-water mixture into the center well of the dry ingredients. Using a spatula or your hands, gradually incorporate the flour to form a shaggy dough.

Step 5
Once the dough comes together, transfer it to a clean work surface. Knead the dough by stretching and folding it (like washing laundry) for 10-15 minutes until it becomes smooth and elastic. This develops the gluten structure.

Step 6
When the dough is smooth, add the softened butter. Continue kneading for another 15 minutes, or until the butter is fully incorporated and the dough is smooth and pliable.

Step 7
Perform the ‘windowpane test’: Gently stretch a small piece of dough. If you can stretch it thin enough to see your fingers through it without tearing, the gluten is well-developed and the dough is ready.

Step 8
Place the kneaded dough into a lightly greased bowl. Cover the bowl tightly with plastic wrap. Let it rise in a warm place for about 1 hour, or until doubled in size (first proof).

Step 9
After the first proof, gently punch down the dough to release the air. Transfer the dough to your work surface, shape it into a long log, and divide it into 10 equal portions of approximately 70g each. Gently shape each portion into a ball.

Step 10
Cover the dough balls with a damp cloth or plastic wrap and let them rest for 20 minutes at room temperature. This intermediate proof (bench rest) allows the gluten to relax, making the dough easier to shape.

Step 11
While the dough is resting, prepare your filling butter. Cut the cold butter into 10 equal pieces, each weighing about 10g. Keep them chilled until ready to use.

Step 12
Now it’s time to shape the salt bread. Take one rested dough ball and flatten it slightly on your work surface. Then, begin to roll it out into a cylindrical shape.

Step 13
Using a rolling pin, gently press down on the thicker end of the cylinder and roll it out into a flattened oval or rectangular shape.

Step 14
Shape the flattened dough into a long, thin triangle. Starting from the wide base, roll the dough tightly towards the pointed tip.

Step 15
Trim the ends if necessary. Place one piece of the chilled butter into the center of the rolled dough. Roll the dough up again, ensuring the butter is enclosed. Pinch the seams firmly to seal and prevent the butter from leaking out during baking.

Step 16
Place the shaped salt bread onto a baking sheet lined with parchment paper, ensuring the seam side is facing down. Cover loosely with plastic wrap or a damp cloth and let them proof for about 1 hour at room temperature, or until they have increased in size by about 50-75% (second proof).

Step 17
Just before baking, lightly mist the surface of the proofed salt bread with water. Sprinkle generously with coarse sea salt. (The mist helps the salt adhere better.)

Step 18
Bake in a preheated oven at 200°C (390°F) for 17 minutes, or until golden brown and puffed up. Adjust baking time and temperature according to your oven’s performance.

Step 19
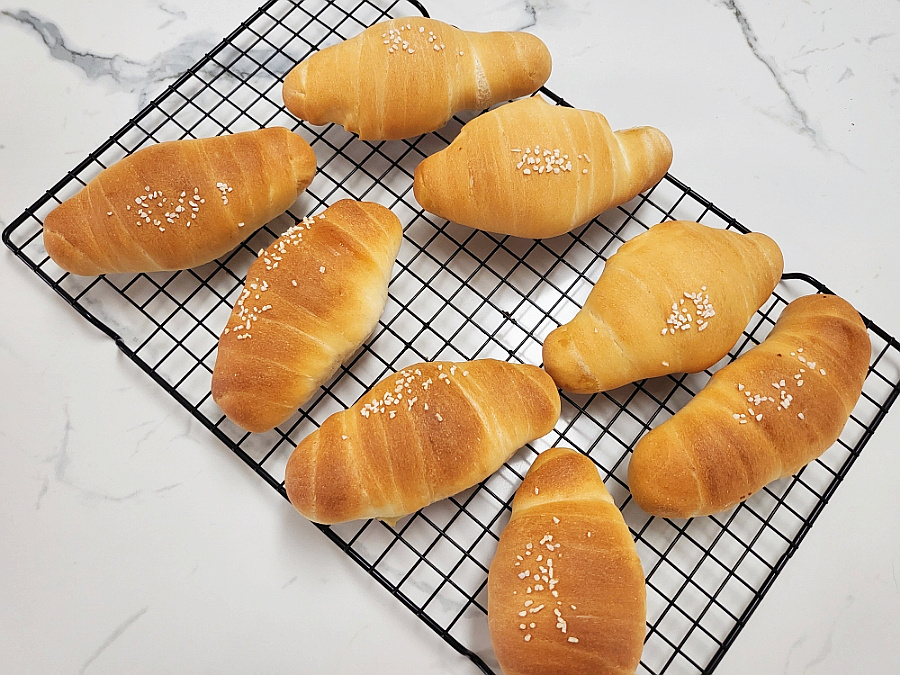
Once baked, carefully remove the salt bread from the oven and transfer them to a wire rack to cool. Allowing them to cool slightly will help achieve the best texture.

Step 20
Enjoy your delicious homemade salt bread! They are best enjoyed warm, savoring the delightful contrast of the crispy crust, soft interior, rich butter, and savory salt.
