
Flavorful Pork Belly Triangle Kimbap
Pork Belly Triangle Kimbap: A Deliciously Satisfying Snack

Here’s a recipe for pork belly triangle kimbap that’s both simple and incredibly satisfying. Perfect for a quick meal on the go or a delightful picnic snack, the savory and rich pork belly combined with perfectly seasoned rice creates a wonderfully fulfilling bite. Make this deliciousness at home with ease!
Ingredients- 1.5 bowls of warm cooked rice
- 6 slices of thinly sliced pork belly
- 2 sheets of seaweed for triangle kimbap
Rice Seasoning- 1/2 cup of crumbled seasoned seaweed (or seaweed flakes)
- 1 Tbsp sesame oil
- 1 Tbsp toasted sesame seeds
- A pinch of fine salt (adjust to taste)
Pork Belly Seasoning- 1 tsp soy sauce
- 1/2 tsp sugar
- 1 tsp cooking wine (like Mirin)
- 1/2 tsp fish sauce (or anchovy sauce)
- 1 tsp gochugaru (Korean chili powder)
- 1/2 tsp minced garlic
- A pinch of black pepper
- 1/2 cup of crumbled seasoned seaweed (or seaweed flakes)
- 1 Tbsp sesame oil
- 1 Tbsp toasted sesame seeds
- A pinch of fine salt (adjust to taste)
Pork Belly Seasoning- 1 tsp soy sauce
- 1/2 tsp sugar
- 1 tsp cooking wine (like Mirin)
- 1/2 tsp fish sauce (or anchovy sauce)
- 1 tsp gochugaru (Korean chili powder)
- 1/2 tsp minced garlic
- A pinch of black pepper
Cooking Instructions
Step 1
First, let’s prepare the delicious seasoning for the pork belly. In a small bowl, combine 1 tsp soy sauce, 1/2 tsp sugar, 1 tsp cooking wine, 1/2 tsp fish sauce, 1 tsp gochugaru, 1/2 tsp minced garlic, and a pinch of black pepper. Stir well until all ingredients are mixed.

Step 2
Heat a pan over medium-high heat. Add the thinly sliced pork belly (without seasoning) and cook until it’s golden brown and slightly crispy on both sides. Be mindful of the heat to prevent burning.

Step 3
Once the pork belly is nicely browned, pour the prepared seasoning sauce into the pan. Quickly toss the pork belly to coat it evenly with the sauce, letting it simmer briefly until the sauce thickens slightly. Remove from heat and let the pork belly cool down a bit. This step allows the flavors to meld beautifully.

Step 4
Now, let’s prepare the rice for the triangle kimbap. In a bowl, combine 1.5 bowls of warm cooked rice with 1/2 cup of crumbled seasoned seaweed, 1 Tbsp sesame oil, 1 Tbsp toasted sesame seeds, and a pinch of fine salt. Gently mix everything together with a spatula, ensuring the rice grains don’t get crushed. Taste and adjust seasoning if needed.

Step 5
Prepare your triangle kimbap mold. Place one sheet of seaweed for triangle kimbap over the mold. Add a portion of the seasoned rice into the mold. Press the rice firmly against the sides of the mold, ensuring it fills the shape completely and is packed tightly. This firm packing is crucial to prevent the pork belly from falling out later. Arrange 2-3 slices of the cooled pork belly onto the rice. Then, cover with the remaining seasoned rice and flatten the top.

Step 6
Carefully lift the triangle kimbap mold to release the shaped kimbap. Gently remove the mold to reveal a perfectly formed triangle.

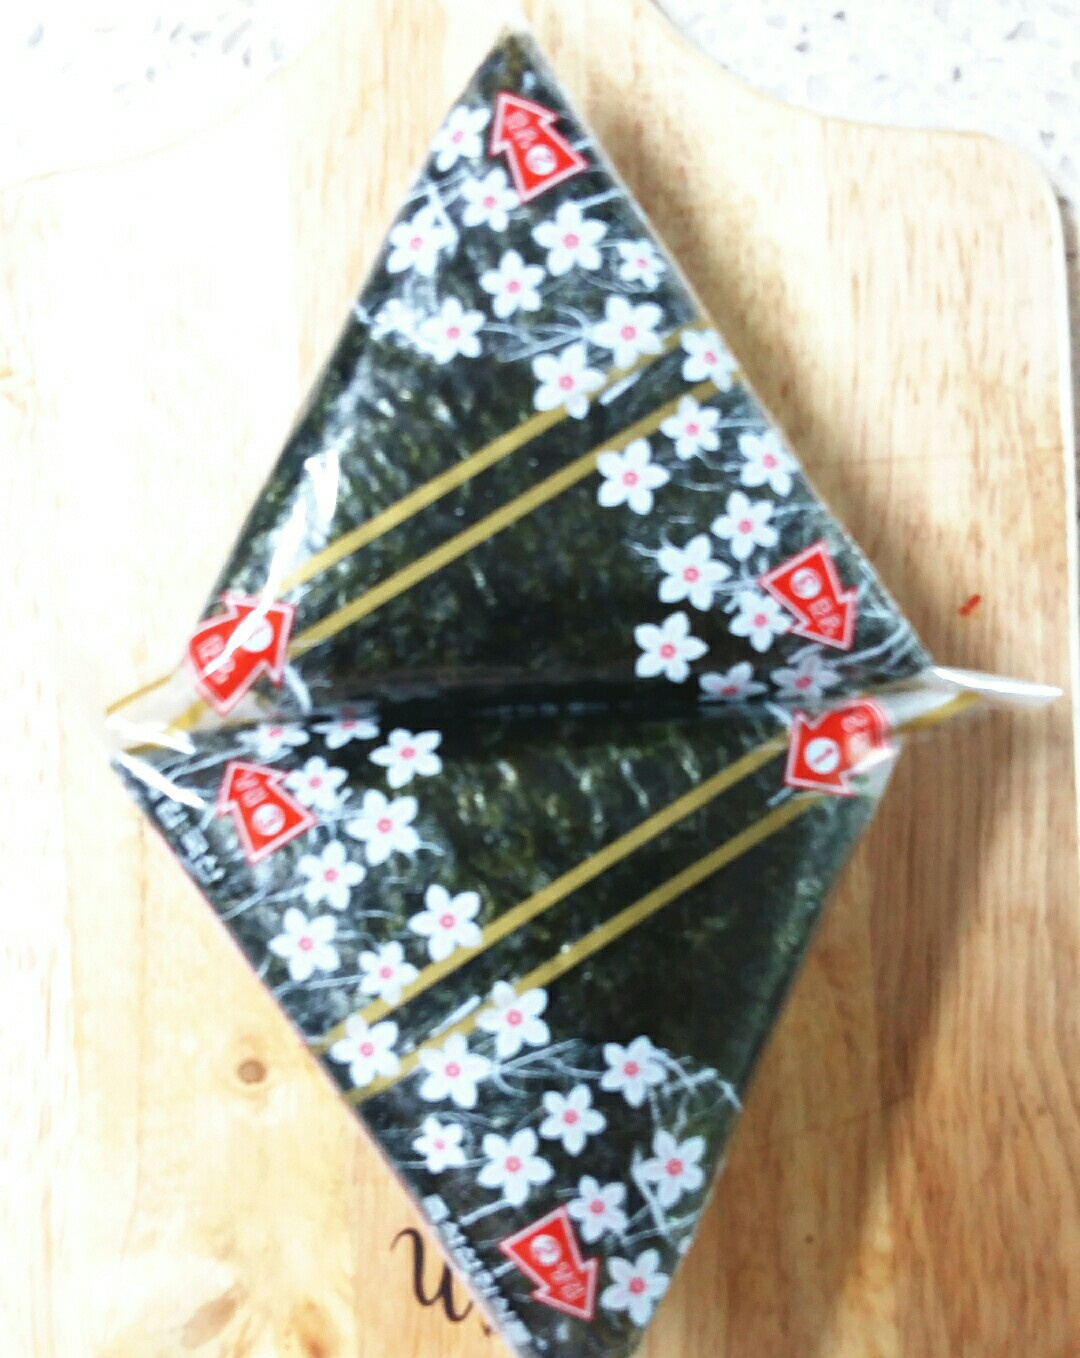
Step 7
Place the formed kimbap onto a sheet of seaweed for triangle kimbap. Fold the sides of the seaweed to create the triangle shape, then fold in the edges neatly. Secure with a kimbap sticker.

Step 8
Your delicious pork belly triangle kimbap, with its savory pork belly and perfectly seasoned rice, is now ready to be enjoyed!

Step 9
This recipe yields approximately 2 satisfying pork belly triangle kimbaps. Enjoy them as a filling meal!
