
Chewy and Delicious Homemade Bagels
:: Home Baking :: Making Chewy Bagels by Hand Without a Mixer

I made these bagels at home, boasting a slightly crispy exterior and a wonderfully chewy interior. The recipe turned out to be surprisingly easy to follow. Enjoy these flavorful homemade bagels for brunch or as a snack!
Dough Ingredients- 200g Bread Flour (High-Gluten Flour)
- 3g Salt
- 7g Sugar
- 4g Active Dry Yeast
- 4g Butter
- 125g Lukewarm Water (Slightly heated, not hot)
- 0.5 Tbsp Cooking Oil
Cooking Instructions
Step 1
In a large bowl, sift 200g of bread flour. Use the back of a spoon to create three small wells or indentations in the flour surface. These will be used to hold the initial ingredients, preventing them from mixing too quickly.

Step 2
In each of the three wells, add 3g of salt, 7g of sugar, and 4g of active dry yeast, respectively. It’s important to keep the yeast separate from the salt and sugar initially, as direct contact can hinder its activation.

Step 3
Gently scoop some of the surrounding flour to cover each ingredient in its well, as if coating them with flour. This initial separation allows the ingredients to gradually incorporate without compromising the yeast’s activity.

Step 4
Once the ingredients are loosely covered with flour, begin to mix everything together. Use a spatula or your hands to combine the flour and the other ingredients until they are roughly incorporated.

Step 5
Pour in 125g of lukewarm water. For optimal yeast activation, you can slightly warm cold water in the microwave for about 30 seconds until it’s lukewarm. Using a spatula, mix the ingredients until no dry flour remains, forming a rough dough. This step aims to bring all the ingredients together into a cohesive mass.

Step 6
Once the dough starts to come together, add 4g of softened butter. Knead the dough vigorously by hand for about 10 minutes. Use the heel of your hand to push and fold the dough. This process develops the gluten, making the dough smooth and elastic. After about 10 minutes of kneading, you should have a smooth, cohesive ball of dough.

Step 7
Finally, to prevent sticking to your hands and work surface, lightly coat the dough with 0.5 Tbsp of cooking oil. Knead gently for a short time to ensure the oil is evenly distributed. This step helps achieve a smoother final texture for the bagel surface.

Step 8
Place the smooth dough into a bowl, cover it tightly with plastic wrap, and let it undergo its first rise in a warm place for about 50 minutes. I placed mine inside a blanket to maintain warmth. Allow the dough to double in size.

Step 9
After 50 minutes, gently punch down the risen dough with your fist to release the accumulated gases. This deflation helps create a chewier texture by breaking down large air pockets.

Step 10
Transfer the deflated dough to a clean work surface and divide it into 4 equal portions. Each portion should weigh approximately 60-70g.

Step 11
Shape each portion of dough into a smooth ball. Gently roll them between your palms to create a taut surface.

Step 12
Using a rolling pin, flatten each dough ball into an elongated oval shape, about 15-20 cm (6-8 inches) long.

Step 13
Starting from one of the longer edges, roll up the dough tightly, like making a Swiss roll. Press down gently with your hands as you roll to ensure the dough adheres to itself and to expel any air bubbles.

Step 14
Thin out one of the ends of the rolled dough strip using your fingers. This will form the outer edge of the bagel.

Step 15
Gently roll out the other end of the dough strip to make it wider. This wider part will be used to wrap around the thinner end.

Step 16
Now, shape the bagel into a ring. Wrap the wider end of the dough around the thinner end, creating a donut shape. Pinch the overlapping ends firmly together to seal the bagel securely. Ensure a good seal so the shape holds during baking.

Step 17
Cover the shaped bagels with plastic wrap and let them proof at room temperature for about 20 minutes. They should puff up slightly.

Step 18
Preheat a pot of water to boiling. Carefully place the proofed bagel dough into the boiling water and boil for 30 seconds on each side. This boiling step is crucial for creating a shiny, smooth crust and a wonderfully chewy interior. Ensure you have enough water in the pot so the bagels can float freely.

Step 19
Remove the boiled bagels from the water, letting any excess water drip off. Place them on a baking sheet lined with parchment paper (optional, but recommended) and bake in a preheated air fryer at 170°C (340°F) for 20 minutes.

Step 20
After 10 minutes of baking, carefully flip the bagels over. Continue baking for another 10 minutes. This ensures even browning on both sides.

Step 21
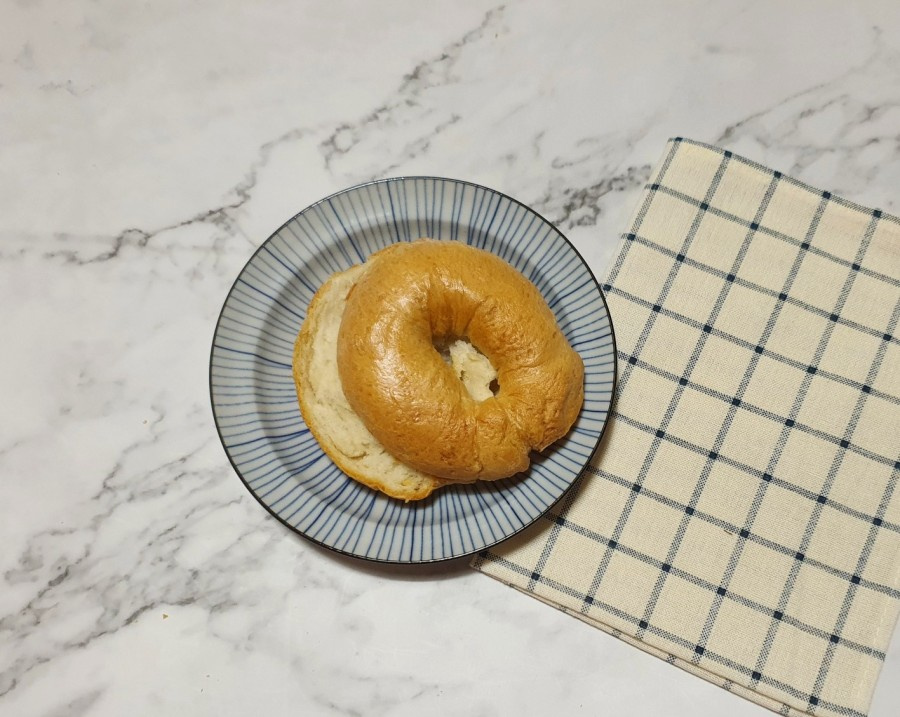
Your delicious homemade bagels, with a slightly crispy exterior and a chewy interior, are now ready! Enjoy them warm or let them cool completely before serving with your favorite spreads like jam or cream cheese.
