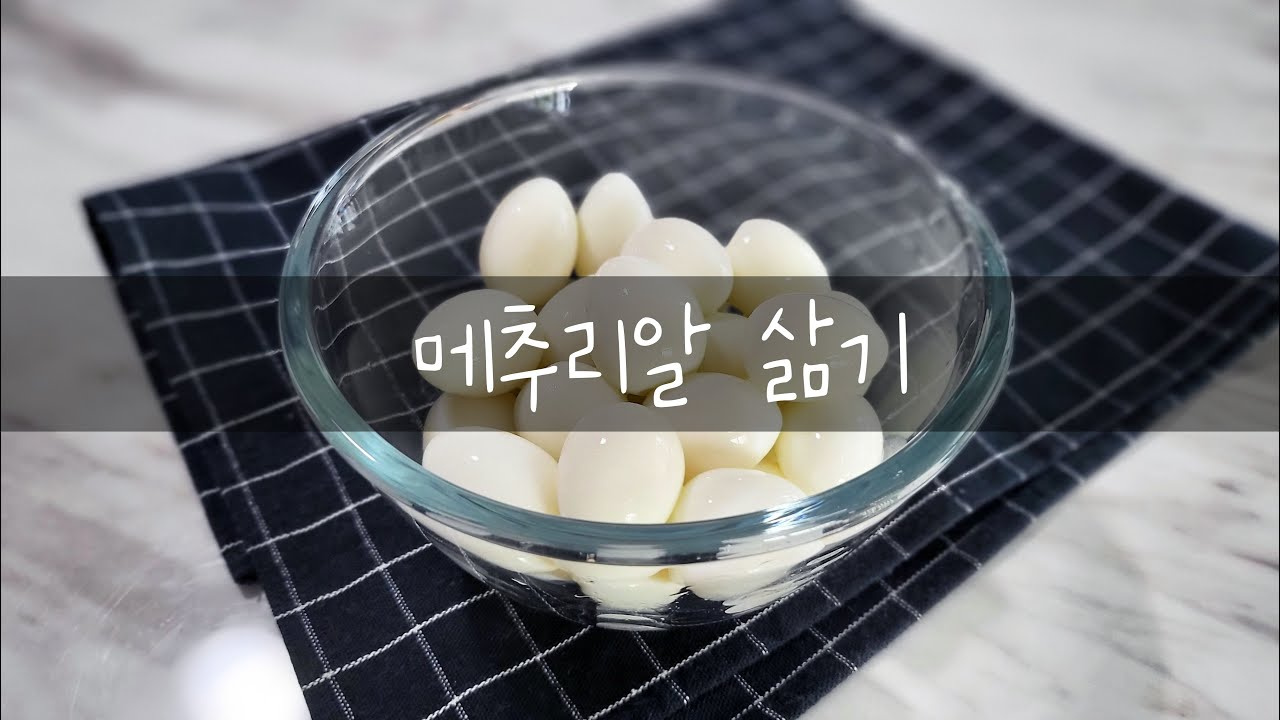
Perfectly Boiled Quail Eggs & Easy Peeling Method
Mastering Quail Eggs: Simple Boiling and Effortless Peeling Techniques

Quail eggs, though small, are a nutritional powerhouse! Roughly 1/5 the size of a medium chicken egg, each quail egg weighs about 10g. They share similar nutritional benefits with chicken eggs but are exceptionally richer in folate, iron, potassium, and calcium, making them a valuable addition to your diet. You might love to incorporate these nutrient-dense gems into your meals more often, but the thought of boiling and peeling them can be daunting. While pre-peeled quail eggs are available, they simply can’t match the delightful texture of freshly boiled ones prepared at home. Today, I’ll guide you through the simple yet perfect method for boiling quail eggs and share a brilliant trick for peeling them with ease. Get ready to enjoy healthy and delicious quail eggs prepared by you!
Key Ingredients- 28 quail eggs
- 1/4 tsp salt
- 1/2 tsp vinegar
Cooking Instructions
Step 1
Start by preparing 28 fresh, clean quail eggs. It’s a good idea to check that the shells are intact and free from any debris.

Step 2
Place the quail eggs in a pot and add enough water to fully submerge them. To aid in the boiling process and make peeling much easier, add ¼ teaspoon of salt and ½ teaspoon of vinegar. (This amount is for approximately 280g of quail eggs).

Step 3
Stir the water to dissolve the salt, then gently add the prepared quail eggs to the pot. Now, bring the water to a rolling boil over high heat.

Step 4
Once the water begins to boil, use chopsticks or a spoon to gently stir the quail eggs a few times. This helps ensure the yolks remain centered and prevents them from breaking.

Step 5
After the water returns to a boil, reduce the heat slightly and continue to boil for about 5 more minutes. This duration ensures the quail eggs are cooked through perfectly while maintaining a pleasant, firm texture.

Step 6
Once boiling is complete, immediately turn off the heat and transfer the quail eggs from the hot water. Similar to boiling chicken eggs, it’s crucial to rapidly cool them by submerging them in cold water right away. Using ice-cold water is even more effective. I’ve prepared a bowl of ice water beforehand.

Step 7
Carefully place the freshly boiled quail eggs directly into the prepared ice water bath.

Step 8
Due to their small size, quail eggs cool down very quickly once immersed in ice water. The boiling process is now successfully completed, and it’s time to move on to the most challenging part: peeling.

Step 9
Take a few boiled quail eggs from the ice water into the palm of your hand and apply gentle pressure, rolling them slightly. This will cause the shells to crack easily.

Step 10
However, peeling them one by one like this can be quite time-consuming. If you need to peel a large batch efficiently, a different method is required.

Step 11
Here’s a game-changing trick to drastically reduce peeling time: use a plastic or glass airtight container. When filling the container with quail eggs, avoid packing it too tightly, as there won’t be enough space for them to move and crack. Fill the container about halfway with quail eggs.

Step 12
Securely close the lid and shake the container vigorously in various directions, much like a cocktail shaker. The collisions between the eggs will cause their shells to crack evenly all over. Once cracked, the shells become much easier to remove.

Step 13
The quail eggs from the container, now well-cracked, will peel effortlessly, similar to removing the skin from a fruit. A gentle nudge should be enough to detach the shell.

Step 14
Occasionally, you might find a thin layer of the inner membrane or white skin clinging to the egg after peeling. To achieve a perfectly clean finish, simply rinse the quail eggs under cool running water and gently rub away any remaining bits of membrane.

Step 15
Voila! Your nutritious quail eggs are now perfectly boiled and impeccably peeled. They are ready to be used in your favorite dishes or enjoyed as a healthy snack. Time to create some delicious quail egg recipes!


