
Rich and Creamy Oreo Icebox Cake
Homemade Oreo Cake for Special Occasions: Making a Twosome-Style Icebox Cake

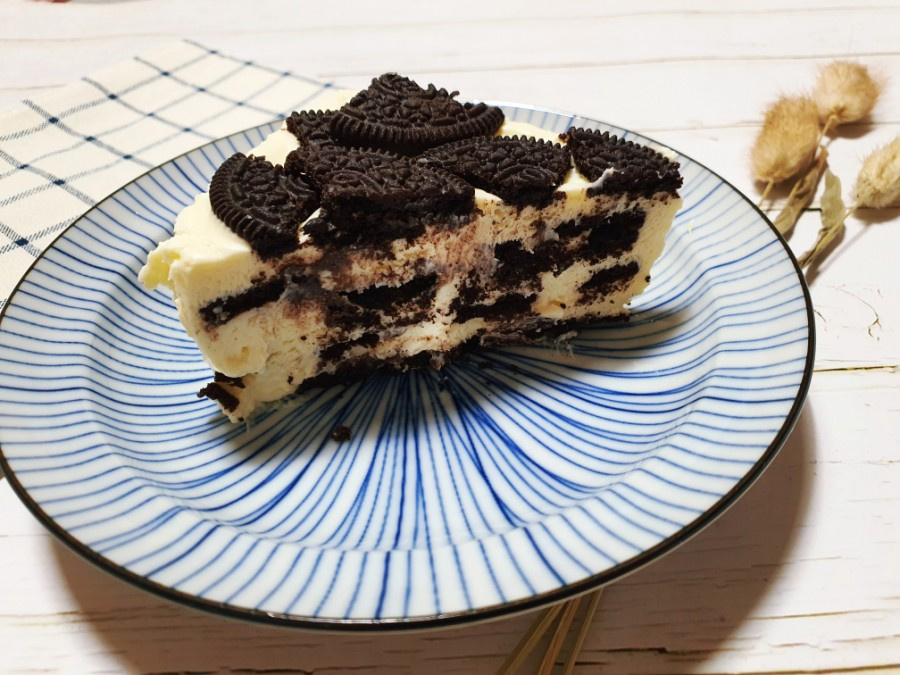
Introducing the Twosome-style Oreo Icebox Cake, perfect as a stunning homemade dessert for year-end parties or any special occasion! It’s incredibly appealing because you can make it easily and conveniently without an oven. The fantastic harmony of rich Oreo cookies and smooth cream cheese frosting will fill your mouth with happiness. Create your own special dessert time at home right now!
Ingredients- 100g Cold Heavy Cream
- 75g Cream Cheese (at room temperature)
- 5 Oreo Cookies
- 1/2 Tbsp Sugar
Cooking Instructions
Step 1
First, place 100g of cold heavy cream into a mixer or a bowl. Using cold heavy cream is crucial for achieving a firmer and more stable consistency when whipping it with cream cheese.

Step 2
Add 1/2 tablespoon of sugar to the heavy cream to enhance sweetness. You can adjust the amount of sugar according to your preference.

Step 3
If using a mixer, whip the heavy cream and sugar for only about 15-20 seconds. It’s important to whip it just until the cream starts to drip off the mixer’s blades. Be careful not to over-whip, as it can cause the cream to curdle. You can also use a whisk; however, using a mixer makes the whipping process much faster and more convenient.

Step 4
Now, prepare 5 Oreo cookies, the key ingredient for this cake. The deep chocolate flavor and crunchy texture of the Oreos will enhance the cake’s overall taste.

Step 5
Carefully separate the Oreo cookies in half using a knife or spatula. Gently scrape off the white cream filling from the separated cookies with a knife. This cream contributes to the cake’s sweetness.

Step 6
Break the separated Oreo cookie wafers into roughly 1/4-sized pieces. It’s best to break them into pieces that offer a satisfying bite rather than grinding them into a fine powder.

Step 7
Add 75g of softened cream cheese (at room temperature) to the scraped Oreo cream filling. It’s much easier to mix if the cream cheese is smoothly softened and lump-free before adding.

Step 8
Using a spatula or fork, mash and mix the Oreo cream and cream cheese together thoroughly until they form a smooth, uniform paste. Ensuring both ingredients are well combined is key.

Step 9
Now, add half of the whipped cream from step 2 to the Oreo cream cheese mixture from step 7 and gently fold it in with a spatula. Mix softly until the cream and the base are well incorporated.

Step 10
Once the cream is partially mixed, add the remaining half of the whipped cream and mix everything together gently until it forms a smooth, unified mixture. Avoid overmixing, as it can make the cream heavy. Mix just until all ingredients are well combined.

Step 11
Line a freezer-safe container (like a Lock & Lock container) with plastic wrap. This makes it much easier to remove the cake later. Spread the broken Oreo pieces from step 5 evenly across the bottom to form the first cookie layer.

Step 12
Spread a moderate amount of the cream mixture made in step 9 evenly over the Oreo cookie layer. Spreading it thinly makes it easier to build up layers.

Step 13
Place another thin layer of broken Oreo pieces from step 5 on top of the cream layer, then spread another moderate amount of the cream mixture from step 9 evenly over it. Continue layering the Oreo cookies and cream alternately.

Step 14
Build up the icebox cake with a total of 4 layers by alternating Oreo cookies and cream. Finish with a cream layer on top. You can sprinkle the remaining Oreo pieces on top for decoration or omit them. Smooth the top surface neatly.

Step 15
Cover the container tightly with a lid or plastic wrap and refrigerate for at least 3 hours to allow it to set. As time passes, the cream will firm up, and the flavors will meld with the Oreos, making it even more delicious. For best results, let it chill overnight.

Step 16
After 3 hours, take out your well-set Icebox Cake from the refrigerator! Carefully unmold the cake using the plastic wrap, then slice it into your desired portions. You’ve now completed your wonderful homemade Oreo Icebox Cake! The combination of creamy texture and rich Oreo flavor is truly exquisite, so be sure to give it a try!
