
Cheesy Tuna Kimchi Fried Rice
Rich and Delicious Weekend Lunch: Cheesy Tuna Kimchi Fried Rice Recipe

On days when cooking feels like a chore, fried rice is always the perfect solution! It eliminates the need for side dishes and is incredibly simple yet satisfying. I often make fried rice for weekend lunches. This time, I added plenty of tuna and topped it with cheese, resulting in a wonderfully rich flavor that had us scraping the bowls clean in no time! This recipe is for two servings, perfect for sharing with your partner.
Ingredients- 1.5 bowls of warm cooked rice
- 1 cup of well-fermented kimchi (chopped)
- 1 can of tuna (drained)
- 1/4 onion (finely diced)
- Shredded cheese (e.g., mozzarella or cheddar), desired amount
- A pinch of dried parsley flakes
- 1/2 tbsp butter
- 1 tbsp oyster sauce
- 1 tbsp sesame oil
- Pinch of salt (if needed)
Cooking Instructions
Step 1
Prepare all your ingredients before you begin cooking. Open the tuna can and drain all the oil thoroughly using a sieve. Peel and finely dice the onion. Chop the kimchi into bite-sized pieces, about 1cm squares.

Step 2
Heat 1 tablespoon of cooking oil in a preheated frying pan over medium heat. Add the diced onion and sauté for about 2-3 minutes until it becomes translucent. This will bring out the natural sweetness of the onion and enhance the overall flavor.

Step 3
Once the onions turn translucent, add 1/2 tablespoon of butter to deepen the flavor and let it melt. Then, add the chopped kimchi and stir-fry for about 3 minutes until the kimchi softens and becomes fragrant. This process mellows the sourness of the kimchi and brings out its savory notes.

Step 4
After stir-frying the kimchi, add the drained tuna and cook for another 1-2 minutes, mixing well with the kimchi. The rich flavor of the tuna will complement the kimchi beautifully.

Step 5
Now, add the cooked rice to the pan. Gently break up any clumps with your spatula and stir-fry until the rice is well combined with the other ingredients. Be careful not to mash the rice. Once the rice is evenly incorporated, add 1 tablespoon of oyster sauce for seasoning and stir-fry for another 2 minutes until the mixture is glossy.

Step 6
Just before turning off the heat, drizzle in 1 tablespoon of sesame oil. Optionally, sprinkle some toasted sesame seeds for extra nutty aroma. Give it a quick mix. Transfer the finished kimchi fried rice to a serving plate, arranging it nicely.

Step 7
While it’s delicious on its own, we’re going to elevate it with cheese! To ensure the cheese melts evenly and looks appealing, flatten the surface of the fried rice in the plate.

Step 8
Generously top the flattened fried rice with your desired amount of shredded cheese. Microwave for about 40 seconds, or until the cheese is melted and gooey. Heat just enough to melt the cheese.

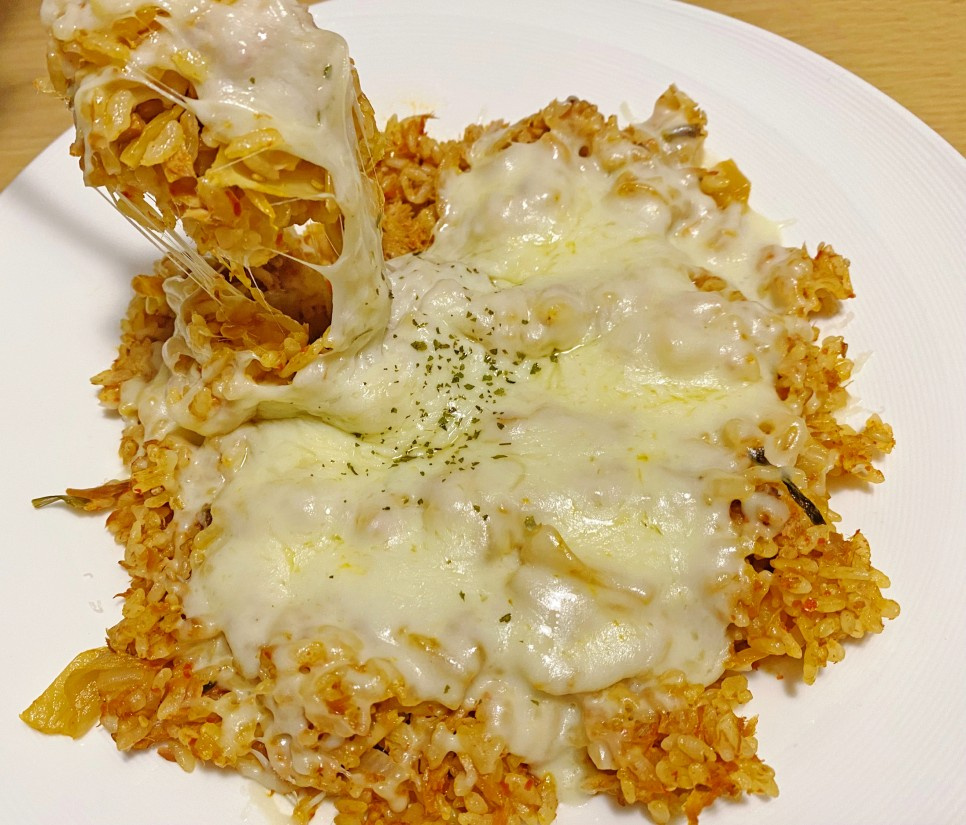
Step 9
Once the cheese is beautifully melted, sprinkle a pinch of dried parsley flakes over the top for a final touch of color and freshness. Your delicious and rich Cheesy Tuna Kimchi Fried Rice is now ready to be enjoyed!
