
Spicy Wasabi Jjolmyeon with Crispy XO Mandu
The Ultimate Combination: Zesty Jjolmyeon and Juicy XO Mandu for an Unforgettable Meal!

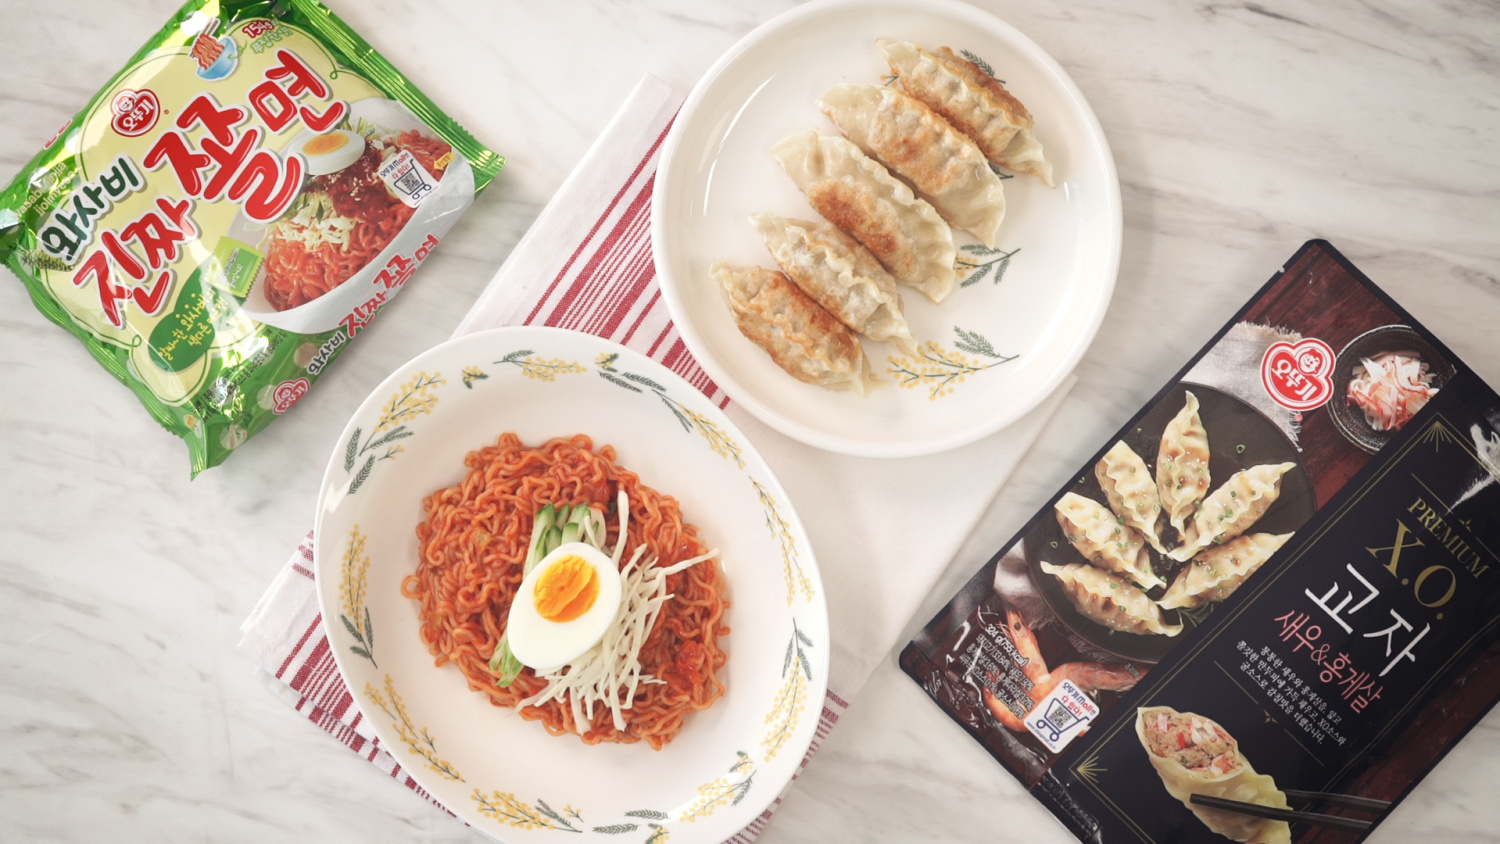
Need I say more? The exhilarating zing of wasabi in our signature Jjolmyeon paired with the irresistible juiciness of pan-fried XO Mandu! This ‘Wasabi Jin Jjolmyeon’ is a flavor explosion that’s perfect for when you crave something spicy and satisfying. Get ready for a culinary adventure!
Main Ingredients- 1 pack of Wasabi Jin Jjolmyeon (includes noodles, sauce packet, and dried garnish)
- 6 pieces of frozen XO Mandu (dumplings)
Cooking Instructions
Step 1
First, let’s prepare the delicious pan-fried XO Mandu. Heat about 1-2 tablespoons of cooking oil in a non-stick pan over medium-low heat. Carefully place the frozen XO Mandu in a single layer. Cover the pan with a lid and let them cook for about 5-7 minutes, until the bottoms are golden brown and crispy. Flipping them halfway through will ensure even browning. Once perfectly crispy, set them aside on a plate.

Step 2
Now, let’s get the pot ready for the Jjolmyeon noodles. Fill a pot with plenty of water (around 1 liter) and add the dried garnish packet that comes with the ‘Wasabi Jin Jjolmyeon’. Bring the water to a rolling boil. Adding the garnish early helps to infuse the broth with flavor as the noodles cook.

Step 3
Once the water is boiling vigorously, carefully add the Jjolmyeon noodles from the ‘Wasabi Jin Jjolmyeon’ package. Cook according to the package instructions, typically for 3 to 4 minutes. It’s important not to overcook them, as we want to achieve a satisfying chewy texture. Keep an eye on them to ensure they remain perfectly al dente.

Step 4
Drain the cooked noodles using a colander. Immediately rinse them thoroughly under cold running water. This step removes excess starch, which contributes to a chewier texture, and prevents the noodles from sticking together. Shake off any excess water.

Step 5
Place the drained Jjolmyeon noodles into a serving bowl. Add the sauce packet from the ‘Wasabi Jin Jjolmyeon’. Mix well until the noodles are evenly coated with the zesty sauce. The wasabi can be quite potent, so you might want to start with half the sauce and add more to taste. Gently toss the noodles with your hands to ensure every strand is coated.

Step 6
Finally, arrange the golden-brown, crispy XO Mandu on top of the Jjolmyeon. For an extra touch, you can garnish with julienned cucumber or a hard-boiled egg. Enjoy this incredible fusion of spicy, tangy Wasabi Jjolmyeon and perfectly pan-fried XO Mandu – a truly satisfying meal!
