
Nutrient-Rich! Kellogg’s Brown Rice Granola Scones
Making Crispy and Savory Kellogg’s Brown Rice Granola Scones

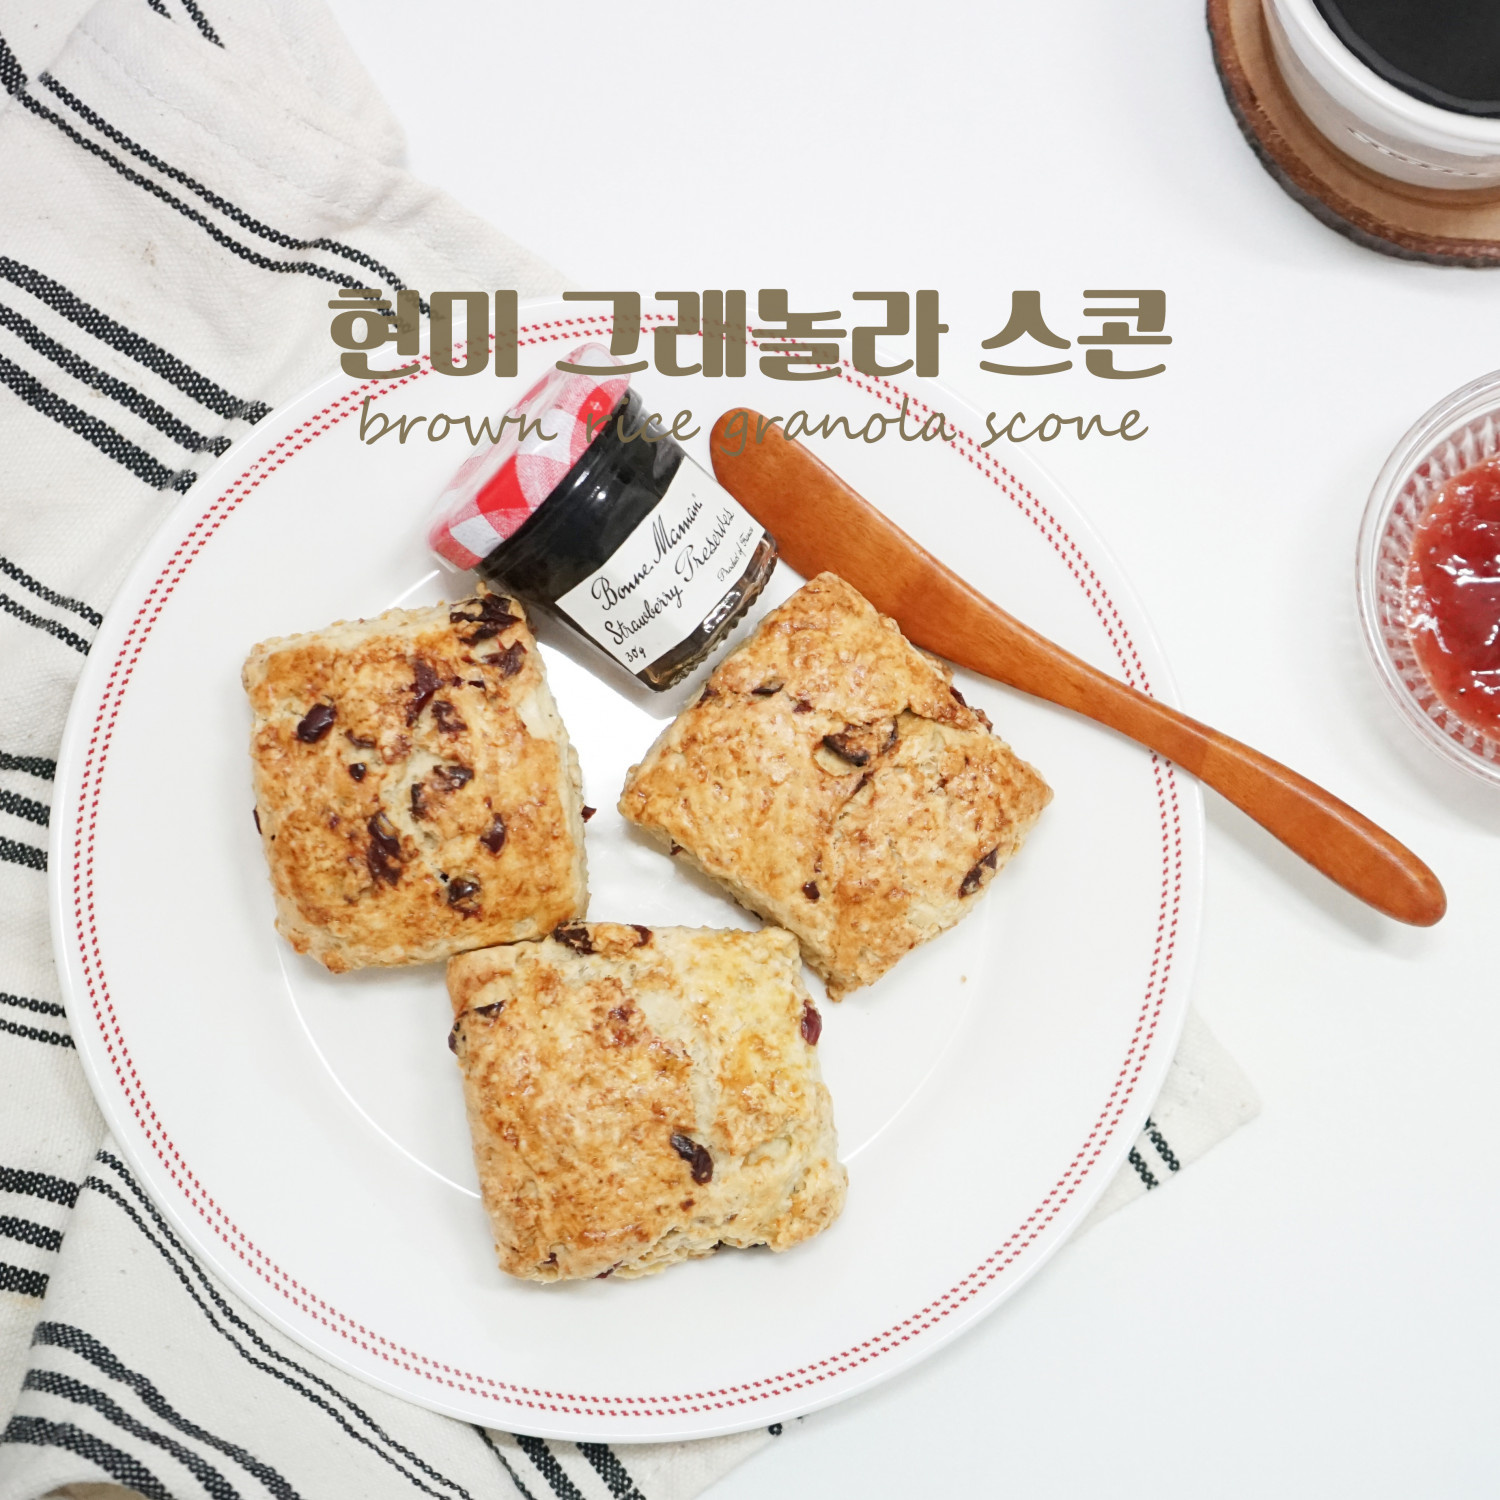
Elevate your brunch with these special scones made with Kellogg’s savory brown rice granola, packed with the 5 major nutrients! Enjoy them with aromatic coffee, or pair them with fresh jam and a side salad for an even richer and more delicious meal. These nutrient-packed scones are perfect for kids’ snacks or for entertaining guests. Here’s a recipe for wonderfully nutritious scones.
Scone Dough Ingredients- 125g Cake Flour
- 40g Kellogg’s Savory Brown Rice Granola
- 2g Baking Powder
- 20g Sugar
- 2g Salt
- 30g Cold Unsalted Butter, cubed
- A little Dried Cranberries (optional)
- 55g Ice Cold Water
Cooking Instructions
Step 1
In a bowl, sift together 125g of cake flour, 2g of salt, and 2g of baking powder. Sifting ensures no lumps and results in a softer scone. Ensure the flour is finely sifted.

Step 2
Place 40g of Kellogg’s savory brown rice granola into a food processor or blender and pulse until finely ground. If the granola pieces are too large, the scone’s texture might become coarse, so adjust to your desired texture.

Step 3
Add the finely ground granola to the sifted dry ingredients and mix thoroughly with a whisk or spatula. Ensuring the granola is evenly distributed will allow you to taste its savory flavor throughout the scone.

Step 4
Add 30g of cold, cubed unsalted butter to the prepared dry ingredients. Using cold butter is crucial for achieving a crispy scone texture.

Step 5
Quickly work the butter into the dry ingredients using a pastry blender, a scraper, or your fingertips until the mixture resembles coarse crumbs with some pea-sized pieces of butter remaining. This step is key to the flaky texture of scones. Be careful not to overwork it, as this can melt the butter!

Step 6
Pour in 55g of ice-cold water and gently mix with a spatula or your hands until the dough just comes together into a cohesive ball. Avoid overmixing; just combine until no dry flour is visible. This minimizes gluten development for a tender scone.

Step 7
If desired, stir in a small amount of dried cranberries. Once the dough has formed a ball, wrap it tightly in plastic wrap or place it in a sealed bag. Refrigerate for at least 30 minutes to chill. This chilling step firms up the dough, making it easier to shape and leading to a tastier scone after baking.

Step 8
Remove the chilled dough from the refrigerator and place it on a lightly floured work surface. Shape the dough into your desired scone form. Typically, shaping it into a rectangle about 2cm thick or a round disc works well.

Step 9
Cut the dough into your desired portions (usually 4-6 scones) using a knife and place them on a baking sheet lined with parchment paper, ensuring they have some space between them. Brush the tops lightly with milk or an egg wash for a golden-brown finish. Bake in a preheated oven at 180°C (350°F) for 15-20 minutes, or until the tops are golden brown. Baking time may vary depending on your oven.
