
Gluten-Free Rice Flour Red Bean Bread
NO GLUTEN~ Using Rice Flour! Red Bean Buns / Garumi Red Bean Buns / Rice Flour (Garumi) Cooking / Low Sugar, Low Calorie Red Bean Buns~

*1 Tbsp = 15ml, 1 tsp = 5ml
Red Bean Bread Dough Ingredients- 180g low-gluten rice flour (gluten-free)
- 120g warm water (approx. 50°C)
- 4g active dry yeast
- 2g baking powder
- 2g salt
- 1 tsp maple syrup
- 1 tsp avocado oil
- 1 egg yolk (for brushing the top)
Sweet Red Bean Filling Ingredients- 200g boiled red beans (with skins intact)
- Pinch of salt (to balance sweetness)
- 1 tsp cinnamon powder (for flavor)
- 200g boiled red beans (with skins intact)
- Pinch of salt (to balance sweetness)
- 1 tsp cinnamon powder (for flavor)
Cooking Instructions
Step 1
Rinse 1 cup of red beans thoroughly, then soak them in water overnight. This helps soften the beans and reduces cooking time.

Step 2
Place the soaked red beans in a pot. Add 1 tablespoon (1T) of vinegar to the boiling water. The vinegar helps to remove any astringent taste from the beans.

Step 3
Once the water begins to boil, after about 3 minutes, discard the cooking water. Rinse the beans again with cold water. This step helps to reduce any cloudiness or bitterness.

Step 4
Transfer the boiled red beans to a pressure cooker. Add just enough water to barely cover the beans; the water level should not be higher than the top of the beans.

Step 5
Cook using the ‘Grains’ or ‘Super Grains’ setting on your pressure cooker (this function varies by model) for approximately 48 minutes. If using a regular pot, simmer for over an hour until the beans are very tender.

Step 6
Check the beans to ensure they are fully cooked. They should be soft enough to mash easily with your fingers.

Step 7
In a bowl, combine 200g of the cooked red beans with 1 tsp of cinnamon powder and a pinch of salt. Lightly mash the beans with a fork or masher, leaving some beans whole for texture. The goal is a coarse mash, not a smooth paste.

Step 8
Your delicious red bean filling for the buns is now ready!

Step 9
In a mixing bowl, combine 180g of low-gluten rice flour, 120g of warm water (around 50°C), 2g of salt, 4g of active dry yeast, 2g of baking powder, 1 tsp of avocado oil, and 1 tsp of maple syrup.

Step 10
Mix with a spatula or your hands until all ingredients are well combined and form a cohesive dough. Rice flour does not contain gluten, so it doesn’t require kneading like wheat flour dough.

Step 11
Cover the bowl tightly with plastic wrap. Let the dough rest in a warm place for about 40-50 minutes for its first rise. (Rice flour dough won’t significantly increase in volume like gluten dough, but the yeast will activate and create a pleasant aroma.)

Step 12
After the first rise, divide the dough into portions of about 50g each and shape them into round balls. (Keep the dough covered with plastic wrap or a damp cloth while working to prevent it from drying out.)

Step 13
Keep any unused portions of dough covered with plastic wrap or a damp cloth to prevent them from drying out. Rice flour dough can dry out quickly.

Step 14
Flatten each round dough ball. Place about 30g of the red bean filling in the center. Carefully gather the edges of the dough to enclose the filling completely, pinching to seal. (Rice flour dough has very little elasticity and can crack easily, so handle it gently.)

Step 15
Ensure the seams are well sealed to prevent the filling from leaking out during baking. Properly seal the edges for a neat bun shape.

Step 16
Gently flatten the shaped buns with the palm of your hand. This helps to create a uniform shape before baking.

Step 17
Place the flattened buns in a microwave-safe container with a lid. Cover and let them rest for about 20 minutes for a second rise at room temperature. (Note: The effect of a second rise may be minimal for gluten-free bread, but it was tried here to potentially enhance flavor. Please consider this experimental.)

Step 18
Brush the tops of the buns with the egg yolk. This will give them a beautiful golden-brown color when cooked.

Step 19
Place the egg-washed buns in the lidded microwave-safe container and microwave for 5 minutes (at 800W). (Cooking times may vary slightly depending on your microwave. Be cautious, as overcooking for 6 minutes resulted in a firm bun in testing. Adjust time as needed.)

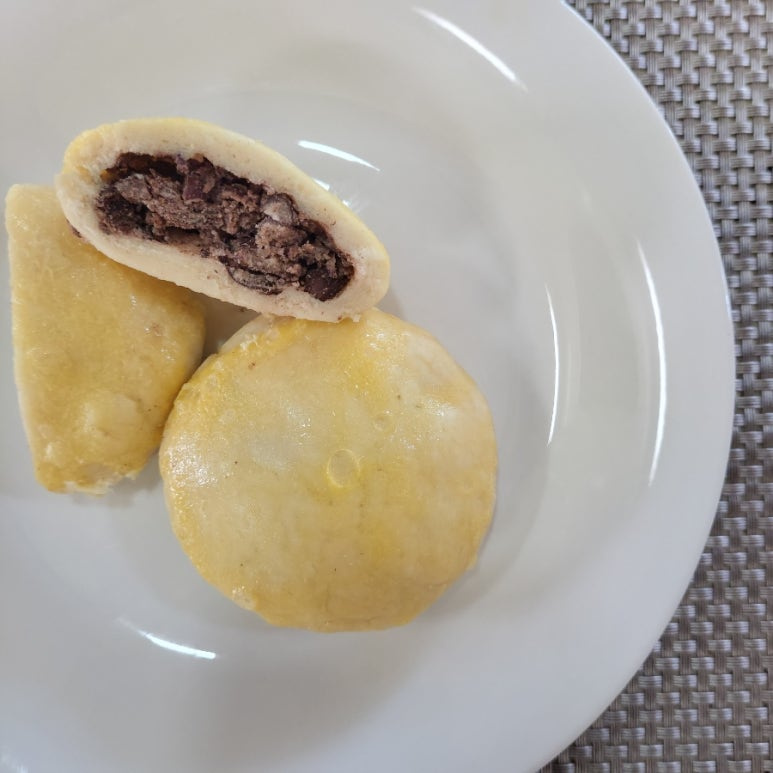
Step 20
Your healthy and delicious gluten-free rice flour red bean buns are ready! Enjoy.
