
Rich Pork Neck Kimchi Stew (Moksal Kimchi Jjigae): A Harmony of Deep Flavor and Generosity
How to Make Delicious Pork Neck Kimchi Stew for the Whole Family

The best taste you can enjoy at home! Introducing a recipe for Pork Neck Kimchi Stew, born from the fantastic harmony of its deep, rich broth, tender pork neck, and crisp kimchi. Experience the addictive flavor that will make you finish a bowl of rice in no time!
Main Ingredients- 1 head of well-fermented napa cabbage kimchi (approx. 1kg), cut into bite-sized pieces
- 3 pieces of pork neck (approx. 300g), cut into 2cm thick slices
- 1 pack of tofu (approx. 300g), cubed
- A handful of bean sprouts (optional)
Cooking Instructions
Step 1
The first step to bringing out the kimchi’s flavor! Prepare 1 head of well-fermented napa cabbage kimchi, shake off excess brine if any, and cut it into bite-sized pieces (about 2-3 cm). If your kimchi is too sour, you can add a pinch of sugar. If you have pa-kimchi (green onion kimchi), chop it nicely to prepare.

Step 2
Cut 3 pieces of pork neck (approx. 300g) into slices about 2cm thick. Pork neck adds rich juices and a savory flavor to the kimchi stew.

Step 3
Cube 1 pack of tofu. This will add a soft texture to the stew.

Step 4
Heat a pot over medium-low heat and add 2 Tbsp of sesame oil. Add the prepared pa-kimchi (if using) first and stir-fry for 1-2 minutes to release its aroma. If you don’t have pa-kimchi, you can skip this step.

Step 5
Now, add the sliced napa cabbage kimchi and stir-fry over medium heat for about 5 minutes. When the kimchi becomes tender and a tangy aroma rises, it will taste even better.

Step 6
Pour 600ml (approx. 3 cups) of water or anchovy-kelp stock into the stir-fried kimchi. Using stock will give the stew a deeper umami flavor.

Step 7
Add 1 Tbsp of minced garlic and 2 Tbsp of gochugaru (Korean red chili flakes). Adjust the amount of gochugaru based on the spiciness and saltiness of your kimchi. If you like it spicier, you can add another tablespoon.

Step 8
Add the 1/2 thinly sliced onion and stir once to combine the ingredients evenly.

Step 9
Add the 3 prepared pieces of pork neck to the pot. The pork neck will meld with the kimchi to create a rich flavor.

Step 10
Once the stew comes to a boil, reduce the heat to medium and simmer for about 15-20 minutes, or until the pork neck is fully cooked and the kimchi is tender. Skim off any foam that rises to the surface for a cleaner broth.

Step 11
When the broth has sufficiently steeped and the kimchi and meat are tender, add the cubed tofu. Simmer for another 5 minutes or so to allow the tofu to heat through and absorb the flavors.

Step 12
Finally, add a handful of bean sprouts and cook briefly for a fresh crunch. (Bean sprouts are optional, and if you add them, be careful not to overcook them.)

Step 13
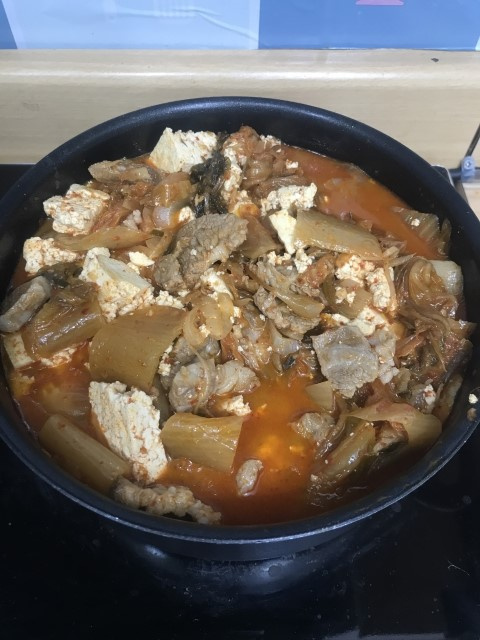
Serve the delicious Pork Neck Kimchi Stew hot with a bowl of rice! The rich and spicy broth will stimulate your appetite.

Step 14
Ladle the freshly cooked Pork Neck Kimchi Stew generously over a steaming bowl of rice and enjoy. Leftover stew can be refrigerated and reheated the next day for an even deeper flavor.
