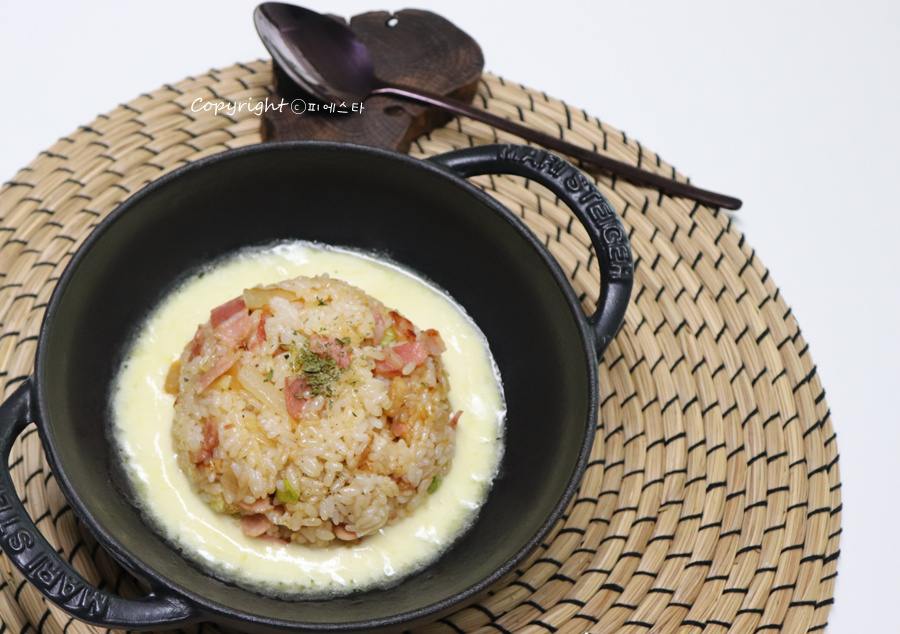
Cheesy Kkakdugi Bacon Fried Rice (Spaceship Style!)
Mom-Approved: The Best Kkakdugi Bacon Fried Rice with Rocket Cheese!

Fried rice is a lifesaver for busy parents, offering a quick, satisfying meal without the need for multiple side dishes. Today, we’re making a special version for the kids, topped with plenty of cheese! It’s so good, they’ll be giving you a big thumbs-up!
Ingredients- 3 strips of bacon (chopped into bite-sized pieces)
- 1/3 onion (finely minced)
- A little bit of kkakdugi (Korean radish kimchi, finely chopped)
- 1 white part of green onion (thinly sliced)
- 1.5 bowls of cold cooked rice
- Plenty of mozzarella cheese
- 3 Tbsp cooking oil
- 1/2 Tbsp oyster sauce
Cooking Instructions
Step 1
To make sure it’s not too spicy for the kids, we’ll lightly rinse the kkakdugi and then chop it into small pieces. This helps reduce the spiciness while keeping a pleasant crunch.

Step 2
Heat 3 tablespoons of cooking oil in a wide pan over medium-low heat. Add the thinly sliced white parts of the green onion and stir-fry them to create ‘scallion oil’. It’s important to add the scallions and oil together before turning on the heat. This allows the scallions to gently infuse their flavor into the oil without burning, creating a wonderfully aromatic base for the fried rice.

Step 3
Once the scallions are lightly golden and fragrant, add the chopped bacon, minced onion, and the rinsed and chopped kkakdugi to the pan. Stir-fry everything together until the bacon is sizzling and the vegetables begin to soften.

Step 4
When the bacon starts to turn golden brown, the flavors from the scallion oil are coating the vegetables, and the kkakdugi is tenderizing, add 1.5 bowls of cold cooked rice. Using cold rice is key to achieving fluffy, non-clumpy fried rice. This amount should make about two generous servings for children.

Step 5
Now, let’s season the fried rice. While soy sauce works, I personally prefer using oyster sauce for fried rice. It adds a savory depth, a hint of sweetness, and a rich umami flavor that can elevate dishes like garlic fried rice or shrimp fried rice. Add 1/2 tablespoon of oyster sauce and mix well with the rice and other ingredients, continuing to stir-fry.

Step 6
For a final touch of aroma, sprinkle a little black pepper over the fried rice.

Step 7
It’s time to create the ‘spaceship cheese’ effect that kids will love! Pack the fried rice firmly into a bowl to shape it. Then, invert the bowl onto a pan, releasing the rice shaped like a dome. Generously surround the rice with mozzarella cheese, creating a fun ‘spaceship’ look.

Step 8
Cover the pan and cook over low heat for about 1 minute. This will allow the bottom of the fried rice to become slightly crispy like a crust, while the mozzarella cheese melts beautifully, creating a gooey, golden topping. Serve immediately once the cheese is perfectly melted!


