
Crispy and Sweet Braised Burdock and Balloon Flower Root
Introducing ‘Braised Burdock and Balloon Flower Root’, a delicious side dish made with burdock and balloon flower root!

A delightful side dish made with burdock and balloon flower root that will bring back your appetite! This is a beloved national side dish for all ages, made by braising crispy burdock and soft balloon flower root in a soy sauce-based seasoning. Enjoy the wonderful harmony of chewy texture and sweet-salty flavor, perfect with a bowl of warm rice or as a lunchbox side. Elevate your everyday meals with this fantastic braised burdock and balloon flower root!
Ingredients- 5 burdock roots (approx. 300g)
- 5 balloon flower roots (approx. 300g)
- 3 Tbsp vinegar (for blanching burdock)
- 1/2 Tbsp salt (for blanching burdock)
- 600ml water (for blanching burdock)
- 20 Tbsp soy sauce (approx. 200ml)
- 15 Tbsp sugar (approx. 150g)
- 10 Tbsp corn syrup or rice syrup (approx. 100g)
- A pinch of sesame seeds (for garnish)
Cooking Instructions
Step 1
First, prepare 5 burdock roots. Wash them thoroughly and peel off the outer skin using a vegetable peeler or a brush. It’s important to clean them meticulously, ensuring no dirt or impurities remain.

Step 2
Slice the peeled burdock roots into bite-sized pieces of uniform thickness. Slicing them too thinly can cause them to break apart, while too thick can result in longer cooking times. Aim for a thickness of about 0.5 cm for even cooking and a pleasant texture. Cutting them into circular shapes will also enhance their visual appeal.

Step 3
Take a deep pot and add all the sliced burdock roots.

Step 4
Pour enough water to cover the burdock roots completely (approximately 600ml).

Step 5
To remove any astringency characteristic of burdock and enhance its crispiness, add 3 tablespoons of vinegar. Vinegar helps break down the starch in the burdock, making it more tender and delicious.

Step 6
Next, add 1/2 tablespoon of salt to season the burdock while it’s being blanched. Salt not only seasons the burdock but also helps to firm up its texture.

Step 7
Now, bring the water to a boil over high heat. Once boiling, reduce the heat to medium and let the burdock cook for about 10 minutes. The key is to cook it until it’s tender but still retains a pleasant crispiness, avoiding overcooking.

Step 8
Once the burdock is cooked, drain it and quickly rinse under cold running water to cool it down. This process stops the cooking and helps maintain its crisp texture.

Step 9
Drain the blanched burdock thoroughly in a colander. Any remaining water can dilute the braising sauce, so it’s advisable to pat them dry with paper towels for optimal flavor.

Step 10
Now, let’s prepare the braising sauce. In a clean pot, add 600ml of water.

Step 11
Add the blanched and drained burdock roots to the pot. They are now ready to be seasoned.

Step 12
Add 20 tablespoons of soy sauce, 15 tablespoons of sugar, and 10 tablespoons of corn syrup (or rice syrup) to create the delicious braising sauce. (Oops! I forgot to take a photo of adding the sugar and syrup. Don’t worry, just follow the proportions!)

Step 13
Initially, bring the mixture to a boil over high heat to quickly reduce the sauce. Continue boiling until the liquid is reduced to about one-third. It’s important to stir occasionally to prevent the sauce from burning.

Step 14
Once the sauce has thickened slightly, add the prepared balloon flower roots, cut into bite-sized pieces. Balloon flower roots cook faster than burdock, so adding them later ensures they retain their texture. Reduce the heat to medium and continue braising until about two-thirds of the sauce remains. Adjust the heat to allow the balloon flower roots to soften and the sauce to evenly coat both the burdock and balloon flower roots.

Step 15
When the ingredients are well-braised and have a delicious color, sprinkle a pinch of sesame seeds on top. Gently toss the braised mixture with the sesame seeds to add a glossy finish and a nutty aroma.

Step 16
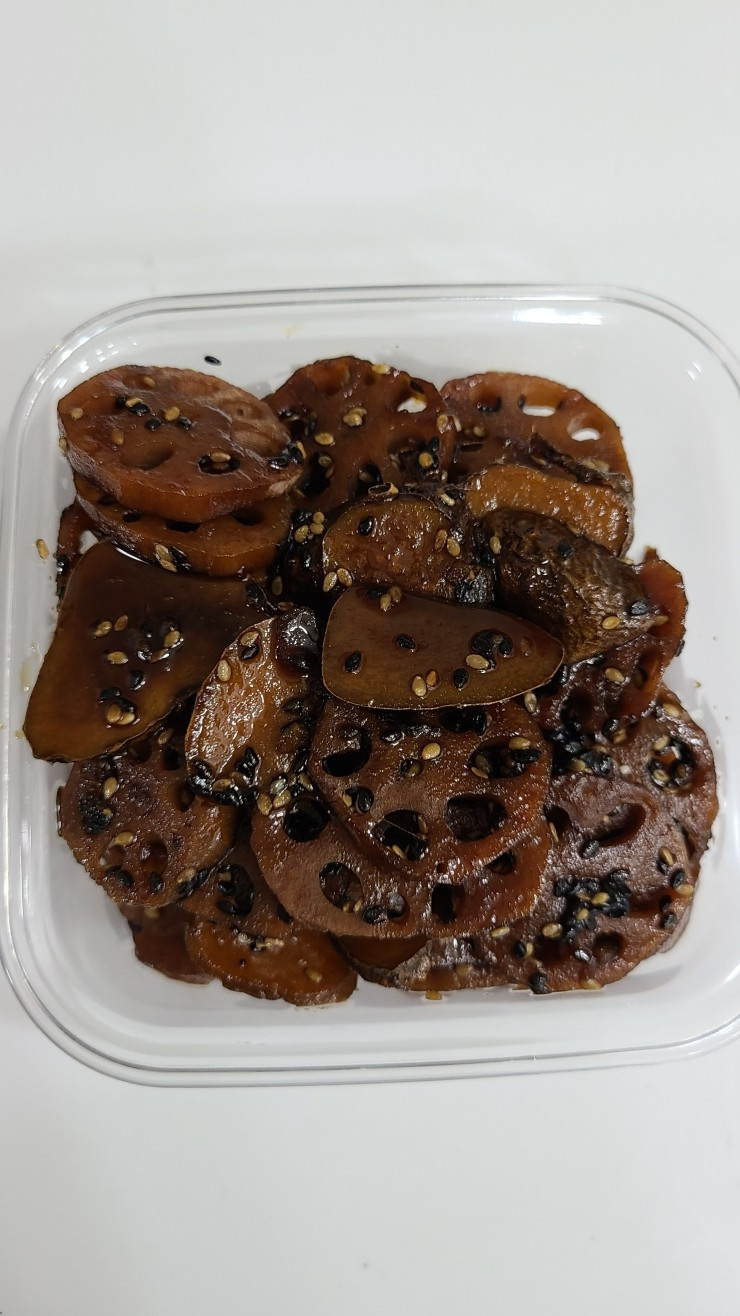
Your delicious ‘Braised Burdock and Balloon Flower Root’ with its sweet and savory flavor is now complete! Serve it over warm rice for a delightful meal.
