
Savory Biji-Jeon and Yeolmu Kimchi Fried Rice
Delicious Biji-Jeon & Refreshing Yeolmu Kimchi Fried Rice: A Perfect Way to Use Leftovers!

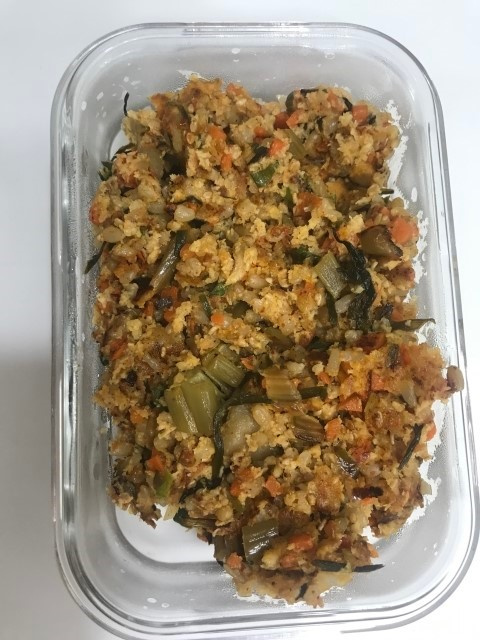
This ‘Biji-Jeon Yeolmu Kimchi Fried Rice’ is a delightful dish made using leftover biji-jeon (savory Korean pancake made with soybean pulp) from holidays or gatherings. It’s a hearty meal option and a fantastic way to creatively repurpose any extra food.
Key Ingredients- 2 Biji-jeon pancakes (cut into bite-sized pieces)
- 1/2 Carrot (finely diced or julienned)
- A portion of Yeolmu Kimchi (cut into bite-sized pieces)
- 1/2 bowl of Cold Cooked Rice
Cooking Instructions
Step 1
Prepare your main ingredients: half a bowl of cold cooked rice, two leftover biji-jeon pancakes, a good portion of refreshing yeolmu kimchi, and half a carrot for color and sweetness. Cut the biji-jeon and yeolmu kimchi into bite-sized pieces for easy eating. Finely dice or julienne the carrot. Having all your ingredients prepped makes the cooking process much smoother.

Step 2
Heat your frying pan over medium heat. Once the pan is warm enough, add about 1 to 2 tablespoons of cooking oil.

Step 3
Add the diced or julienned carrots to the pan first and stir-fry them. Cooking carrots in oil brings out their natural sweetness and adds depth to the fried rice. Stir-fry for about 1 minute until the carrots are slightly softened and translucent.

Step 4
Next, add the chopped yeolmu kimchi to the pan with the carrots and stir-fry together. The crunchy texture and the tangy, slightly spicy flavor of the yeolmu kimchi will make your fried rice incredibly flavorful. Stir-fry for about 1 minute to bring out the kimchi’s taste.

Step 5
Add the cold cooked rice to the pan with the sautéed carrots and kimchi. Break up any clumps of rice with your spatula and stir-fry well to ensure the rice is evenly coated with the ingredients. This step is crucial for creating delicious fried rice. Continue to stir-fry for about 2 minutes until the rice is thoroughly mixed.

Step 6
Finally, add the cut biji-jeon pancakes to the pan and stir-fry gently. Be careful not to break them apart. Mix them with the rice lightly so they retain some of their texture. Avoid overcooking, as the biji-jeon can become soggy if fried for too long.

Step 7
Now, add about one ladleful of the yeolmu kimchi brine. This will add a wonderful savory depth and moisture to the fried rice, infusing the rice grains with flavor. Stir everything together until well combined.

Step 8
The kimchi brine usually provides enough seasoning. However, if you prefer your fried rice a bit saltier, you can add a tiny pinch of salt to adjust the taste. If you tend to eat less salt, feel free to skip this step.

Step 9
For an extra layer of aroma and flavor, sprinkle in a little black pepper.

Step 10
Finish off your delicious fried rice by sprinkling some sesame seeds on top. This adds a nutty flavor and a visually appealing touch.

Step 11
And there you have it! Your ‘Biji-Jeon Yeolmu Kimchi Fried Rice’ is ready. Enjoy the fantastic combination of the crispy biji-jeon and the refreshing, spicy yeolmu kimchi in this simple yet incredibly satisfying meal.
