
Crispy & Moist Yogurt Scones Recipe
Make Delicious Yogurt Scones: Crispy Outside, Moist Inside

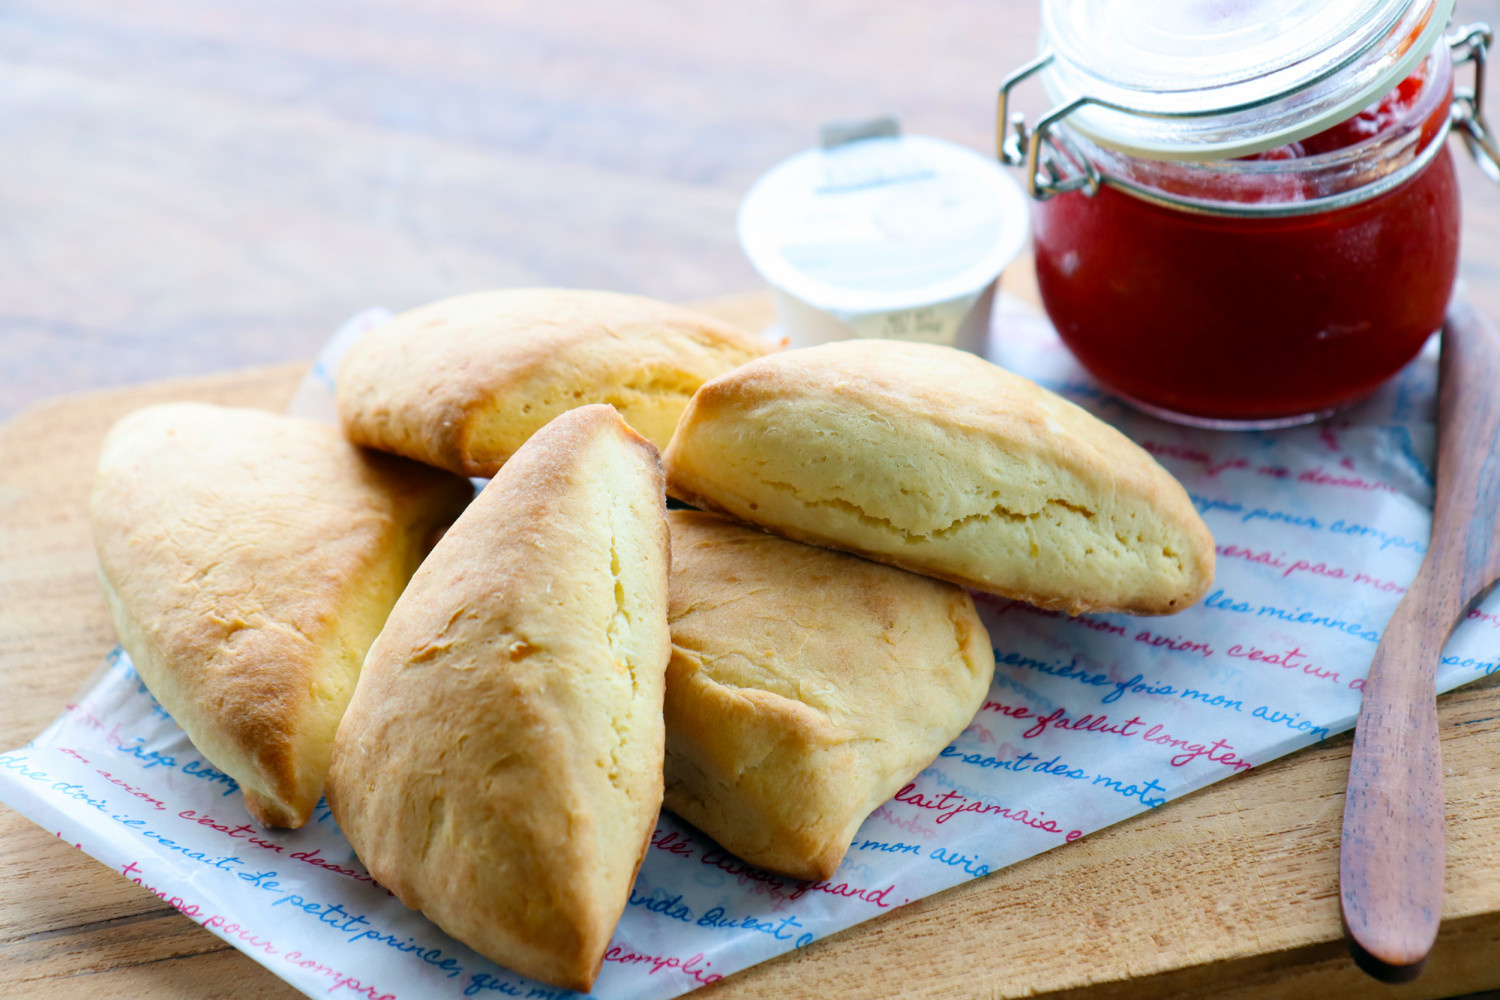
Enjoy these yogurt scones that are wonderfully crisp on the outside and delightfully moist on the inside. They make for a perfect treat with your coffee or tea.
Ingredients- 100g Bread Flour
- 150g Cake Flour
- 40g Sugar
- 3g Salt
- 30g Yogurt
- 80ml Cold Milk
- 90g Cold Unsalted Butter (cubed)
- 4g Baking Powder
Cooking Instructions
Step 1
First, prepare 100g of bread flour. Bread flour will add a chewy texture to your scones.

Step 2
Next, sift in 150g of cake flour. Cake flour will contribute to a softer texture in the scones.

Step 3
Have 30g of plain yogurt ready. Yogurt is a key ingredient responsible for the scones’ moistness and tenderness.

Step 4
Prepare 40g of sugar for sweetness. Feel free to adjust the amount according to your preference.

Step 5
Measure out 4g of baking powder. This will help the scones rise beautifully.

Step 6
Prepare 3g of salt to balance the flavors. Sugar and salt play crucial roles in harmonizing the taste.

Step 7
Measure 80ml of cold milk. It’s best to keep the milk chilled.

Step 8
Cube 90g of cold unsalted butter into small pieces. Keeping the butter cold is essential to prevent the dough from becoming too wet and to achieve a crispy texture. Ensure the butter remains cold throughout the process.

Step 9
In a large bowl, combine the bread flour, cake flour, sugar, baking powder, and salt. Whisk gently or mix with your hands until evenly distributed. Ensure all dry ingredients are well combined.

Step 10
Add the cubed cold butter to the dry ingredients. Using a pastry blender, a fork, or your fingertips, quickly rub the butter into the flour mixture until it resembles coarse crumbs or small peas. Work quickly to prevent the butter from melting. The mixture should be crumbly. Avoid overmixing, as this can develop gluten and result in tough scones.

Step 11
In a separate small bowl, lightly whisk together the cold milk and plain yogurt. Add the baking powder to this wet mixture and stir. Incorporating baking powder here can help activate it, leading to a better rise.

Step 12
Create a well in the center of the dry ingredients and pour in the yogurt-milk mixture. Using a spatula or scraper, gently fold the ingredients together just until no dry flour streaks remain. Be careful not to overmix; the dough should be slightly shaggy, with perhaps a few visible dry bits of flour.

Step 13
Gather the dough into a rough ball, wrap it tightly in plastic wrap or place it in a resealable plastic bag, flatten it slightly, and refrigerate for at least 1 hour, or until firm. This chilling period allows the gluten to relax and the butter to re-solidify, which significantly improves the scones’ texture and flavor.

Step 14
Lightly dust your work surface (like a cutting board) with a bit of flour. Turn out the chilled dough onto the dusted surface. Use additional flour as needed to prevent sticking.

Step 15
Gently press down or use a rolling pin to flatten the dough to a thickness of about 2 to 2.5 cm (approximately 1 inch). Avoid rolling it too thin, as this can make the scones dry. Use a knife or bench scraper to cut the dough into your desired shapes, such as squares or triangles.

Step 16
Arrange the shaped scones on a baking sheet. Lining the sheet with parchment paper will make cleanup easier. Ensure there is some space between each scone.

Step 17
Bake in a preheated oven at 190°C (375°F) for about 18-20 minutes. The scones are ready when they are golden brown on top and a skewer inserted into the center comes out clean. Baking times and temperatures may vary slightly depending on your oven.
