
Sweet White Chocolate Finger Cookies
Recipe for Sweet White Chocolate Finger Cookies, Baked with Love

With extended periods at home, a sweet treat is just what we need to lift our spirits! Surprise your loved ones, or simply treat yourself, with these delightful White Chocolate Finger Cookies. Each bite offers a burst of creamy, sweet white chocolate that melts in your mouth. Unlike traditional finger cookies, these boast a tender texture and a wonderfully sweet charm that you’ll adore.
Cookie Ingredients (Makes approx. 40 cookies)- 100g White Couverture Chocolate
- 200g Butter (softened to room temperature)
- 2g Salt
- 30g Powdered Sugar (Icing Sugar)
- 200g All-purpose Flour
- 50g Cornstarch
Cooking Instructions
Step 1
Prepare your piping bag and scraper. Placing the piping bag inside a cup makes it easier to fill with batter.

Step 2
Sift the all-purpose flour and cornstarch together at least three times. This step is crucial for achieving a wonderfully tender cookie texture.

Step 3
Melt the white couverture chocolate gently in a double boiler (bain-marie) until smooth and free of lumps.

Step 4
Allow the melted white chocolate to cool slightly at room temperature until it’s no longer hot but not yet solidified. It should be cool enough to handle without burning your fingers, but not so cold that it starts to set prematurely when mixed with butter.

Step 5
Ensure your butter is softened to room temperature, making it pliable and easy to cream.

Step 6
Using an electric mixer or a whisk, beat the softened butter until it becomes pale yellow and creamy. This process incorporates air, which helps create a lighter cookie.

Step 7
Add the cooled melted white chocolate and salt to the creamed butter. Mix again until everything is smoothly incorporated. Scrape down the sides of the bowl as needed.

Step 8
Gradually add the sifted powdered sugar, mixing it in batches. Continue mixing until well combined. Adding it all at once can cause the butter mixture to seize or become too stiff.

Step 9
Be mindful not to overmix when adding the powdered sugar. The goal is a smooth, creamy consistency, not a dense, heavy mixture. Avoid creating a ‘winter wonderland’ of stiff butter!

Step 10
Add the sifted dry ingredients (flour and cornstarch) to the wet mixture.

Step 11
Using a spatula, gently fold the dry ingredients into the wet mixture using a cutting motion. Mix just until no dry streaks of flour remain.

Step 12
It’s important not to overmix the dough once the flour is added, as this can develop gluten and result in tough cookies. Stop mixing as soon as you no longer see any dry flour.

Step 13
Transfer the dough into the prepared piping bag fitted with your desired tip. Pipe the cookies onto baking sheets lined with parchment paper or silicone mats, leaving some space between each cookie.

Step 14
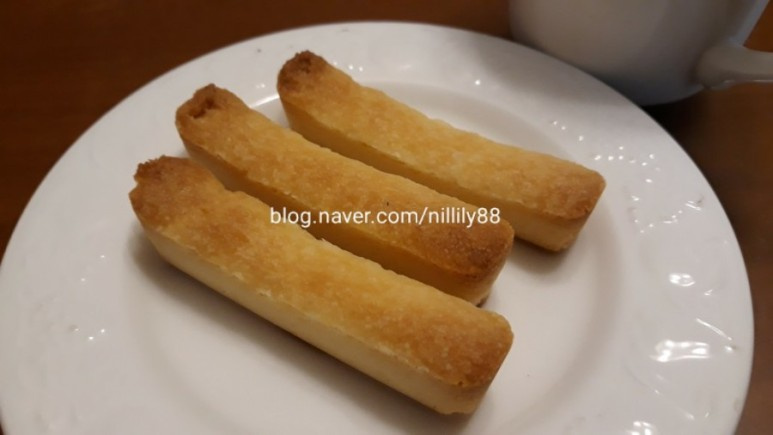
Alternatively, as shown in the image, you can use silicone molds.

Step 15
Pipe the dough directly into the silicone molds without a tip, creating perfectly shaped cookies. This method ensures uniform shapes and a very neat appearance.

Step 16
Bake in a preheated oven at 180°C (350°F) for about 15 minutes. Baking time may vary depending on your oven.

Step 17
If using multiple racks or baking a large batch, rotate the pans halfway through the baking time or swap the positions of the top and bottom racks to ensure even baking. Keep a close eye on the cookies to prevent them from burning.

Step 18
Once baked, carefully remove the cookies (still in the mold if used) from the oven and let them cool for a few minutes. They are very fragile when hot, so allowing them to cool slightly in the mold prevents breakage.

Step 19
Gently transfer the cooled cookies from the mold to a wire rack to cool completely. For an extra touch, you could have sprinkled cacao nibs on top before baking for added texture and flavor!
