
Homemade Apricot Jam
How to Make Delicious Apricot Jam with Seasonal Apricots

This recipe guides you through making delightful apricot jam using fresh, seasonal apricots. Apricots are difficult to store for long periods, so preserving them as jam allows you to enjoy their sweet and tangy flavor year-round. Get ready to make a batch of delicious homemade apricot jam that’s perfect for your toast, yogurt, or pastries!
Jam Ingredients- 600g ripe apricots
- 300g sugar (50% of apricot weight)
Cooking Instructions
Step 1
Begin by thoroughly cleaning the fresh apricots. Gently scrub them with a soft brush to remove any dirt or dust. Then, soak them in a bowl of water with a splash of vinegar for about 10 minutes to eliminate pesticide residues. Afterward, drain them well and pat dry completely.

Step 2
Cut the apricots in half and remove the pits. Apricots typically have pits that separate easily from the flesh, so you should be able to remove them cleanly by following the natural seam.

Step 3
Once the pits are removed, chop the apricot halves into smaller pieces. This will help them break down more easily during cooking and create a smoother jam texture.

Step 4
Weigh the chopped apricots after removing the pits. In this recipe, we’re using approximately 600g of apricot flesh. Accurate weighing is important for achieving the desired jam consistency and flavor.

Step 5
Traditionally, jam is made with a 1:1 ratio of fruit to sugar. However, to highlight the natural fruit flavor, I prefer to reduce the sugar and compensate by cooking the jam for a longer period to achieve the right consistency. Here, we’re using 300g of sugar for 600g of apricot flesh, which is a 50% sugar ratio.

Step 6
Combine the 600g of chopped apricots with 300g of sugar in a bowl. Mix well to ensure the sugar is evenly distributed. Let it sit for about 30 minutes, allowing the sugar to draw out the natural juices from the fruit.

Step 7
After resting for 30 minutes, you’ll notice that the sugar has dissolved and a significant amount of clear liquid has been released from the apricots. This natural juice is crucial for making the jam.

Step 8
Transfer the apricot and sugar mixture to a pot. Start cooking over high heat until it comes to a boil. Once boiling, reduce the heat to prevent it from boiling over.

Step 9
As the jam cooks, foam may rise to the surface. This foam can affect the final color and clarity of the jam, so skim it off periodically using a spoon or a skimmer.

Step 10
For a smoother jam texture, once the apricots have softened considerably, use an immersion blender (hand blender) to purée the mixture until smooth. Since the apricots are well-cooked, they should blend easily into a fine consistency. (Remember, the pits were removed earlier.)

Step 11
In the initial stages, when the mixture is quite liquid, continue cooking over high heat to encourage evaporation. Apricots are naturally quite tart, so adding lemon juice is usually unnecessary to achieve a pleasant tangy flavor.

Step 12
Once the jam begins to thicken, reduce the heat to medium-low. Remove the lid and continue stirring constantly to prevent sticking or burning on the bottom of the pot. Use a spatula to scrape the bottom thoroughly as you stir.

Step 13
Here’s how to test for jam consistency: Drop a small amount of jam onto a cold plate or into a glass of cold water. If the jam spreads out quickly and disperses, it means it’s not yet thick enough and needs to be cooked further.

Step 14
Test the consistency again. If the drop of jam holds its shape and doesn’t spread significantly, it’s ready. Remember that jam will thicken further as it cools, so avoid cooking it to a point where it becomes too stiff. You want a spreadable consistency.

Step 15
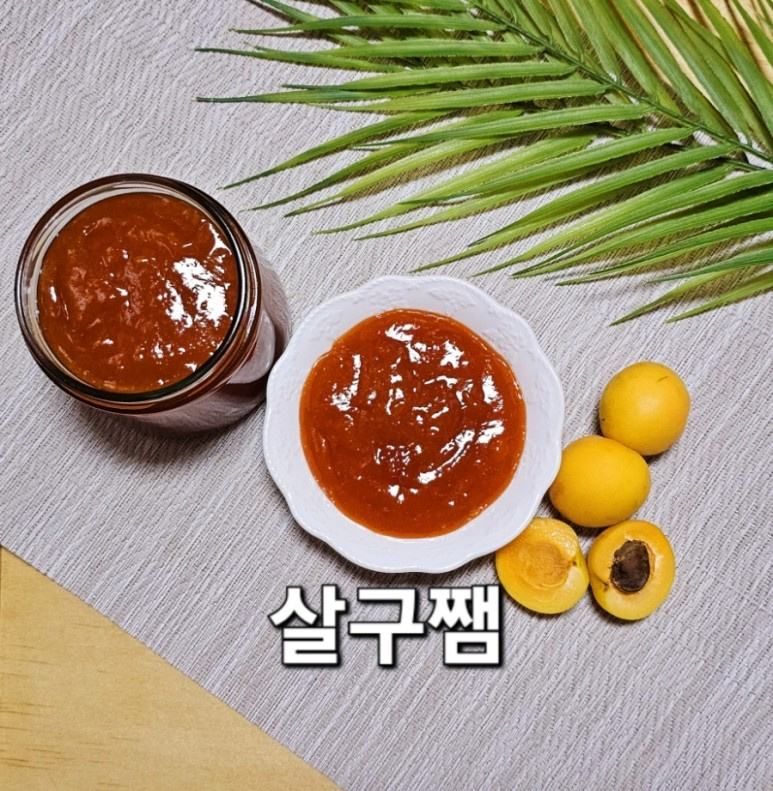
The finished apricot jam should have a beautiful color and a pleasing, spreadable consistency. Its sweet and tangy flavor profile makes it perfect for spreading on toast, adding to yogurt, or using as a filling.

Step 16
Prepare your storage jars. Wash the glass jars thoroughly and sterilize them by boiling them in water. After boiling, drain them and ensure they are completely dry. Sterilizing with heat helps preserve the jam for longer.

Step 17
Carefully spoon the finished apricot jam into the sterilized glass jars. Avoid filling them to the very brim; leave a little headspace.

Step 18
And there you have it – delicious homemade apricot jam is ready to be enjoyed!
