
Spicy & Tangy Homemade Jjolmyeon
Chewy Jjolmyeon Recipe with Fresh Vegetables and Savory Beef Topping

It’s been a while since I last made Jjolmyeon at home, and it turned out absolutely delicious! I often hesitate to order it out because it doesn’t always hit the spot, so I decided to make a generous batch of 5 servings this time. The chewy noodles, crisp vegetables, and flavorful beef topping create a truly satisfying meal. If you’re looking for a jjolmyeon that perfectly suits your taste, why not try making it at home?
Jjolmyeon & Vegetables- Jjolmyeon noodles (for 1 serving)
- 1 handful fresh lettuce
- 1 handful crisp bean sprouts
- A little cucumber, julienned
Beef Topping- 5 slices bulgogi-style beef (approx. 50-70g)
- 5 slices bulgogi-style beef (approx. 50-70g)
Cooking Instructions
Step 1
Prepare the fresh vegetables: Tear the lettuce into bite-sized pieces and julienne the cucumber. Rinse the bean sprouts thoroughly under running water.

Step 2
Blanch the bean sprouts: Bring a pot of water to a boil. Add the rinsed bean sprouts and blanch for about 1 minute. Immediately rinse them under cold water to stop the cooking and maintain their crispness.

Step 3
Boil and rinse the jjolmyeon noodles: Bring the water used for blanching the bean sprouts back to a boil. Add the jjolmyeon noodles and separate them with chopsticks to prevent sticking. Once the water returns to a boil, cook for another 1-2 minutes. Drain the noodles and rinse them thoroughly under cold running water, gently rubbing to remove excess starch. Ensure all water is drained for the best chewy texture.

Step 4
Cook the beef topping: Lightly season the bulgogi-style beef with salt and pepper. Heat a pan over medium-high heat and sear the beef slices for about 1-2 minutes per side until lightly browned. Be careful not to overcook them, as they can become tough.

Step 5
Make the special jjolmyeon sauce: In a bowl, combine gochujang, apple vinegar, sugar, minced garlic, and perilla oil. Mix well until thoroughly combined. For extra spice, you can add a pinch of chili flakes. (Note: This sauce recipe is for 2 servings. For 5 servings, multiply the sauce ingredients by 2.5.)

Step 6
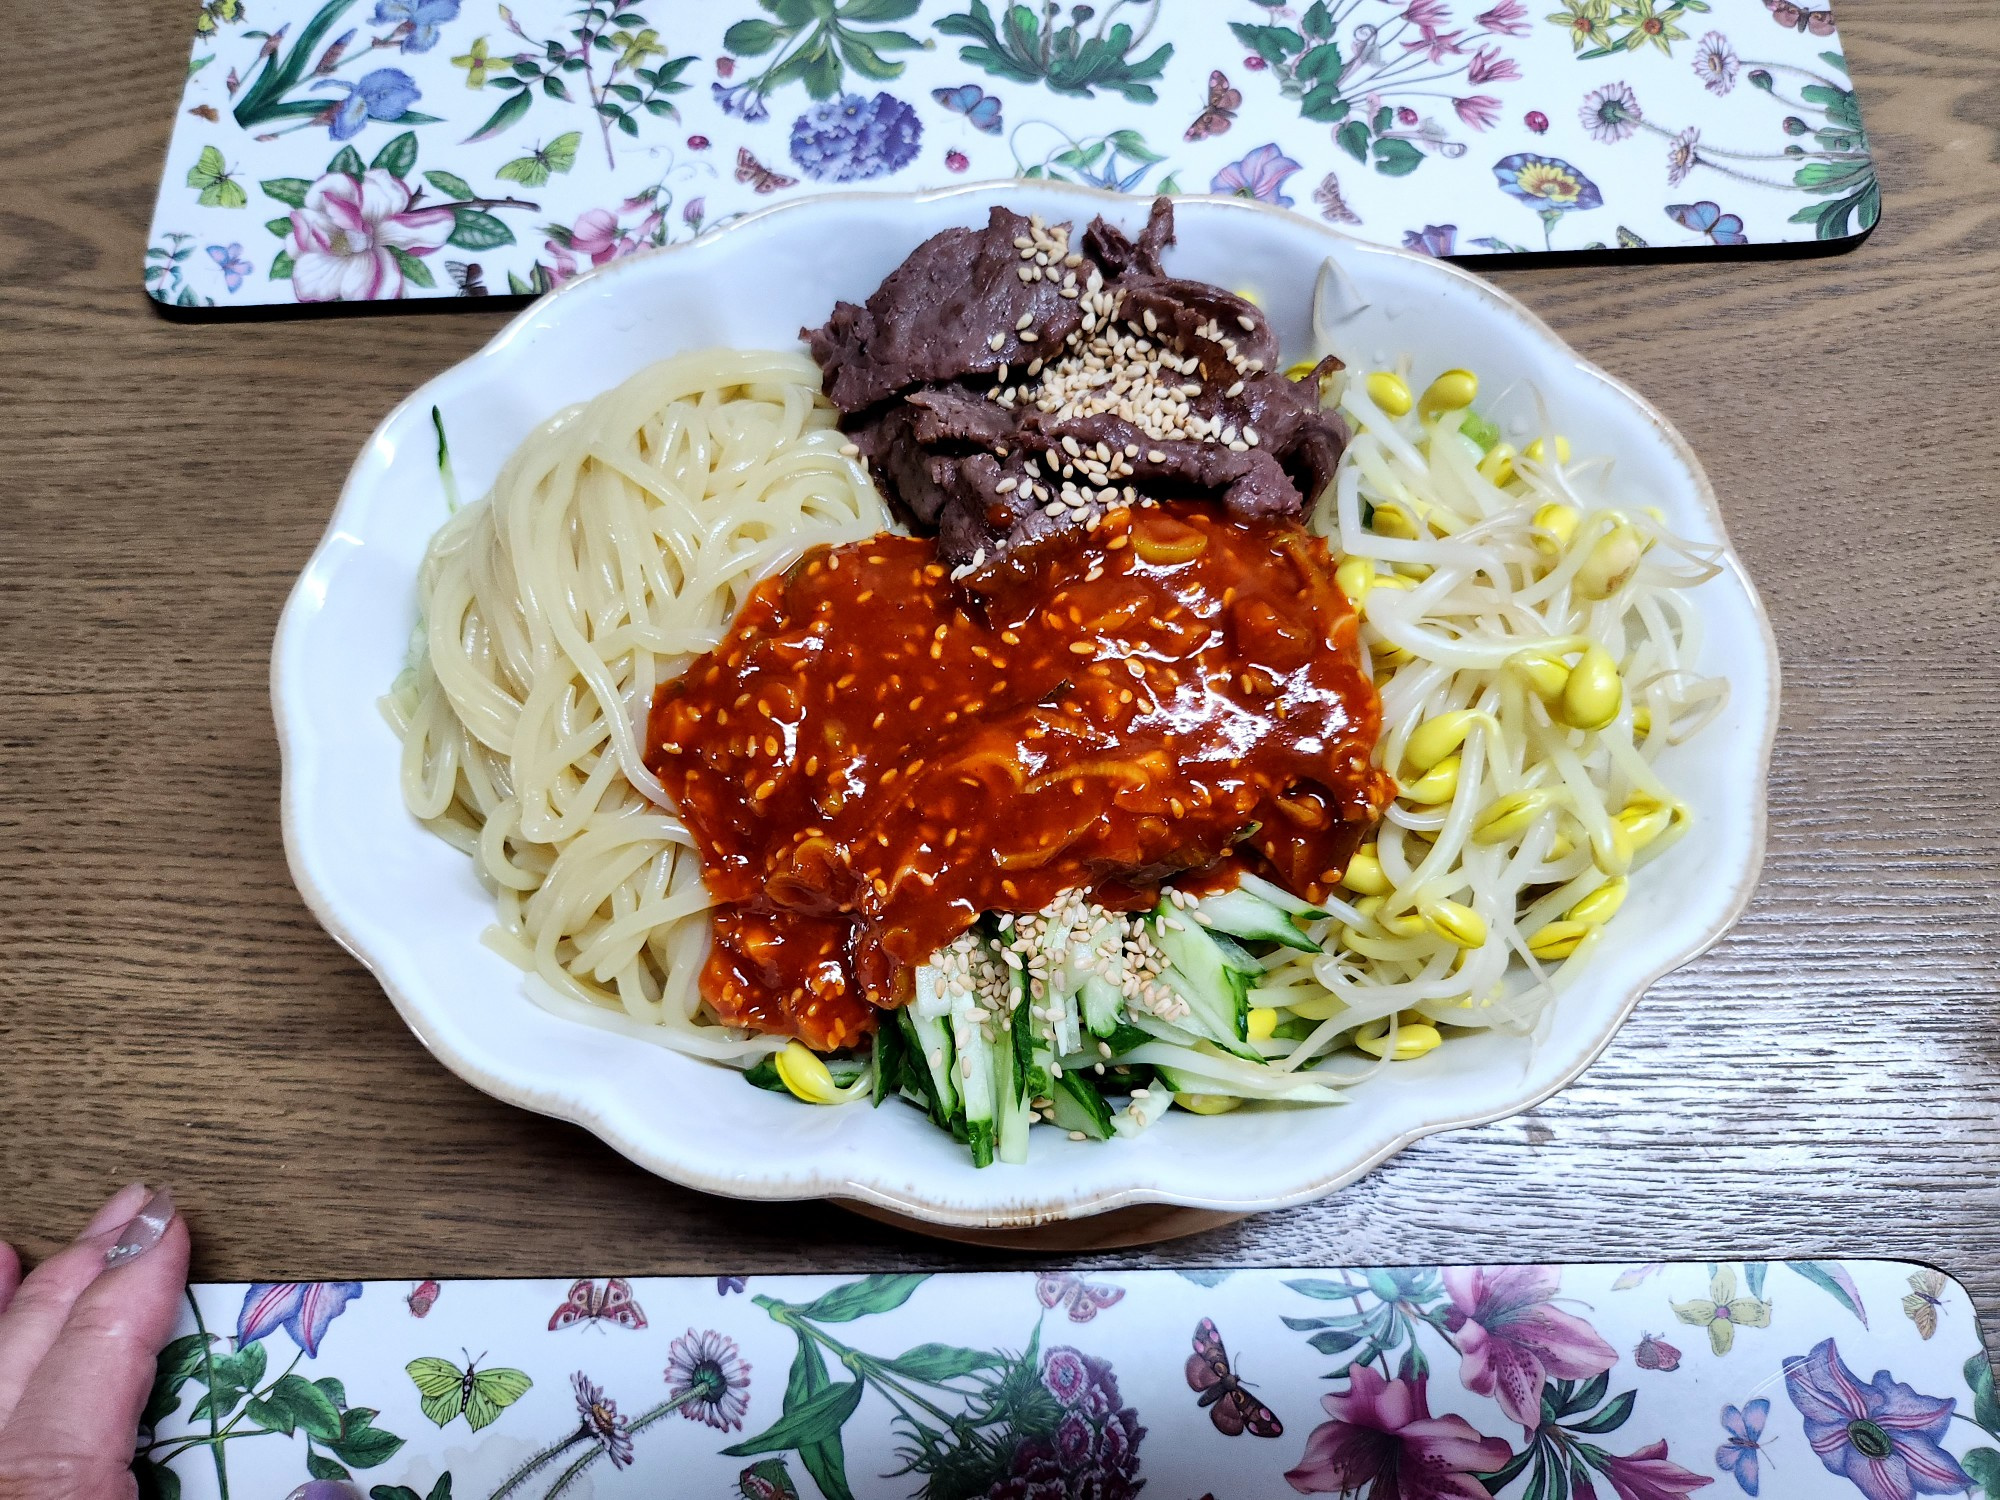
Arrange the vegetables: Place the torn lettuce leaves at the bottom of a large serving bowl. This helps prevent the noodles from clumping and adds a nice layer of texture.

Step 7
Add the other ingredients: Artfully arrange the julienned cucumber and the blanched bean sprouts on top of the lettuce. Place the drained jjolmyeon noodles neatly.

Step 8
Top with beef: Arrange the cooked beef slices attractively on top of the noodles and vegetables. The lettuce base will make it look even more abundant.

Step 9
Garnish with sauce and sesame seeds: Spoon the prepared special jjolmyeon sauce over the ingredients. Sprinkle with sesame seeds for a nutty aroma and visual appeal.

Step 10
Mix and enjoy: Add the sauce to the jjolmyeon and toss everything together until well combined. Your delicious, spicy, tangy, and sweet bibim jjolmyeon is ready! Feel free to add a hard-boiled egg or some kimchi for an extra touch.
