
Homemade Sweet Canned Peaches
Make Delicious Canned Peaches at Home with No Additives

The season for enjoying delicious peaches is here! Introducing a recipe for homemade canned peaches, made easily and without any additives, rivaling those from the store. We’ll be using photos taken last year to help you follow along even more easily. This recipe will allow you to savor the soft texture and subtle sweetness of peaches with every bite.
Canned Peach Ingredients- 1 ripe peach
- 500ml water (approx. 2 cups)
- 1/2 paper cup sugar (approx. 50g)
- A little lemon juice (optional, adds freshness)
Cooking Instructions
Step 1
First, wash the peach thoroughly. Since we’ll be using the skin, it’s important to wash it meticulously to remove any residue.

Step 2
To minimize bruising the flesh, carefully peel the peach using a knife. Don’t discard the peels; set them aside as they will add flavor and color to your canned peaches.

Step 3
Cut the prepared peach into bite-sized pieces that are easy to place in the jar. You can remove the pit at this stage.

Step 4
Pour 500ml of clean water into a pot and add 1/2 paper cup of sugar (approximately 50g). If using a measuring cup, adjust accordingly.

Step 5
Once the water starts boiling, add all the peach peels you set aside and simmer for about 10 minutes. The peels will release their aroma and a subtle color into the water.

Step 6
After 10 minutes, remove the peach peels from the pot. Then, carefully add the cut peach pieces into the boiling water.

Step 7
Continue to boil the peaches for another 10 minutes after adding them. Be careful not to overcook them, as they can become too soft. Aim for a tender but still slightly firm texture.

Step 8
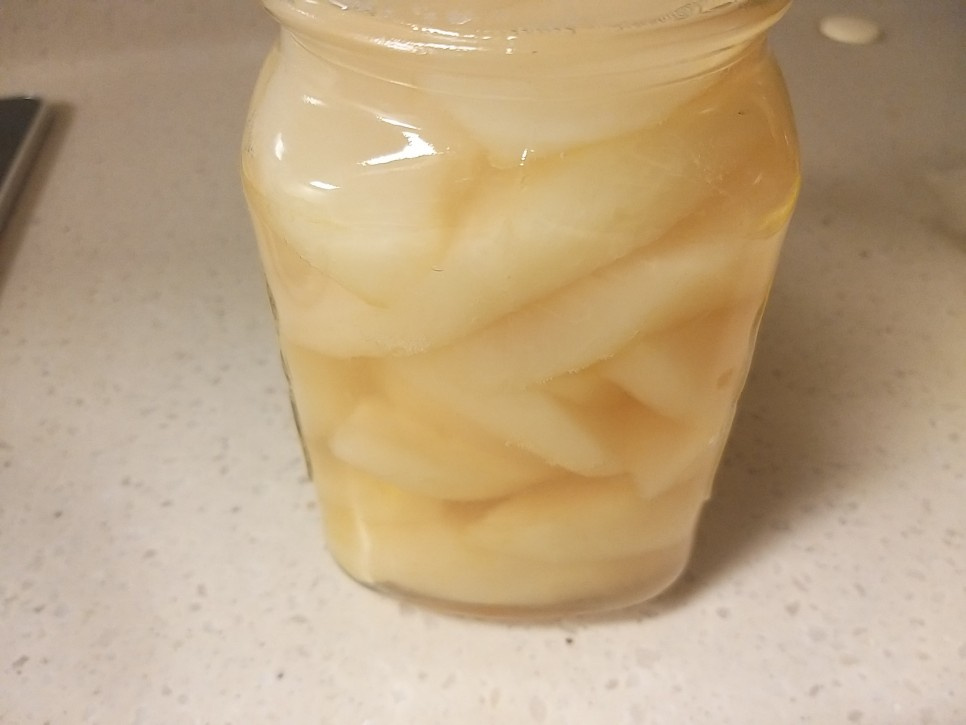
Now, prepare a clean glass jar for your canned peaches. Sterilizing the jar by boiling it in water will ensure better hygiene for storage. Carefully place the hot peach pieces into the prepared glass jar.

Step 9
Pour the hot syrup (water + sugar + infused peel water) over the peaches, filling the jar. Optionally, add a few drops of lemon juice; this will enhance the fresh flavor, improve the color, and aid in preservation.

Step 10
Securely close the lid of the jar. Be cautious as the jar is hot. Sealing it while everything is still hot is crucial for creating a vacuum seal.

Step 11
Once sealed, invert the jar so the lid faces downwards and let it cool completely. This helps to create a better vacuum seal for fresher storage. Allow it to chill in a cool place for about a day for even more delicious results!
