
Crispy & Moist Cream Scones
How to Bake Perfect Cream Scones at Home

I find scones to be incredibly easy to make, yet they can sometimes end up with a raw flour taste or a sticky texture if not done right. Through extensive scone-making experiments, I’ve learned valuable tips and tricks that I’d love to share with you. For a clearer understanding of the dough-making process, I highly recommend referring to the accompanying video. In times when visiting cafes isn’t always easy, creating your own delightful café experience at home by baking delicious scones sounds like a wonderful idea. Enjoy your homemade café treat! ♥
Dry Ingredients- 200g cake flour (low-gluten flour)
- 30g bread flour (high-gluten flour)
- 17g almond flour (for a nutty flavor)
- 50g brown sugar
- 2.5g salt
- 6g baking powder
Wet Ingredients- 125g liquid heavy cream
- 35g egg (about 3/4 of a large egg)
Other Ingredients- 60g unsalted butter, chilled and cubed
- A little extra bread flour for dusting
- A small amount of egg wash for brushing
- 125g liquid heavy cream
- 35g egg (about 3/4 of a large egg)
Other Ingredients- 60g unsalted butter, chilled and cubed
- A little extra bread flour for dusting
- A small amount of egg wash for brushing
Cooking Instructions
Step 1
### Preparation for Perfect Scones (Step 0)
1. **Butter Prep:** Cut the unsalted butter into 1.5 cm cubes and place them in the freezer along with a bit of dusting flour. Keeping the butter very cold is crucial for achieving a flaky texture.
2. **Chill Dry Ingredients:** Sift together all the dry ingredients (cake flour, bread flour, almond flour, baking powder). Cover the bowl with plastic wrap and place it in the freezer for about 10 minutes.
3. **Chill Sugar & Salt:** Measure out the brown sugar and salt, and chill them in the freezer as well.
4. **Prepare Wet Ingredients:** In a small bowl, whisk together the liquid heavy cream and the measured egg until just combined. Refrigerate this mixture until needed.
5. **Preheat Oven:** About 10 minutes before you plan to bake, preheat your oven to 180°C (350°F).
6. **Prepare Baking Sheet:** Line a baking sheet with a silicone baking mat or parchment paper.

Step 2
### Mixing Dry Ingredients (Step 1)
In a large bowl, combine the chilled sifted dry ingredients (flours, baking powder, almond flour) with the chilled brown sugar and salt. Whisk gently with a whisk to ensure everything is evenly distributed. This step aerates the dry ingredients, contributing to a lighter scone.

Step 3
### Cutting in the Cold Butter (Step 2)
1. Add the chilled, cubed unsalted butter to the bowl with the dry ingredients.
2. Using a pastry blender, bench scraper, or your fingertips, quickly cut the butter into the flour mixture. Work until the mixture resembles coarse crumbs with some pea-sized pieces of butter still visible. Avoid overmixing or letting the butter melt; speed is key here. These butter pieces will create pockets of steam during baking, resulting in a flaky texture.

Step 4
### Incorporating Wet Ingredients (Step 3)
1. Create a well in the center of the butter-flour mixture.
2. Pour the chilled cream and egg mixture into the well.
3. Using a spatula or a bench scraper, gently mix the ingredients until just combined and no dry flour streaks remain. Be careful not to overmix; overmixing develops gluten and can lead to tough scones. Stop mixing as soon as the dough starts to come together.

Step 5
### Shaping and Folding the Dough (Step 4)
1. Forming a Dough Ball: Lightly dust your work surface with bread flour. Turn the dough out of the bowl and gently press it together with your hands to form a cohesive mass.
2. Creating a Rectangle: Using two bench scrapers, shape the dough into a rough rectangle. Gently press and guide the dough to create an even rectangular shape.
3. Folding the Dough: Fold the rectangle in half, bringing one side over the other.
4. Flatten Again: Gently press down on the folded dough with a bench scraper to flatten it back into a rectangle.
5. Repeat Folding: Repeat steps 3 and 4 approximately 3 to 4 times. This folding process creates layers in the dough, contributing to the scone’s flaky texture. Work quickly between folds to prevent the butter from warming up too much.

Step 6
### Chilling the Dough (Step 5)
Wrap the shaped dough tightly in plastic wrap or place it in a ziplock bag. Refrigerate for at least 2 hours, or until firm. This chilling period allows the butter to re-solidify and the gluten to relax, making the dough easier to handle and improving the scone’s texture.

Step 7
### Dividing the Dough (Step 6)
Remove the chilled dough from the refrigerator. Using a sharp knife or a pizza cutter, cut the dough into 12 equal portions. Using a bench scraper can help keep the cuts clean. Ensure the pieces are as uniform as possible for even baking.

Step 8
### Egg Wash and Panning (Step 7)
1. Arrange the cut dough pieces onto the prepared baking sheet, leaving some space between each scone.
2. Lightly brush the tops of the scones with the egg wash. This will give them a beautiful golden-brown color when baked. Be careful not to let too much egg wash drip down the sides.

Step 9
### Baking the Scones (Step 8)
1. Bake in the preheated 180°C (350°F) oven for about 15 minutes, or until the tops are golden brown and set.
2. To ensure even baking, rotate the baking sheet halfway through the baking time (around 10-12 minutes) or swap the oven rack positions. Continue baking for another 5 minutes, or until the scones are uniformly golden. Baking times may vary depending on your oven, so keep an eye on them.

Step 10
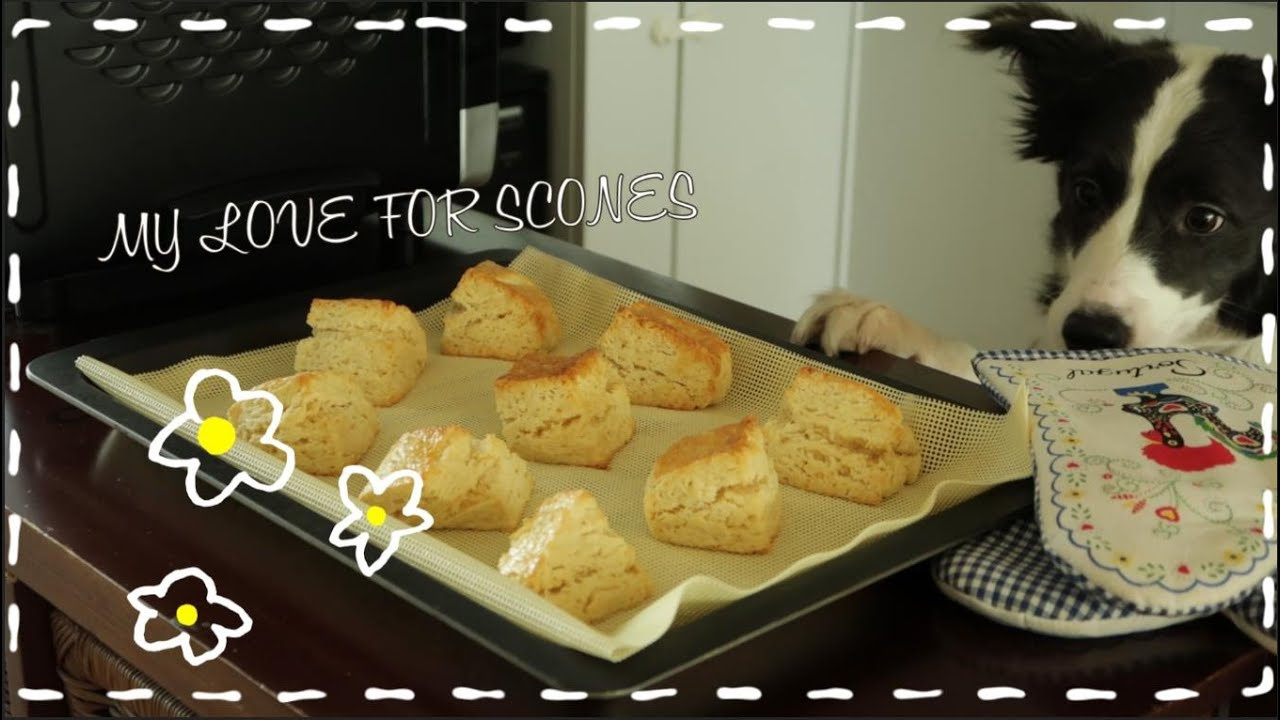
### Cooling the Scones (Step 9)
Once baked, leave the scones on the baking mat on the baking sheet for about 5-10 minutes to cool slightly at room temperature. Avoid moving them immediately as they are fragile when hot. Allow them to cool on the baking mat until they are slightly firm before transferring them to a wire rack to cool completely. Enjoy them while they are still slightly warm for the best crispy-yet-moist experience!
