
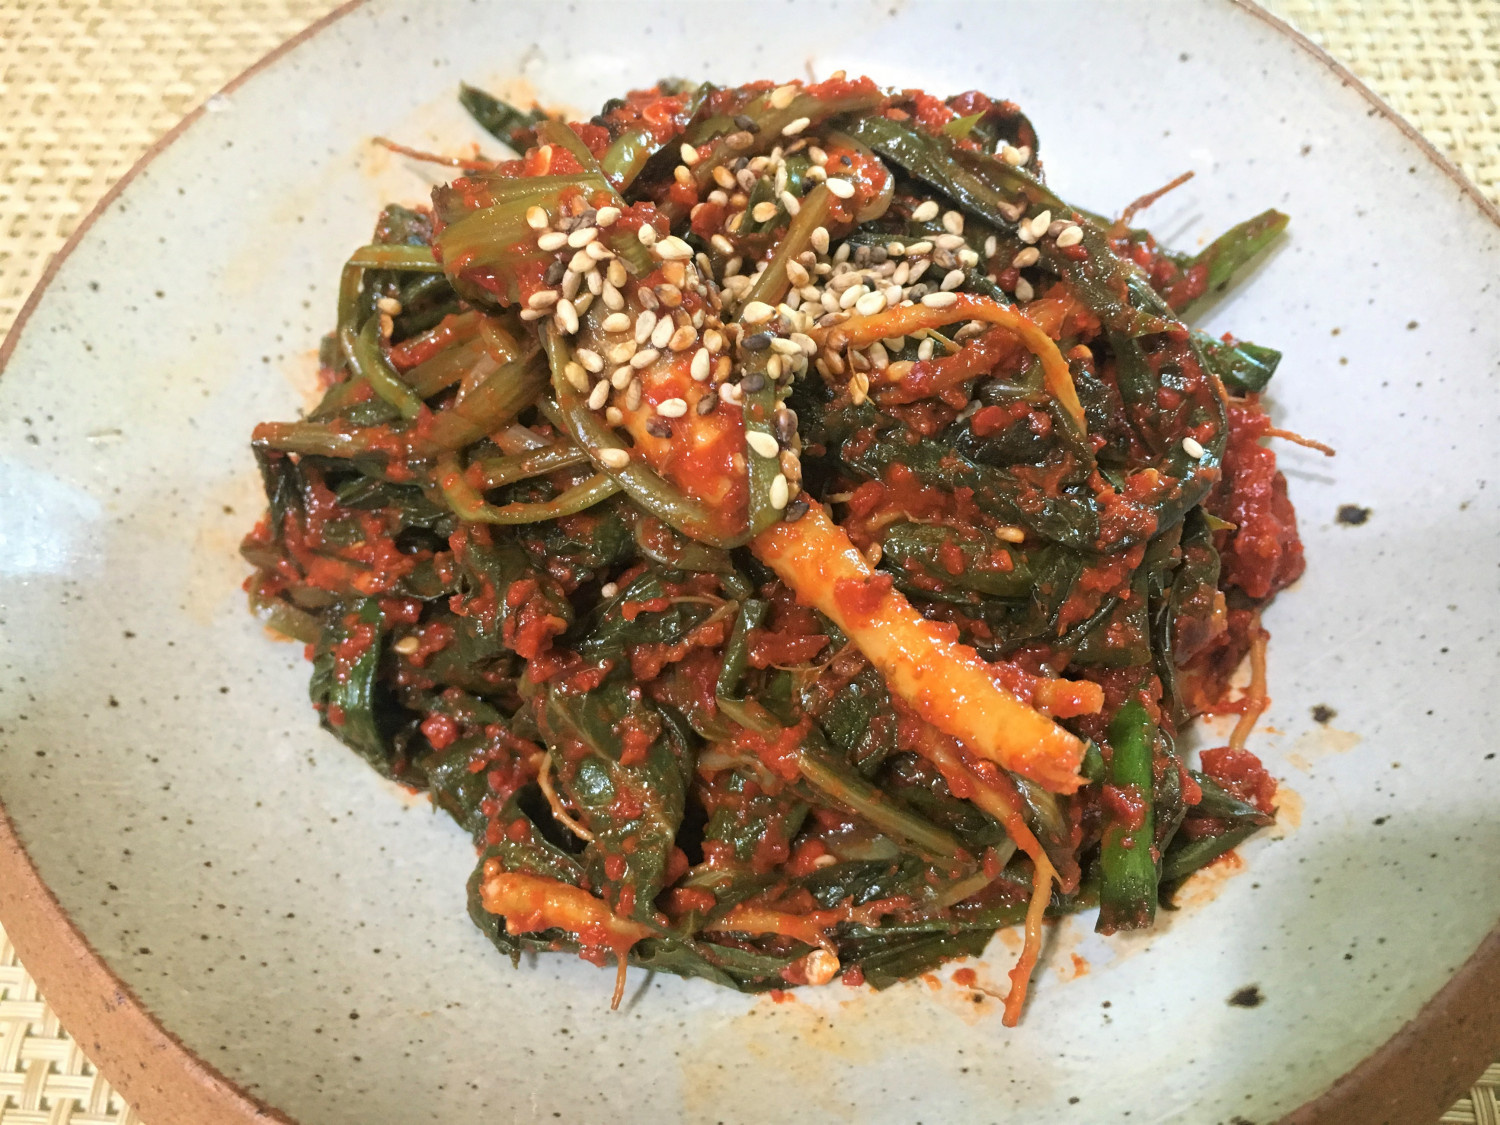
Authentic Godulbaegi Kimchi with Zesty Perilla Oil
Master the Art of Godulbaegi Kimchi: A Flavorful Korean Fermented Dish Enhanced with Perilla Seed Oil

Traditionally, Jeolla Province kimchi often used anchovy sauce made by boiling anchovies, which could be quite pungent. This recipe reinvents that classic by using a preservative-free, concentrated perilla seed anchovy sauce, eliminating the strong odor while delivering a profound depth of flavor. Experience the unique bittersweetness of Godulbaegi (Korean burdock root) transformed into a kimchi that’s both deeply savory and refreshingly clean.
Main Ingredients- 2 bunches Godulbaegi (Korean burdock root), washed and trimmed
- 500g Scallions, cut into 5cm lengths
Rice Paste- 2 cups Water
- 2 Tbsp Sweet rice flour
Kimchi Seasoning- 1/2 Apple, cored and roughly chopped
- 500g Dried red chilies, wiped clean
- 1/2 cup Perilla seed anchovy sauce
- 200g Garlic cloves, peeled
- 1/2 cup Kelp broth (or water)
- 1 cup Red chili powder (Gochugaru)
- 1 Tbsp Sugar (or to taste)
- Toasted sesame seeds, for garnish
- Sesame oil, for finishing
- 2 cups Water
- 2 Tbsp Sweet rice flour
Kimchi Seasoning- 1/2 Apple, cored and roughly chopped
- 500g Dried red chilies, wiped clean
- 1/2 cup Perilla seed anchovy sauce
- 200g Garlic cloves, peeled
- 1/2 cup Kelp broth (or water)
- 1 cup Red chili powder (Gochugaru)
- 1 Tbsp Sugar (or to taste)
- Toasted sesame seeds, for garnish
- Sesame oil, for finishing
Cooking Instructions
Step 1
Begin by preparing the Godulbaegi. Wash the two bunches thoroughly under running water. Remove any wilted or damaged leaves. Gently scrape off any dirt clinging to the roots using the back of a knife or a brush. For tender roots, you can lightly scrape them with a knife.

Step 2
Rinse the prepared Godulbaegi multiple times in fresh water to ensure it’s clean. Next, dissolve 1 cup of salt in enough water to cover the greens and soak the Godulbaegi in this brine for 2 to 5 days. Soaking for a longer period will further reduce the characteristic bitterness. If you prefer a milder flavor, aim for the full 5 days. To keep the Godulbaegi submerged, place a heavy stone or plate on top.

Step 3
To minimize bitterness, I soaked mine for 5 days. After brining, rinse the Godulbaegi at least 5 times under cold running water to remove excess salt. Drain them well in a colander.

Step 4
While the Godulbaegi is draining, prepare the sweet rice paste. In a pot, combine 2 cups of water and 2 tablespoons of sweet rice flour. Cook over low heat, stirring constantly to prevent lumps, until it thickens into a paste. Once it boils, remove from heat and let it cool completely.

Step 5
Now, let’s prepare the ingredients for the kimchi seasoning. Core and roughly chop the apple. Chopping it coarsely is fine as it will be blended. Adding apple lends natural sweetness, reducing the need for extra sugar and enhancing the overall flavor profile of the kimchi.

Step 6
Prepare the dried chilies for blending. To ensure cleanliness, gently wipe them with a dry cloth or lightly rinse them and pat dry before chopping. This prevents dust and ensures a clean flavor.

Step 7
Wash the scallions and trim off the root ends. Cut them into approximately 5cm lengths for easy mixing.

Step 8
In a blender, combine the cooled sweet rice paste, chopped apple, wiped dried chilies, perilla seed anchovy sauce, peeled garlic cloves, and kelp broth. Blend until smooth. Do not add the red chili powder or sugar at this stage.

Step 9
In a large bowl, mix the blended seasoning paste with 1 cup of red chili powder and 1 tablespoon of sugar. Taste the seasoning and adjust the sweetness and saltiness to your preference. Remember, the apple already provides sweetness, so you might need less sugar than you think.

Step 10
Set aside a portion of the seasoning mixture. Add the drained Godulbaegi and the 5cm cut scallions to the remaining seasoning. Gently toss everything together, adding the reserved seasoning as needed to ensure even coating. Be careful not to mash the Godulbaegi while mixing.

Step 11
Finally, sprinkle with toasted sesame seeds and a drizzle of sesame oil. Transfer the seasoned Godulbaegi kimchi into airtight containers. While it can be enjoyed immediately, it will develop even richer flavors after resting in the refrigerator for at least one day. Enjoy your deeply flavorful and clean-tasting Godulbaegi Kimchi!
