
Chewy and Delicious Pressure Cooker Baked Eggs
How to Make Jjimjilbang (Korean Sauna) Style Baked Eggs Easily with a Pressure Cooker (Great for Diet Snacks!)

Introducing an easy and quick recipe for chewy baked eggs, highly recommended for those on a diet or looking for healthy snacks! Using a pressure cooker gives you a much chewier texture than regular boiled eggs, and because they have less moisture, they have a longer shelf life and can even be stored at room temperature. Recreate the authentic taste of jjimjilbang or stone-baked eggs right at home. As a high-protein, low-calorie food, they are perfect for guilt-free enjoyment. Each egg contains approximately 70-80 kcal, making them perfectly suitable for a diet meal plan. You can make delicious baked eggs with minimal ingredients, making them a fantastic snack for kids or a healthy option for everyone. Recipe measurements are based on standard spoons: 1 tablespoon = 15ml, 1 teaspoon = 5ml.
Essential Ingredients- 10 eggs
- 1 Tbsp coarse salt (sea salt)
- 1.5 cups water (approx. 300ml)
- 1 Tbsp vinegar
Cooking Instructions
Step 1
About 1 hour before making the baked eggs, take the eggs out of the refrigerator and let them sit at room temperature. This helps the eggs become less sensitive to temperature changes, which can prevent the shells from cracking during the cooking process.

Step 2
For a thorough cleaning, soak the eggs in water with 1 tablespoon of vinegar for about 5 minutes. This step softens the impurities on the eggshell surface, making it easier to wash them completely when gently scrubbed. After washing, pat the eggs dry.

Step 3
Now, prepare the pressure cooker. Pour 300ml (1.5 cups) of water into a regular pressure cooker and add 1 tablespoon of coarse salt (sea salt). Salt helps to toughen the eggshells and makes them easier to peel later. After adding the saltwater, place a silicone or metal steaming rack inside the pressure cooker if you plan to use one.

Step 4
Arrange the clean eggs nicely on the steaming rack. Close the pressure cooker lid and heat over high heat. When the pressure cooker’s weight valve starts to whistle (‘ttallang’ sound), immediately reduce the heat to low. Set the timer on your induction cooktop or gas stove for 1 hour and let them cook slowly. After 1 hour, wait until all the pressure has completely escaped from the valve before opening the lid to remove the eggs. Some eggshells might crack during cooking, but this is a natural occurrence, so don’t worry. They should have a appetizing color.

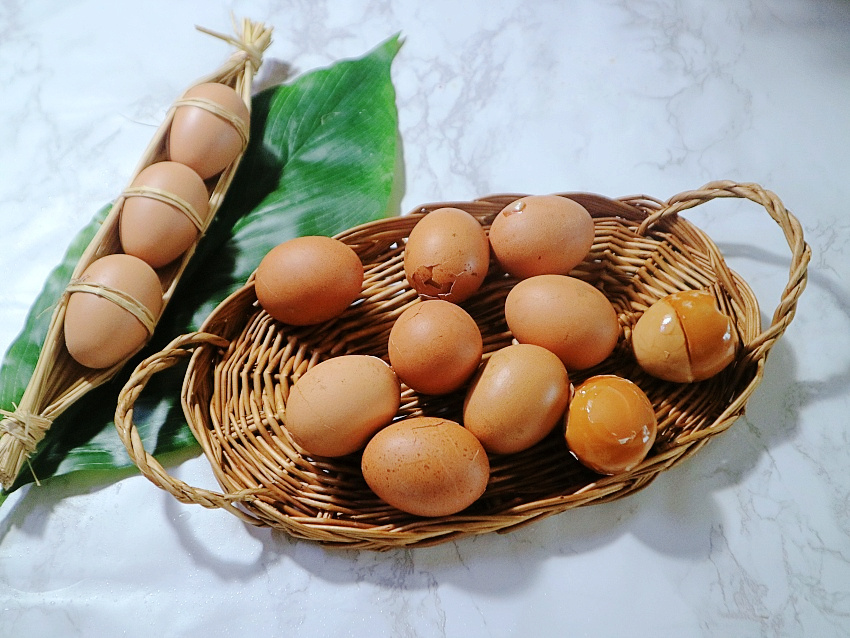
Step 5
Once served on a plate, the freshly baked eggs create a healthy and delicious snack that the whole family can enjoy! They are great to eat warm right away or after cooling down a bit.

Step 6
Eating them warm right after baking allows you to fully appreciate their chewy texture. Eggs with slightly cracked shells are easier to peel, making them perfect to enjoy immediately while still warm. If the shells are difficult to peel, try cooling them in cold water for a short while before peeling.

Step 7
How about trying baked eggs, which offer both health benefits and great taste with minimal effort? This weekend, make and enjoy delicious baked eggs with your loved ones for a delightful time!
