
Tender and Creamy Homemade Egg Tarts
Reduced Butter & Sugar, Packed with Filling! An Easy Egg Tart Recipe for Everyone

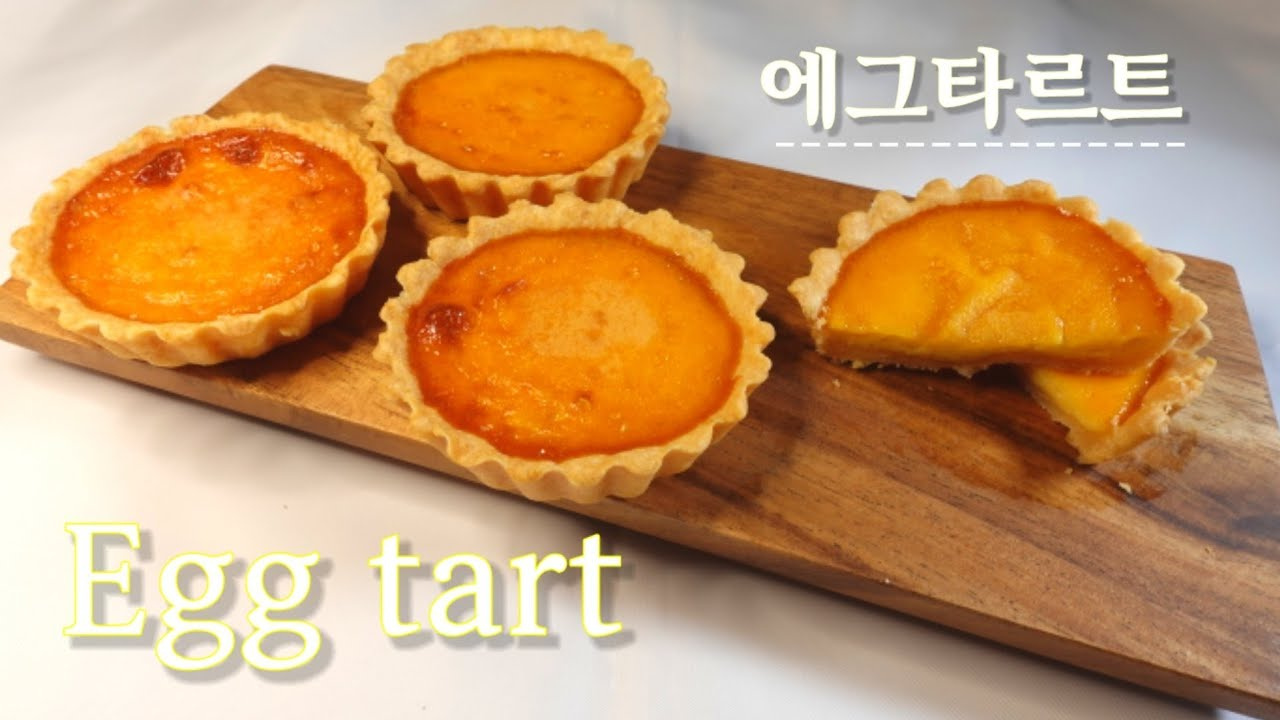
Recreate the unforgettable memory of egg tarts from your Hong Kong trip right at home! This recipe has been adjusted to my taste by reducing the amount of butter and sugar, offering a flavor profile that is far more exquisite and less heavy than what I tasted in Hong Kong. Enjoy egg tarts generously filled with a custard that will delight everyone from kids to adults – perfectly sweet and delightfully non-greasy, baked easily in your own kitchen. Following this recipe will allow you to achieve a professional-quality, top-tier egg tart at home, boosting your confidence in baking endeavors. Enjoy a sweet dessert time with your loved ones and have a healthy and happy day! ♡
Tart Dough Ingredients- 270g all-purpose flour
- 105g cold butter, cut into cubes
- 2g salt
- 80g cold water
- 30g sugar
Egg Tart Filling Ingredients- 120g milk
- 120g heavy cream
- 1 tsp vanilla extract or vanilla oil
- 80g sugar
- 4 egg yolks
- 1 whole egg
- 120g milk
- 120g heavy cream
- 1 tsp vanilla extract or vanilla oil
- 80g sugar
- 4 egg yolks
- 1 whole egg
Cooking Instructions
Step 1
Make the Tart Dough: In a bowl, combine the all-purpose flour, salt, and sugar. Add the cold, cubed butter and cut it into the flour using a pastry blender or your fingertips until it resembles coarse crumbs, about the size of peas. Gradually add cold water, a little at a time, mixing just until the dough comes together into a cohesive ball. Be careful not to overwork the dough.

Step 2
Chill the Dough: Shape the dough into a disc, wrap it tightly in plastic wrap, and refrigerate for at least 30 minutes. This chilling period allows the butter to firm up, which is crucial for creating flaky and crisp tart shells when baked.

Step 3
Prepare the Egg Tart Filling: In a saucepan, heat the milk, heavy cream, and sugar over medium-low heat until the sugar dissolves. Do not let it boil; remove from heat just before it simmers and stir in the vanilla extract. In a separate bowl, whisk together the whole egg and egg yolks. Gradually temper the egg mixture by slowly pouring in the warm milk and cream mixture while whisking continuously. Strain the mixture through a sieve to remove any cooked bits and ensure a smooth filling. Whisk gently to minimize foam.

Step 4
Shape the Dough in Tart Pans: Remove the chilled dough from the refrigerator and divide it into 2-3 portions. Press each portion evenly into individual tart molds, ensuring the dough lines the bottom and sides without tearing. Aim for a uniform thickness for consistent baking.

Step 5
Fill the Tart Shells: Carefully pour the prepared egg custard filling into each tart shell, filling them about 80-90% full. Avoid overfilling to prevent spillage during baking.

Step 6
Bake the Tarts: Preheat your oven to 180°C (350°F). Place the filled tarts on a baking sheet and bake for approximately 23 minutes, or until the crust is golden brown and the filling is set with slightly browned spots on top. Baking time may vary depending on your oven.

Step 7
Cool and Serve: Carefully remove the baked egg tarts from the oven and let them cool slightly in the molds before transferring them to a wire rack to cool completely. While delicious warm, they are best enjoyed once cooled, allowing the custard to set fully and the crust to achieve its optimal crispness. Serve with your favorite coffee or tea for a delightful treat.
